


If there’s such a thing as a bro crush and a lady crush, then I’m not ashamed to say I have a yarn crush. I’ve always loved fabric, but recently I’ve fallen madly in love with all the varied textures and vibrant colors of yarn. Hand dyed. Alpaca. Dainty and fine. Giant and chunky. Skeins. Hanks. About the only time I don’t find yarn appealing is when I see my pug Hadji pulling it through the house in a tangled mess.
I’ve always said that if you want to learn to do something, then read a book. Now I’m changing my mantra. If you want to learn to do something, watch a You Tube video! That’s how I learned to knit. And thankfully most video tutorials zoom in on the knitter’s hands only, which is fine by me. I’m afraid if the camera zoomed out it would capture a creepy doll collection in a china cabinet and Home Shopping Network on the TV screen, and then I wouldn’t think knitting was so cool after all. I’m okay just seeing their hands, thus protecting my image of someone super hip and a bit Bohemian knitting a bad-ass poncho or a totally rad scarf.
(This post may contain affiliate links; as an Amazon associate I earn from qualifying purchases. See disclosure here.)
Sorting through all the tutorials on the internet can be daunting, so I’ll share with you the ones I found most helpful. But first, gather your supplies:
- needles – You’ll need a pair of knitting needles. Everyone is different, but I find it is easier to learn on larger ones, so I suggest a size 10 or 11.
- yarn – Use thin yarn with thinner needles and chunkier yarn with larger needles. For learning purposes, I find the yarn selection and prices at Michael’s are MUCH cheaper than a specialized knitting shop. (When I first learned, I didn’t even realize that a suggested needle size is printed on the yarn label! So be sure to buy yarn that will fit the size needle you plan to use!)
- darning needle – This is for weaving in the ends when you finish a project. It’s just like a sewing needle but a bit bigger.
Now check out the following You Tube tutorials to conquer these fundamentals:
- casting on – Every knitting project with start with this step.
- knit stitch – This stitch is also known as the garter stitch.
- binding off – When you finish a piece, you need to bind off.
If you’ve made it this far, you’re ready for a couple more techniques that will allow you to complete some actual projects!
- seaming – This is so easy to do, and it can be used to finish simple projects like infinity scarves and boot cuffs if you haven’t yet learned to stitch in the round with circular needles. This teaches you how to connect two knitted pieces together.
- weaving in ends – Many tutorials over-complicate this task. It’s really simple; no need to over-think it. Here’s how to hide those yarn tails when finishing a project.
Now you’re ready to apply all that you’ve learned! It’s easy to become discouraged when searching for patterns, because many that are marketed for beginners assume you know more than just the bare bones basics. Don’t worry. I’ll share some of my favorite beginner patterns that will give you the gratification of actually finishing a lovely project while practicing your new skills. You will find your rhythm AND make something beautiful.
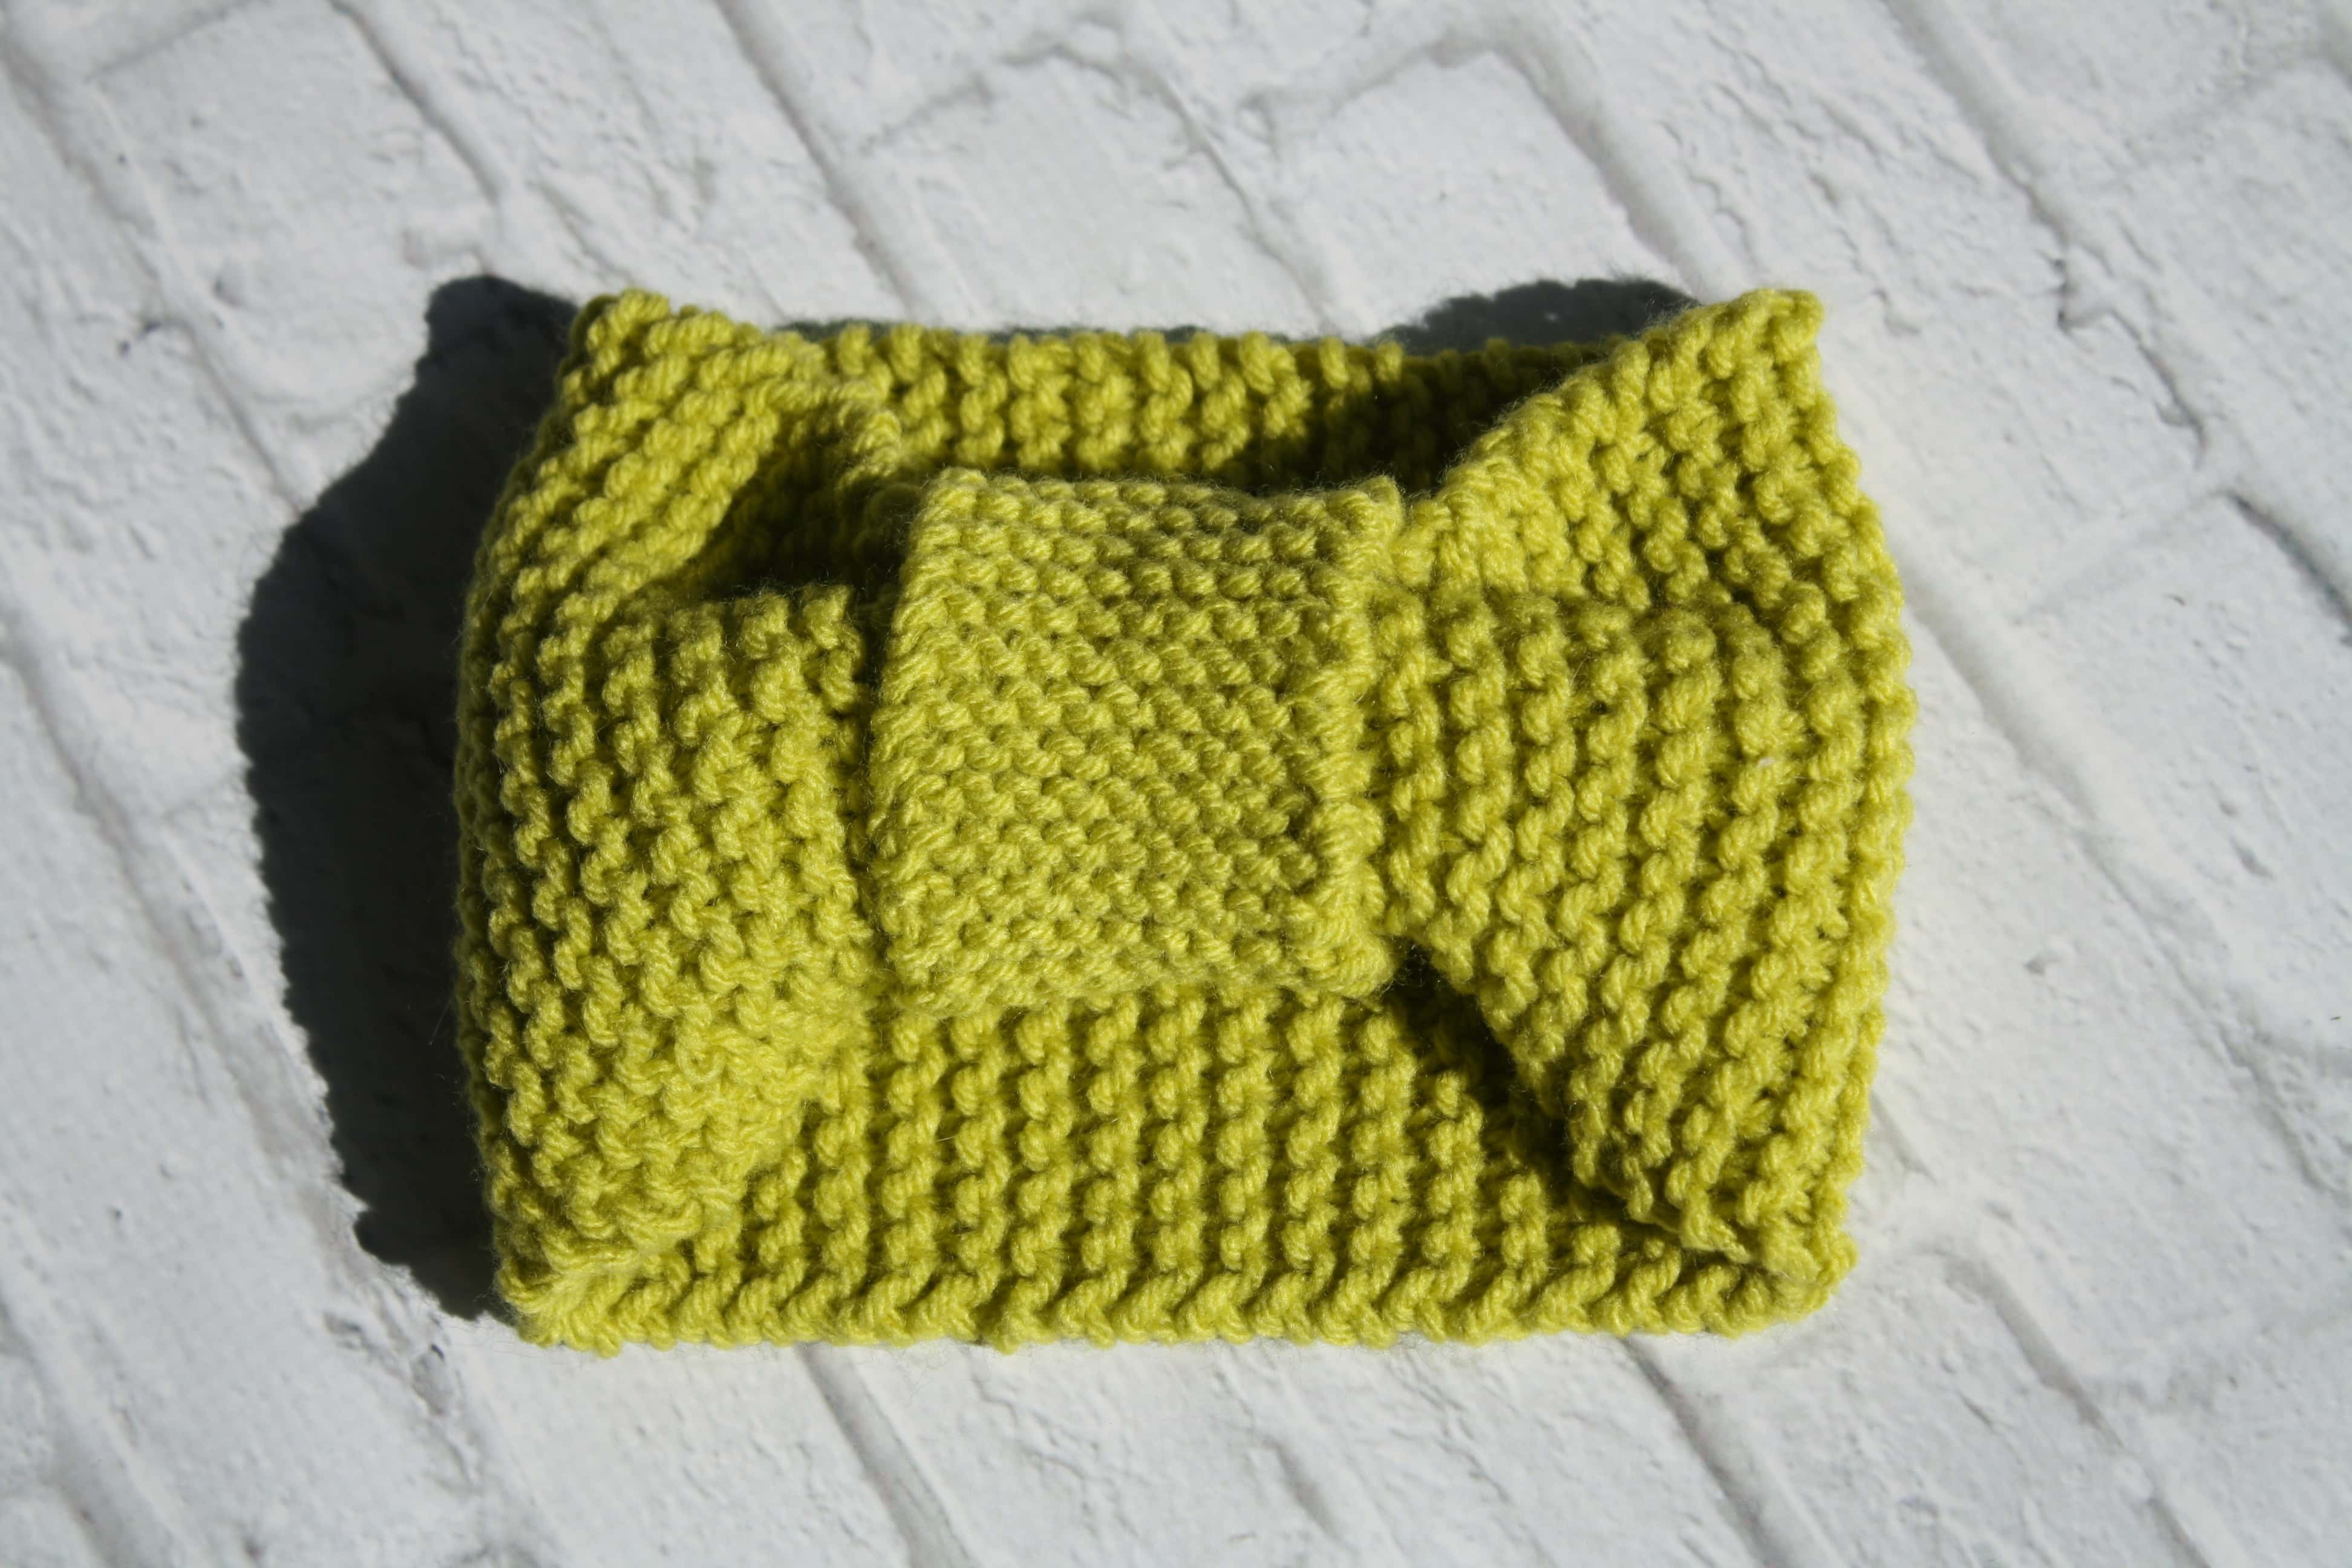
Start with this tutorial for a newbie knitted headband by Stuff Steph Does. Here’s a photo of the first one I made. Bonne chance on your new adventure!
Loved the blog!
Thanks so much!