
Sculpt my own frozen ice bucket? I should be worrying more about the food for my upcoming dinner party than the decor, but I get so easily sidetracked by the DIY universe. Besides, during one of my 730 walks with my pug today, I became mesmerized by all the turning foliage in the neighborhood. Not New England picturesque yet, but nonetheless lovely, subtle changes signaling cold weather ahead. How to capture some of this Fall beauty for my dinner party? A DIY ice bucket, of course. I’ve seen them molded with spring flowers and fruit, so why not make one with a harvest touch?
step 1 – gather supplies
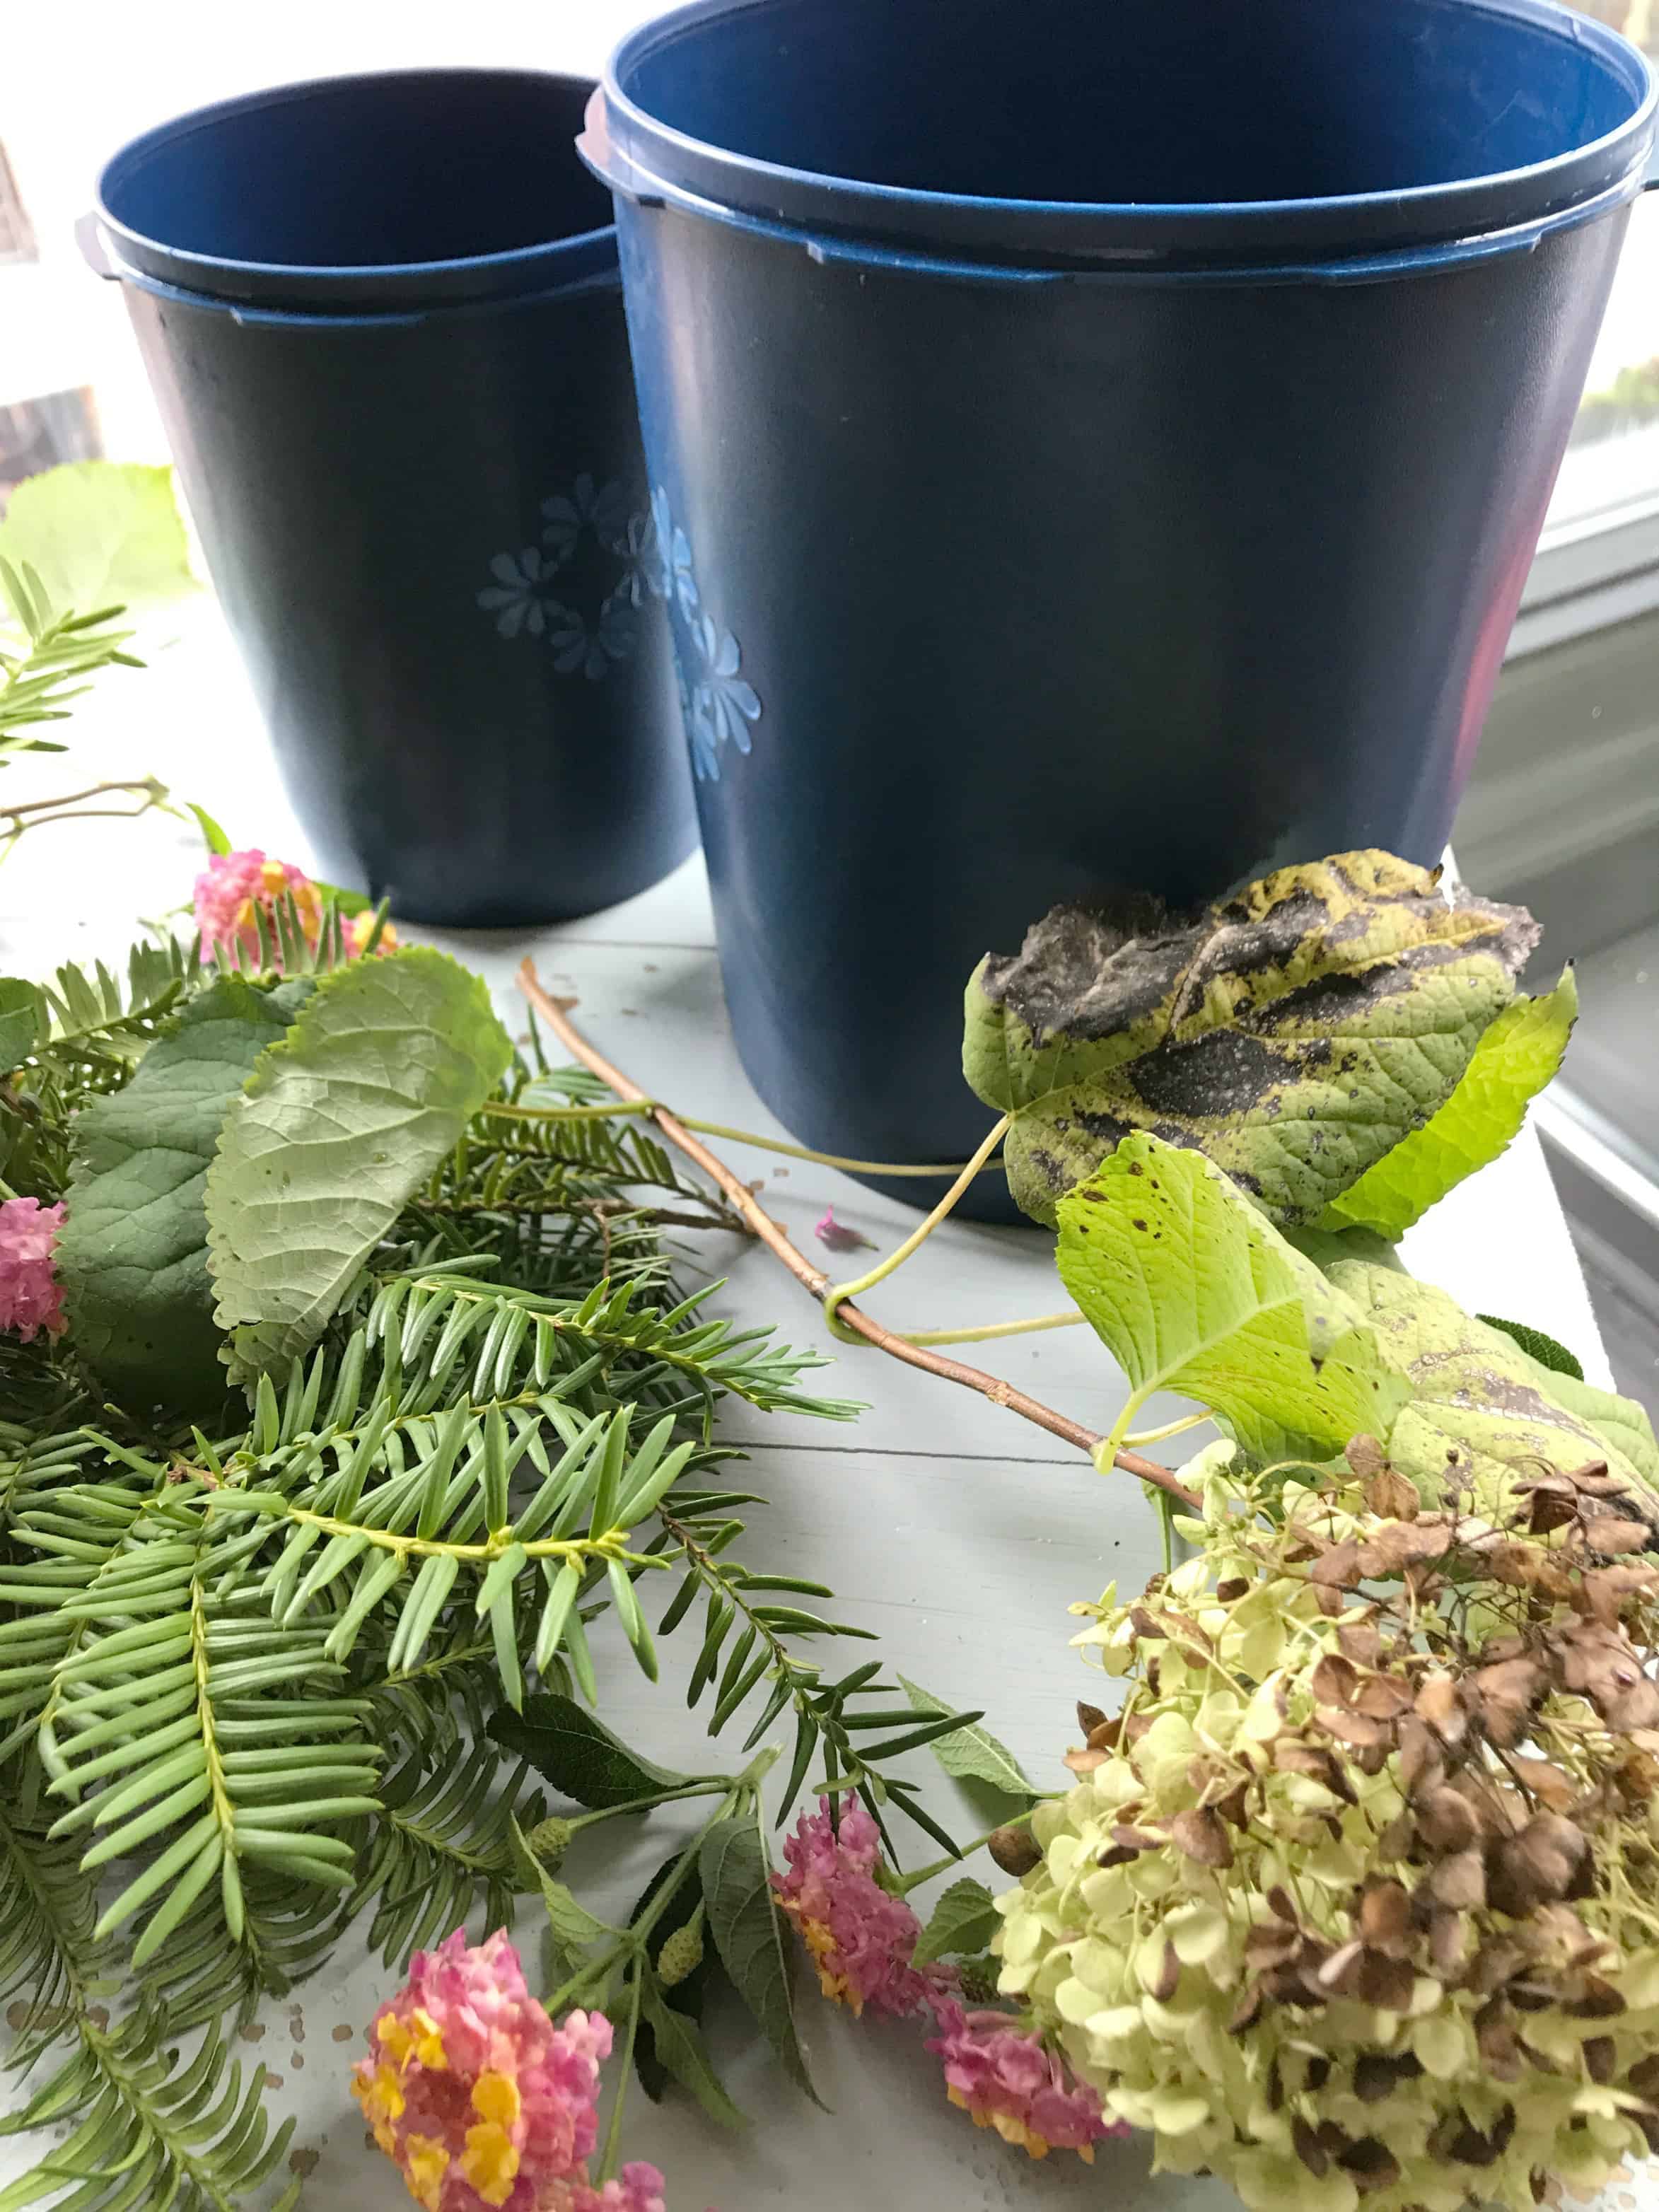
All you need are 2 buckets (one slightly smaller than the other), foliage and flowers, and water. A clear acrylic bucket would be ideal, so you can see the foliage as you arrange it. However, I don’t have one, so I opted to use 2 plastic canisters.
step 2 – create a shallow base
I filled the bottom of the larger container with about 2 inches of water then placed in freezer overnight. This creates a base for the ice bucket.
step 3 – add filling
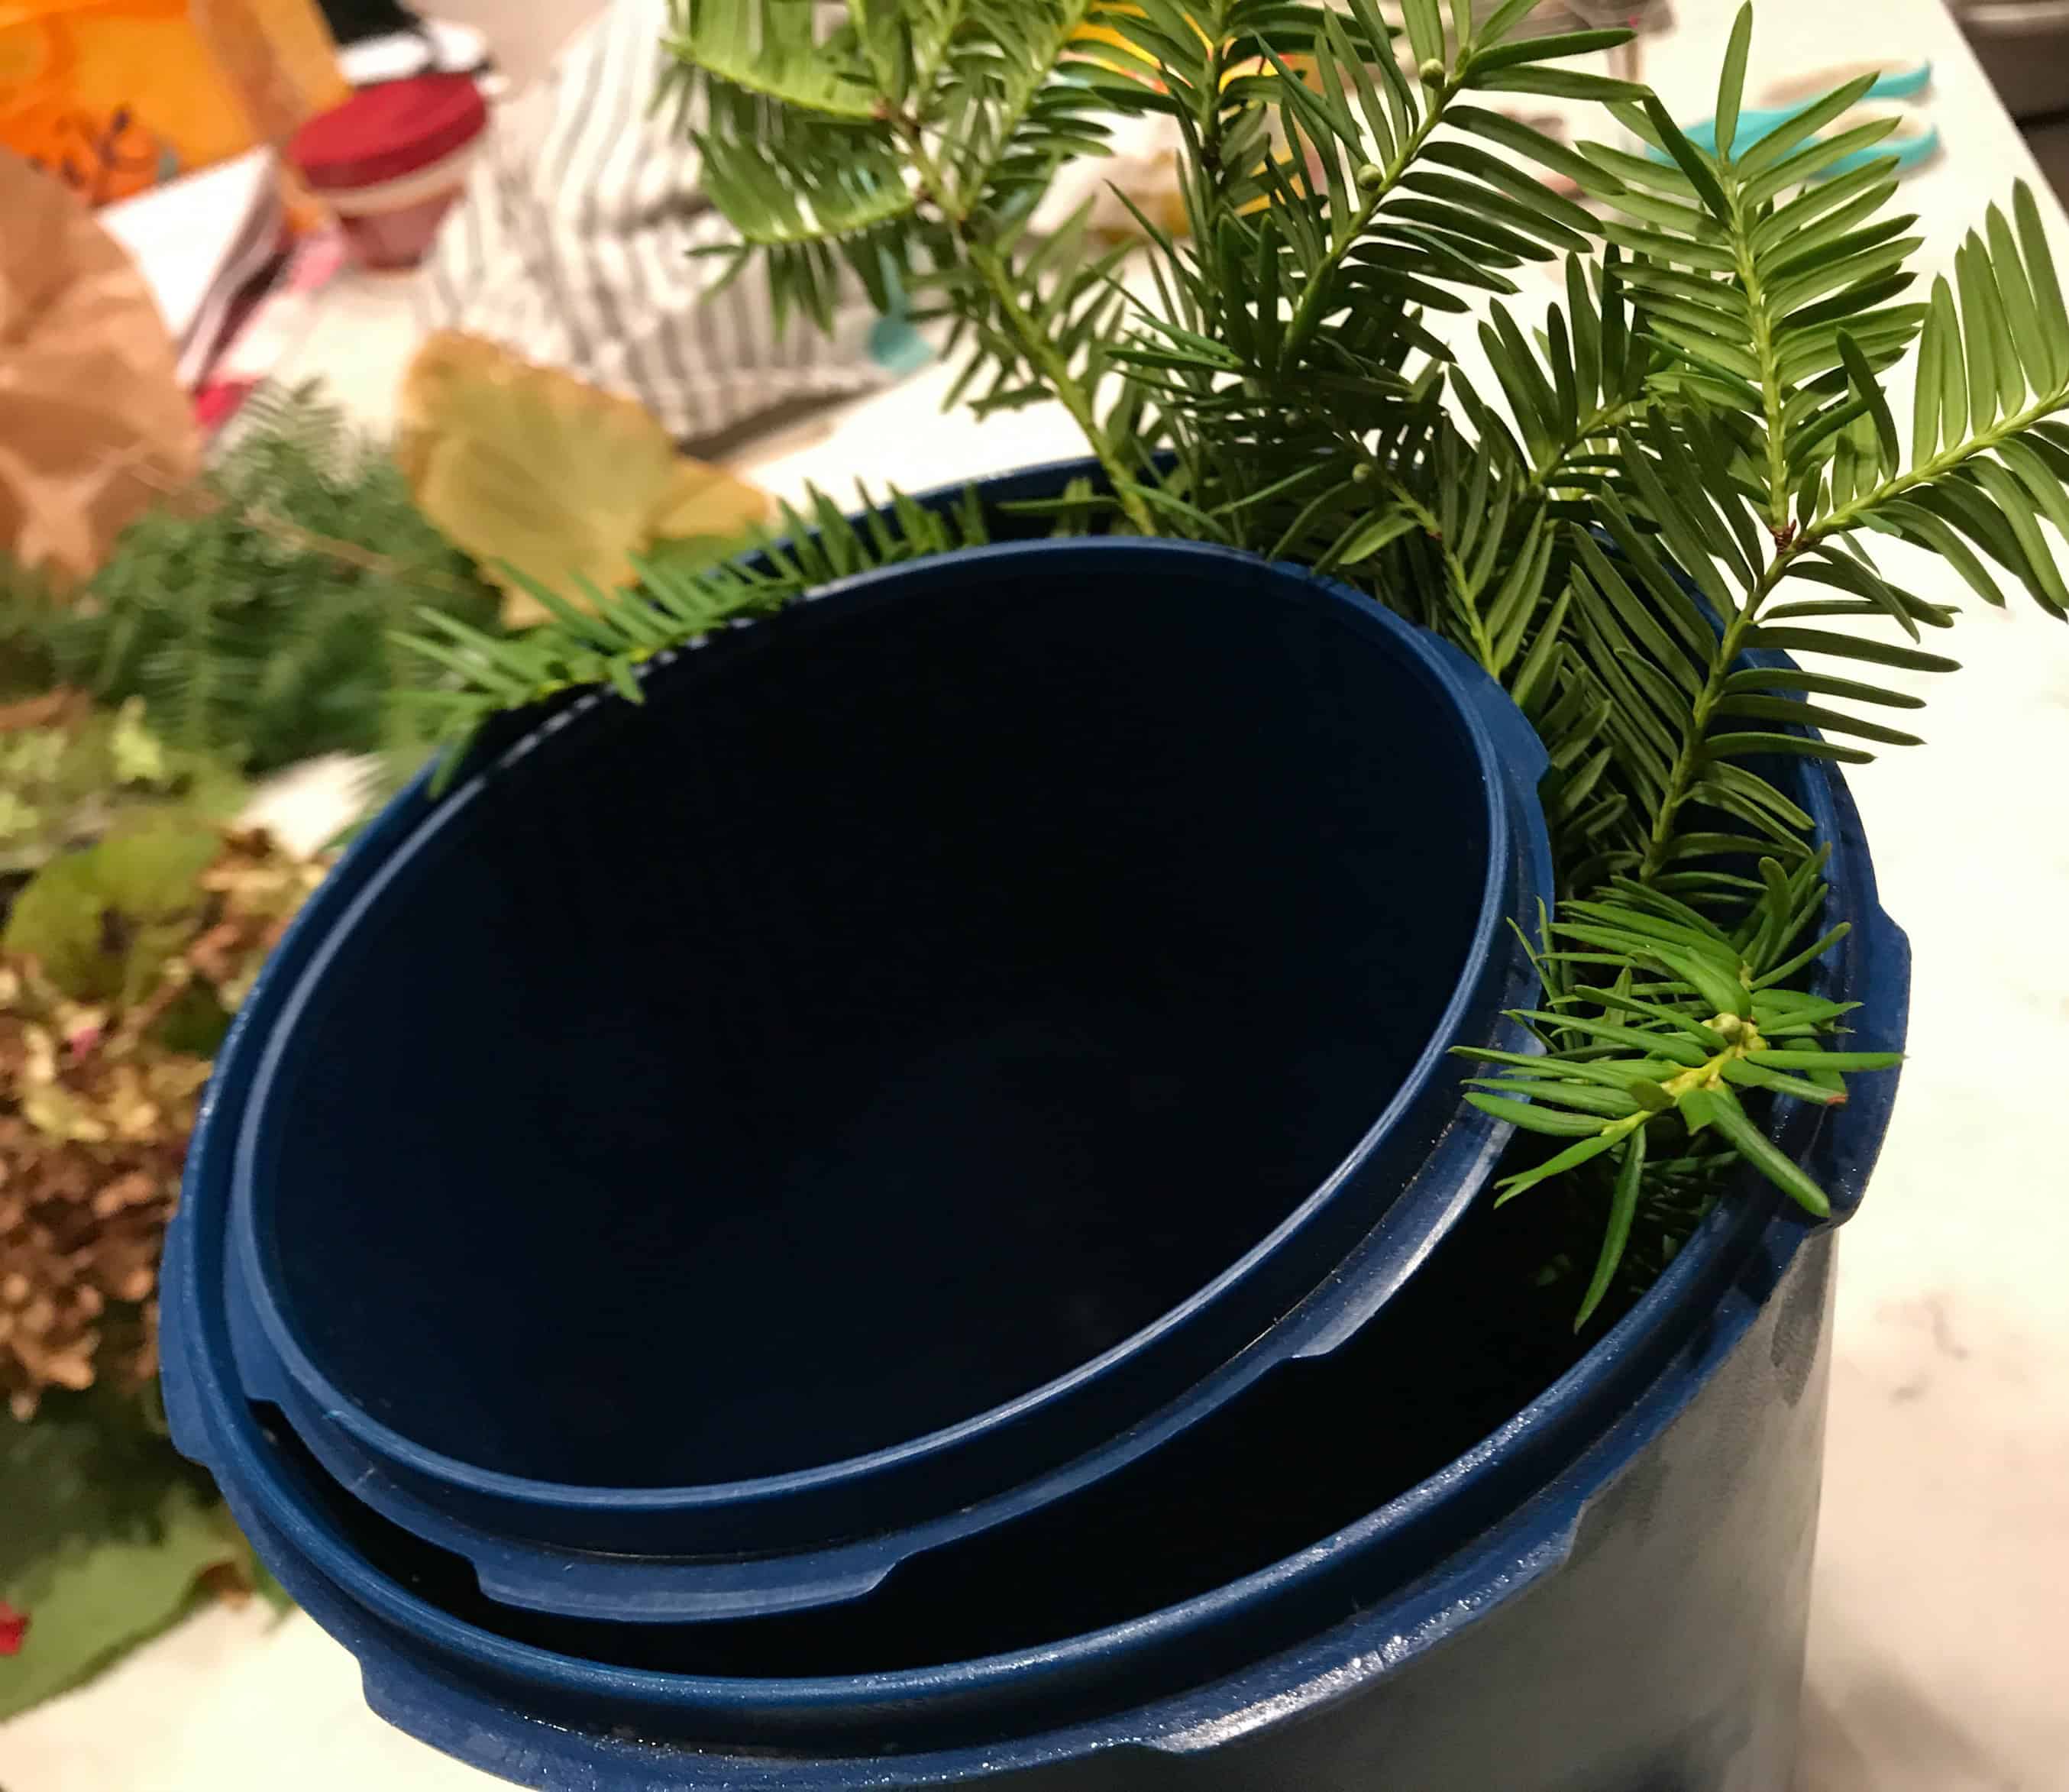
Once the water was frozen, I placed the second container inside the larger one. Then I cut pieces of foliage and flowers and placed around the inside wall of the larger bucket.
 First, I added small snippets of evergreens along the sides, making sure to push them down to meet the bottom.
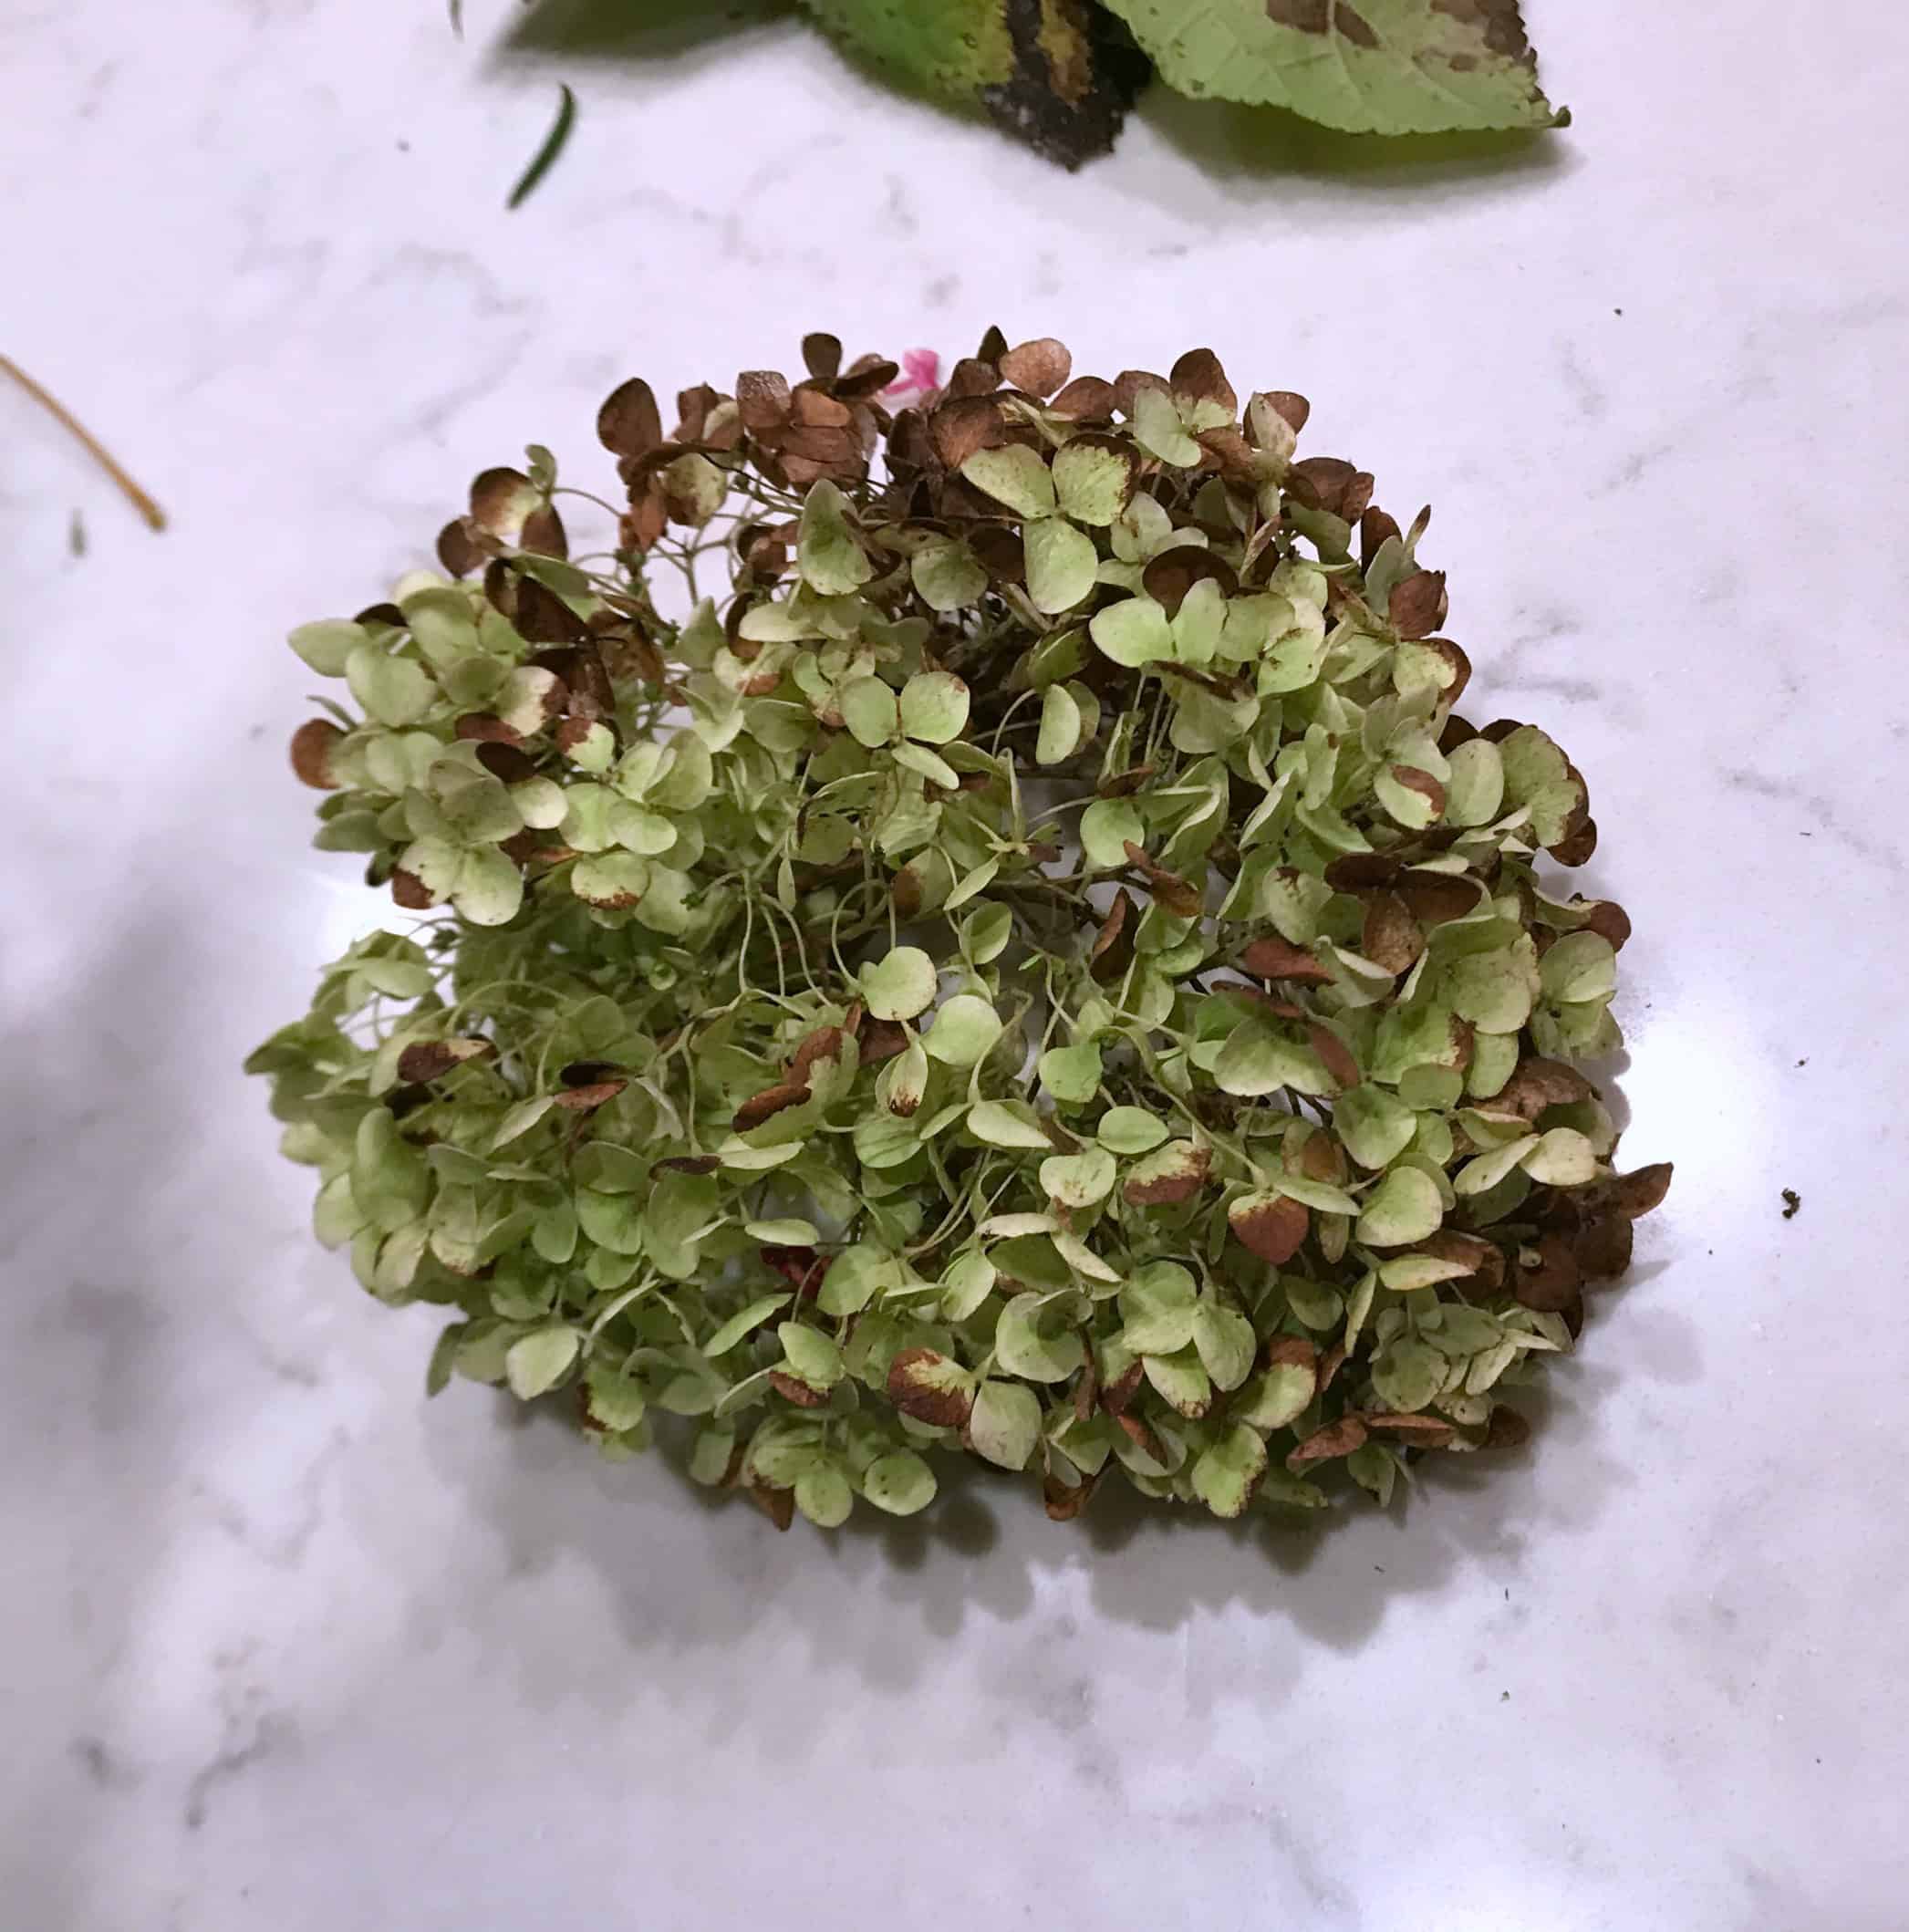
Next, some lovely fading hydrangeas that looked as though they had been dipped in burnt sienna.
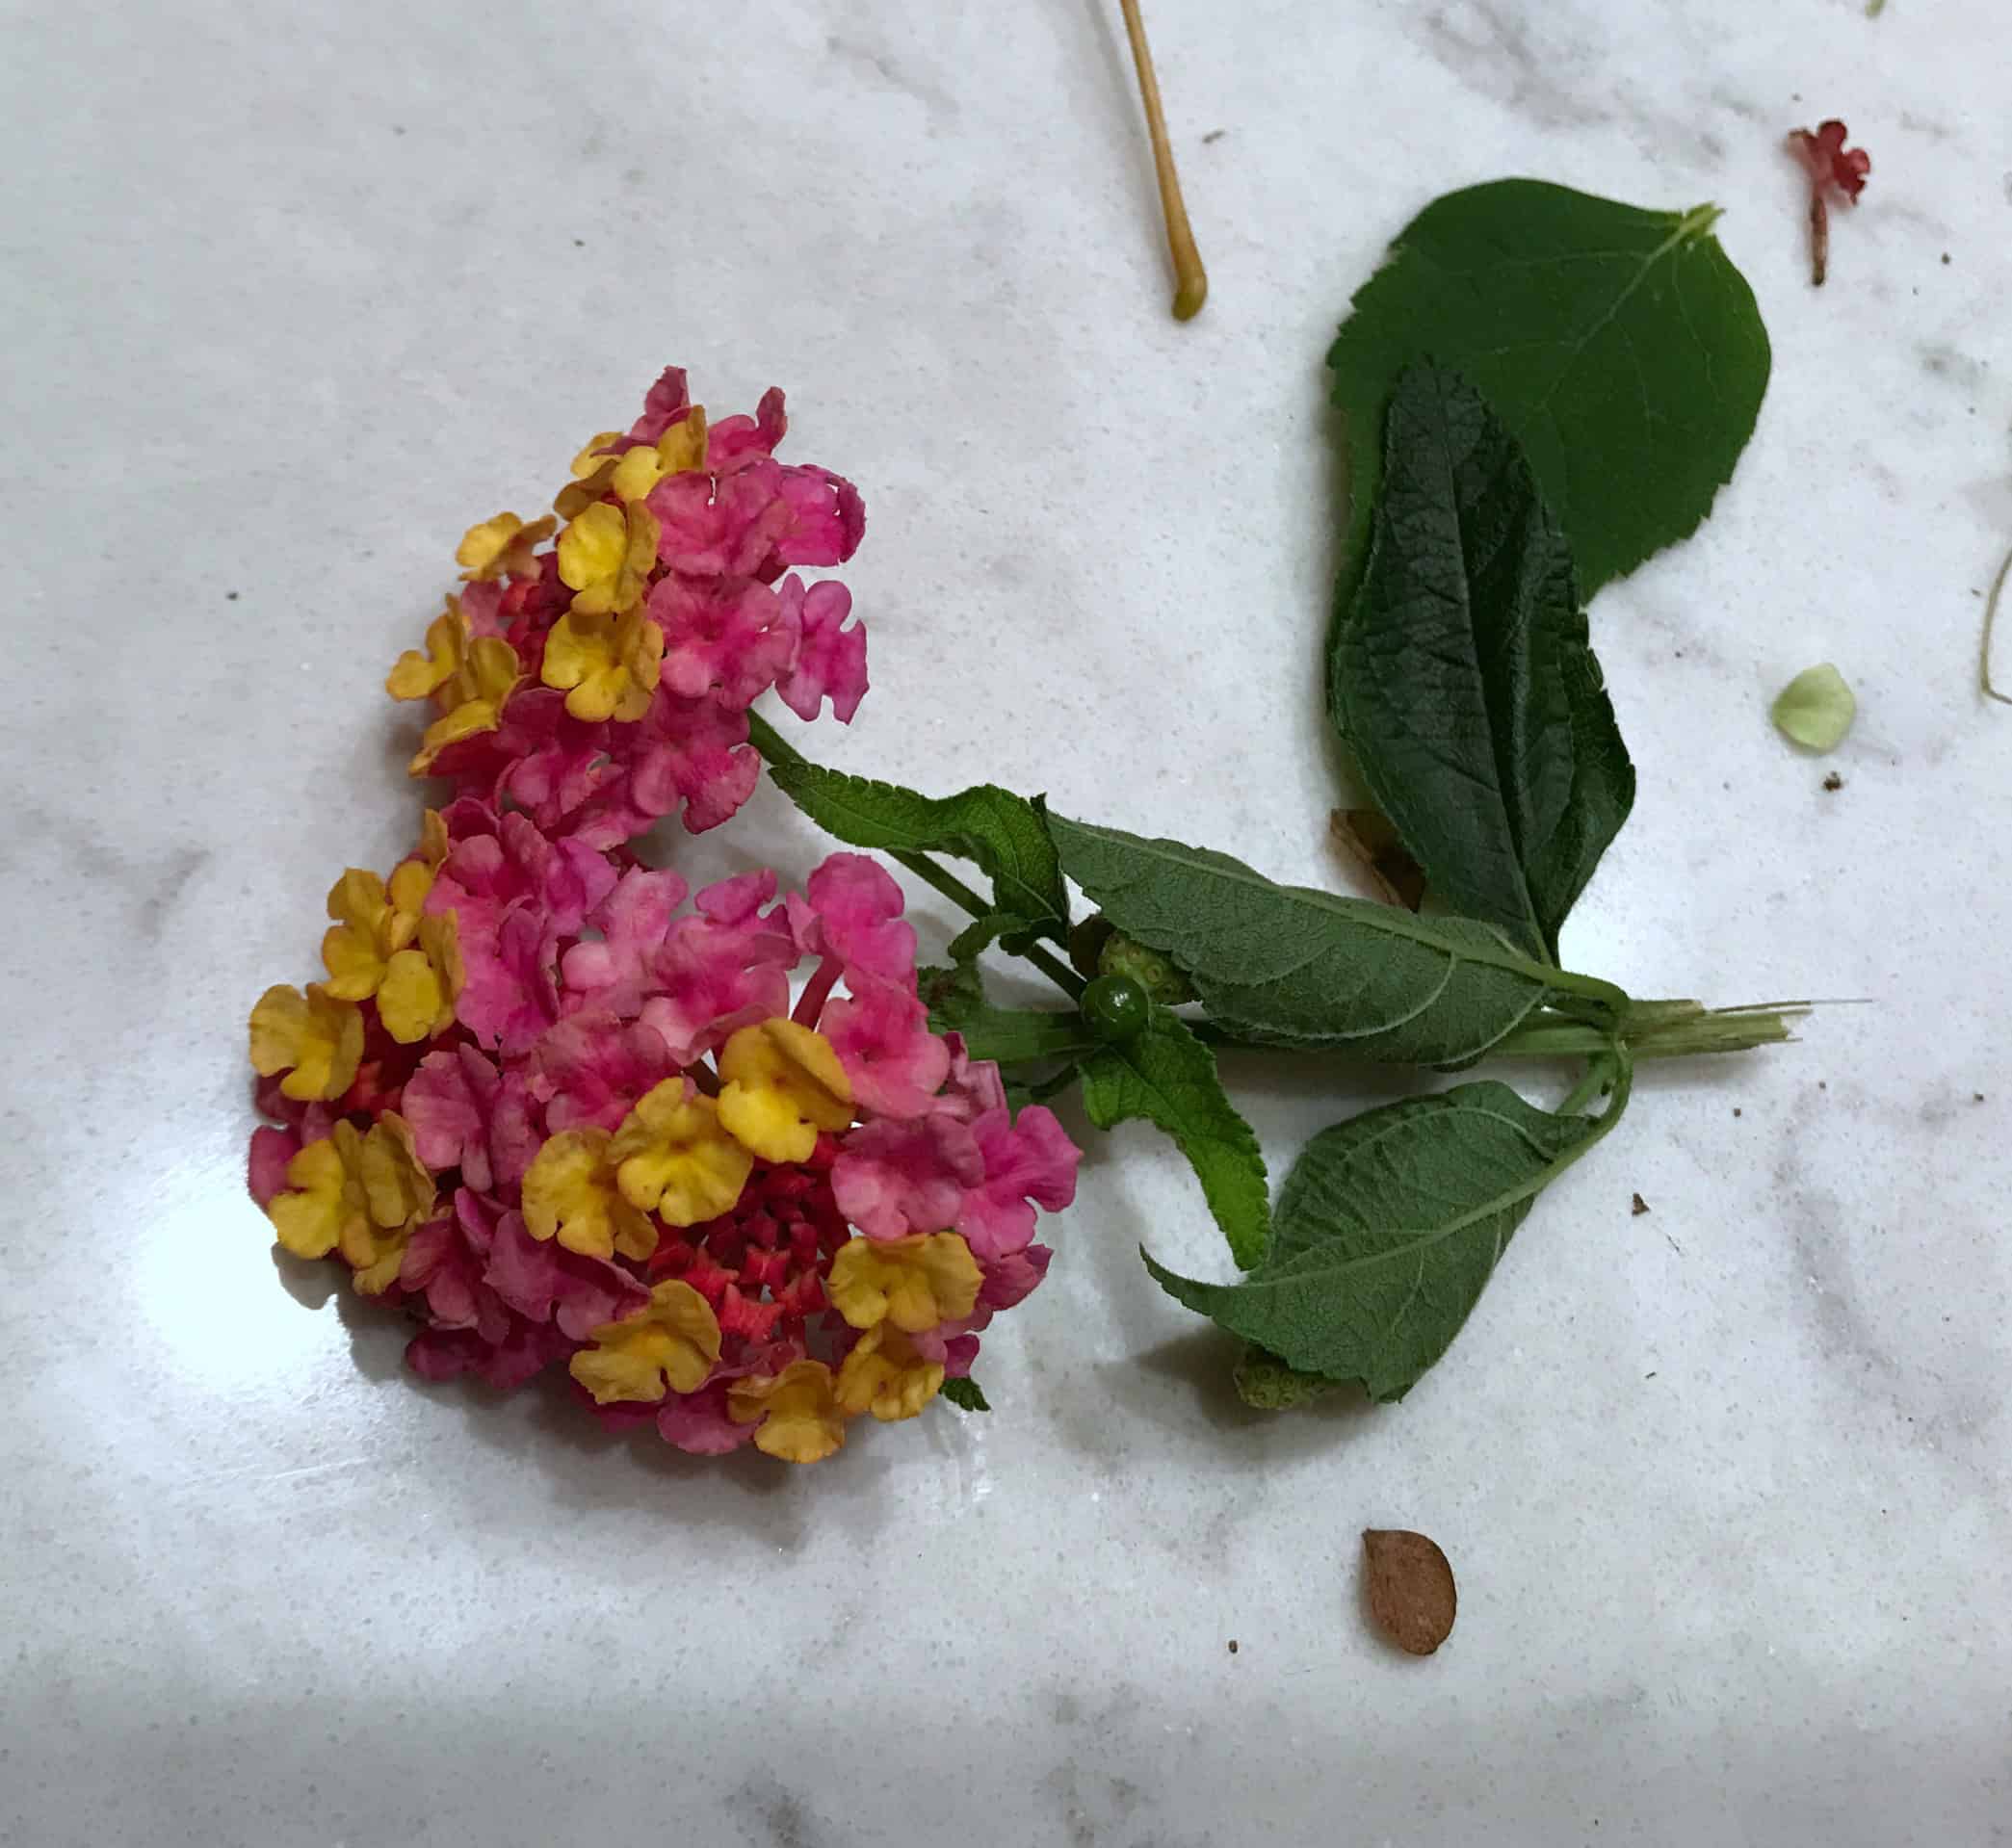
Finally, I tossed in a few small colorful flowers.
step 4 – add weight
After the foliage and flowers were added, I filled the inner bucket with items to weight it down. Rocks work well, but I didn’t have any on hand, so I just rummaged through my freezer drawer for ice packs and other heavy items.

step 5 – add water
Using a pitcher, I slowly filled the space between the 2 buckets with water. Make sure the inner container has enough weight to keep it from floating. I let some of the foliage protrude over the top to be trimmed later. Then I gently placed it in the freezer overnight.

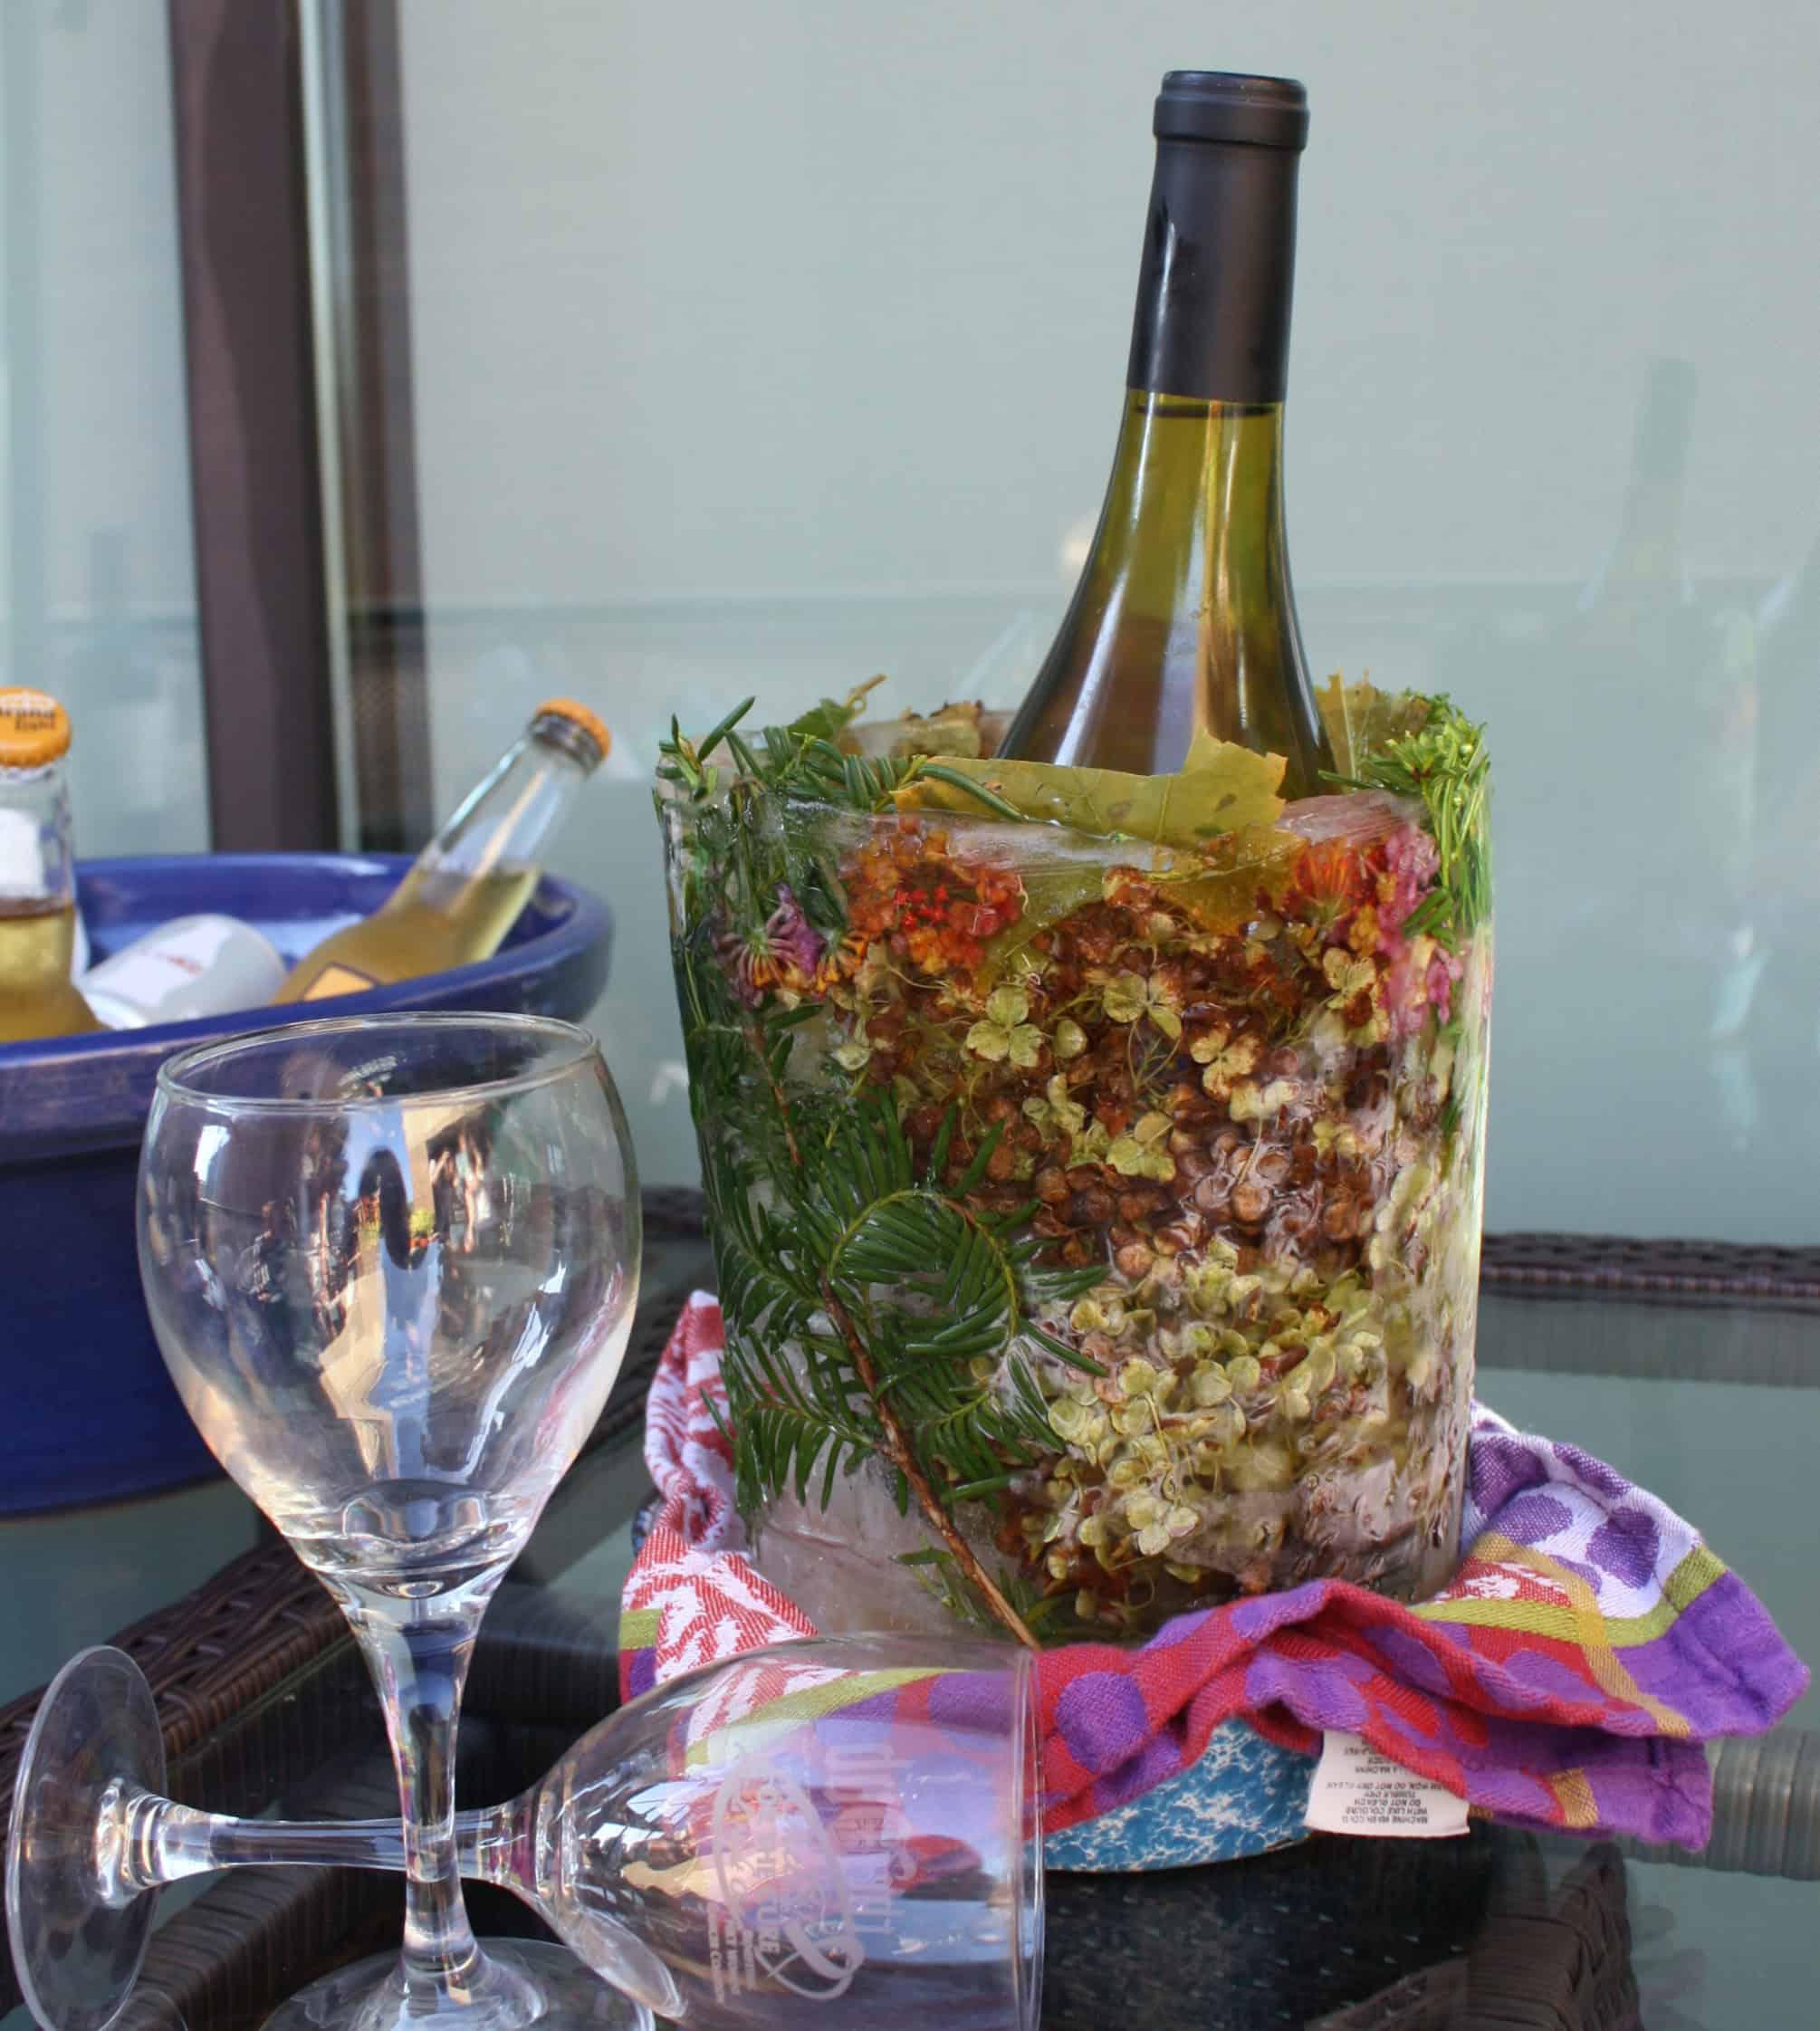
step 6 – the reveal
To remove the ice sculpture, first fill the inner bucket with hot water and let sit for a few moments. Remove the inner bucket. Next run hot tap water over the outside of the outer bucket, then gently remove the ice sculpture. Lastly, trim the foliage from around the top. Place in a shallow tray for serving.
Like this idea? Share it on Pinterest!

How beautiful, what a lovely idea.
Thanks Julie, it was a first attempt!