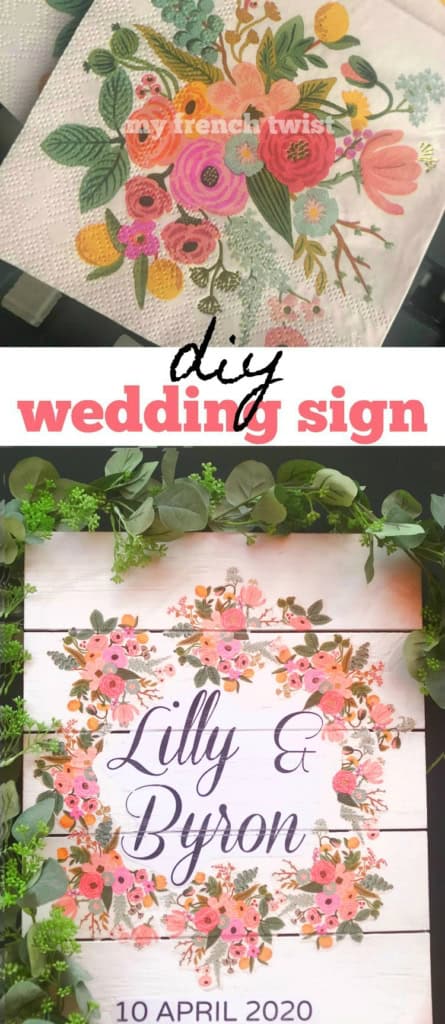
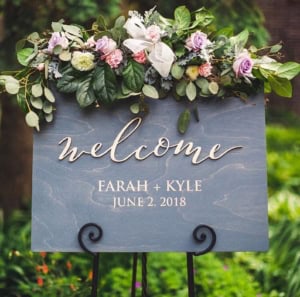
I’m in the midst of wedding planning – two sons having weddings in 2020! It’s been many years since I planned my own wedding, but there’s one thing of which I’m certain. How did I possibly do it without Etsy? Friends, Etsy rocks. It is a fantastic source of wedding accessories as well as inspiration. In fact, that’s where I nabbed the idea for this DIY wedding sign I just made my son’s rehearsal dinner.
The wedding in the works will be in a very cool industrial venue. Think peeling paint, tall ceilings and exposed brick laced with bouquets of wildflowers spilling over rustic wine barrels. Since my artistic talent is sadly restricted (mother of the groom, y’all), I’m taking full creative control over the rehearsal dinner. I’ve selected an authentic french bistro a few blocks from the wedding venue, complete with a croquembouche for dessert. But what I’m most excited about is adding a romantic vibe inspired by my latest design crush – Rifle Paper Company.

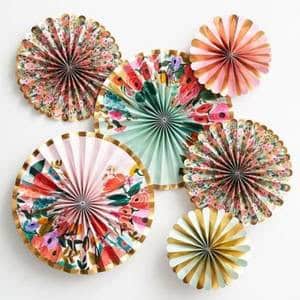
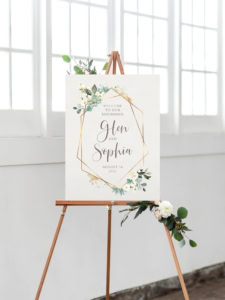
I’m completely smitten with all the beautiful wedding signs I’ve spotted on Etsy recently. (And if you’re short on crafting time, consider using some of the talented vendors below.) I decided, however, to try my own hand at making one. And I knew I wanted it to complement the floral theme I had chosen for the invitations.

(This post may contain affiliate links; as an Amazon associate I earn from qualifying purchases. See disclosure here.)
supplies needed:
- wooden sign
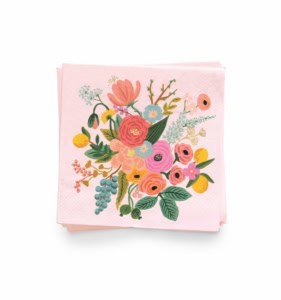
- paper napkins
- craft paint
- Mod Podge
- sanding paper
- white furniture wax
step 1 – prepare the base
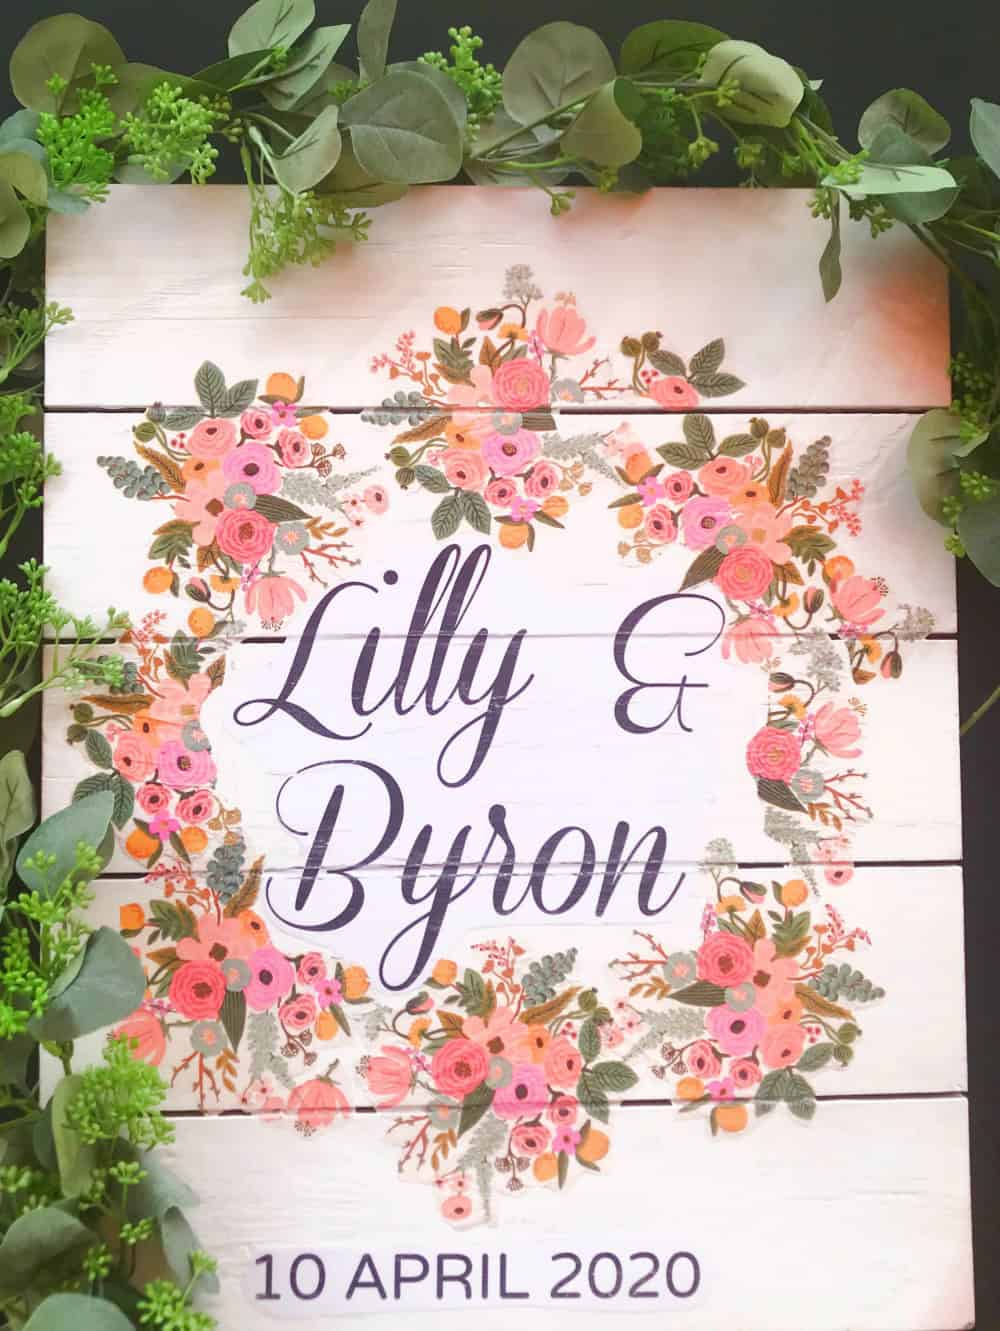
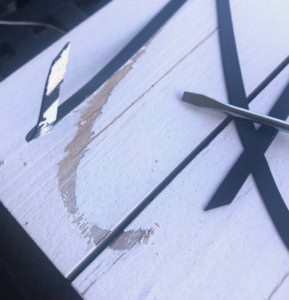
Did I tell you I’m sometimes lazy? This is important, because instead of cutting planks and piecing them together into a frame, I took a short cut and bought a pre-made wooden sign from Michael’s. I then removed the embellishments and painted over the lettering.
step 2 – create the design
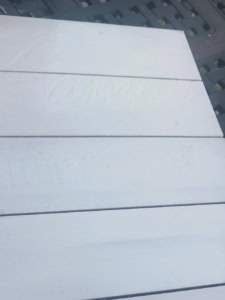
First, I created the lettering using Picmonkey and printed it out on letter-sized computer paper. For the design, I cut the flowers out of paper napkins from Rifle Paper Company. Then I pulled away the backing and only used the top ply. After arranging the design into a fun presentation, I applied the lettering and the flowers onto the board with Mod Podge. I didn’t worry if the paper wrinkled a bit, because it almost mimicked a rustic wooden surface.

Once dry, I lightly sanded the entire surface. This not only gave it a slightly distressed look but helped smooth out large wrinkles and camouflage small imperfections.

step 3 – seal with wax
To add a slight shine to the sign, I gave it a coat of white wax.

A few minutes later, I buffed the surface with a dry cloth. The coat of wax softened the design and gave the sign a polished look.

helpful tips
I’m totally digging the final look, but here’s a tip if you decide to try this yourself. If using white computer paper for the lettering, make sure to paint the surface of the sign a matching white. There is a slight color difference between the wood and my lettering, but once sanded and waxed, it is hardly noticeable. Also, be sure to use only 1 ply of a paper napkin, as it will wrinkle less when applying Mod Podge.
The biggest compliment is a little share – please pin the photo below!