
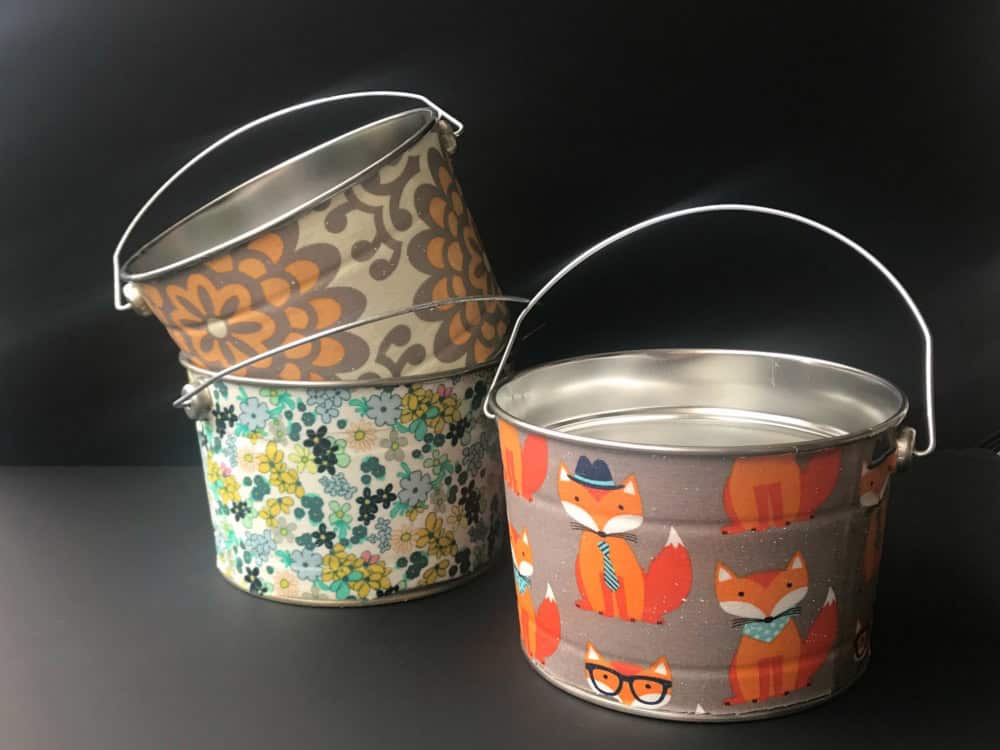
Fabric covered buckets are not a new idea, but they never cease to make me smile. Depending on the whimsy of the textiles and the shape and size of the buckets, the results vary enormously. Think big galvanized tubs for throwing beer on ice at a barbecue. Or mini buckets covered in vintage calicos for a windowsill herb garden. For this project, however, I bought several small paint buckets from Home Depot to use as Easter pails.
(This post may contain affiliate links; as an Amazon associate I earn from qualifying purchases. See disclosure here.)
supplies needed:
- 1/3 yard of 45″ wide cotton fabric (per bucket)
- small tin paint bucket
- Mod Podge
- clear acrylic sealer spray
step 1 – prepare bucket
The first step is to apply a light coat of Mod Podge with a brush to a clean bucket.

step 2 – cover with fabric
Immediately wrap the bucket, before the Mod Podge dries, with a remnant of cotton fabric, smoothing out the wrinkles with your hand. Trim the fabric, leaving an inch or two excess over the edges. Cut a small slit in the fabric on each side where the handles attach. This enables you to smooth out the fabric more evenly.
Once the fabric is in place, apply a top coat of Mod Podge. Don’t worry about applying it too heavily, as it will dry clear.


Finally, trim the fabric closely around the bottom and top rims and around the handle attachments. Let dry completely.
step 3 – seal the bucket
Once dry, spray the bucket with a clear acrylic sealer. And that’s it! Once you get the initial hang of the process, these fabric covered buckets are easy to make.

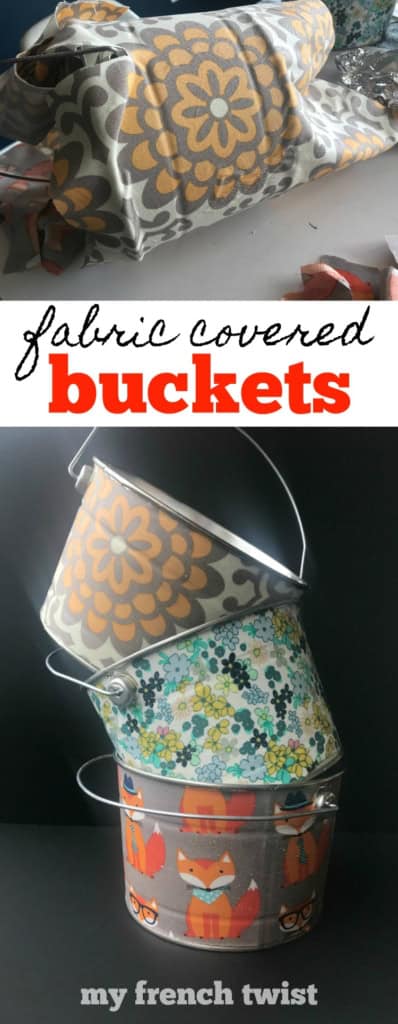
The biggest compliment is a little share – please pin the photo below!

Perfect for Easter baskets!
Don’t forget to join us over at the Creatively Crafty Linky Party every Wednesday through Sunday
https://creativelybeth.com/creative-crafts-linky-party/
Followed and Pinned!
Creatively, Beth
These are such a great idea. This post will be a feature this week. #HomeMattersParty. Thanks for sharing.
Thank you Donna!
Thank you- seems like a winner for using fabric no one knows what to make with
So cute and a beautiful face lift for a plain bucket.
I visited you via The Cottage Market: A MORNING CUP OF JOE 182
My links: 48+49. We will be delighted if you share your blog post links with us at SSPS. Link under BLOGGING
It’s a beautiful arrangement! I’ve used the “twisty trotter” buckets with clay pots previously. It’s a very beautiful statement. I’m sure your front porch is lovely, Art is lovely!
Perfect for spring!
Thanks!
These are adorable and look like something that maybe even non-crafty me could make! xx
These little buckets are so handy and versatile. I have not seen fabric covered buckets before and it gives me so many ideas for organization. Great project.
You say that this isn’t a new idea? It is to me!! And what a marvelous idea it is!
I’m going to feature it at our Party in Your PJs link party tomorrow night. Thanks so much for sharing your awesome idea!
Awe. Thank you!
These buckets are adorable and are being featured on my blog Tuesday evening. Thank you for sharing at Party In Your PJ’s.
These are darling, Wendy! Thanks for sharing at Vintage Charm!
These pails are adorable! Pinning!
Michelle
http://mybijoulifeonline.com
so super cute great idea… thanks for sharing your idea
come see what we shared at http://shopannies.blogspot.com
Wonderful idea! Thank you for the tutorial. Visiting from Artsy Fartsy Party.
Of course, Allyson! Thanks for stopping by.
These are adorable!! I always have trouble finding the perfect Easter bucket without spending a lot of money. This is a great way to personalize it. Love it!!
Thanks Michelle.