
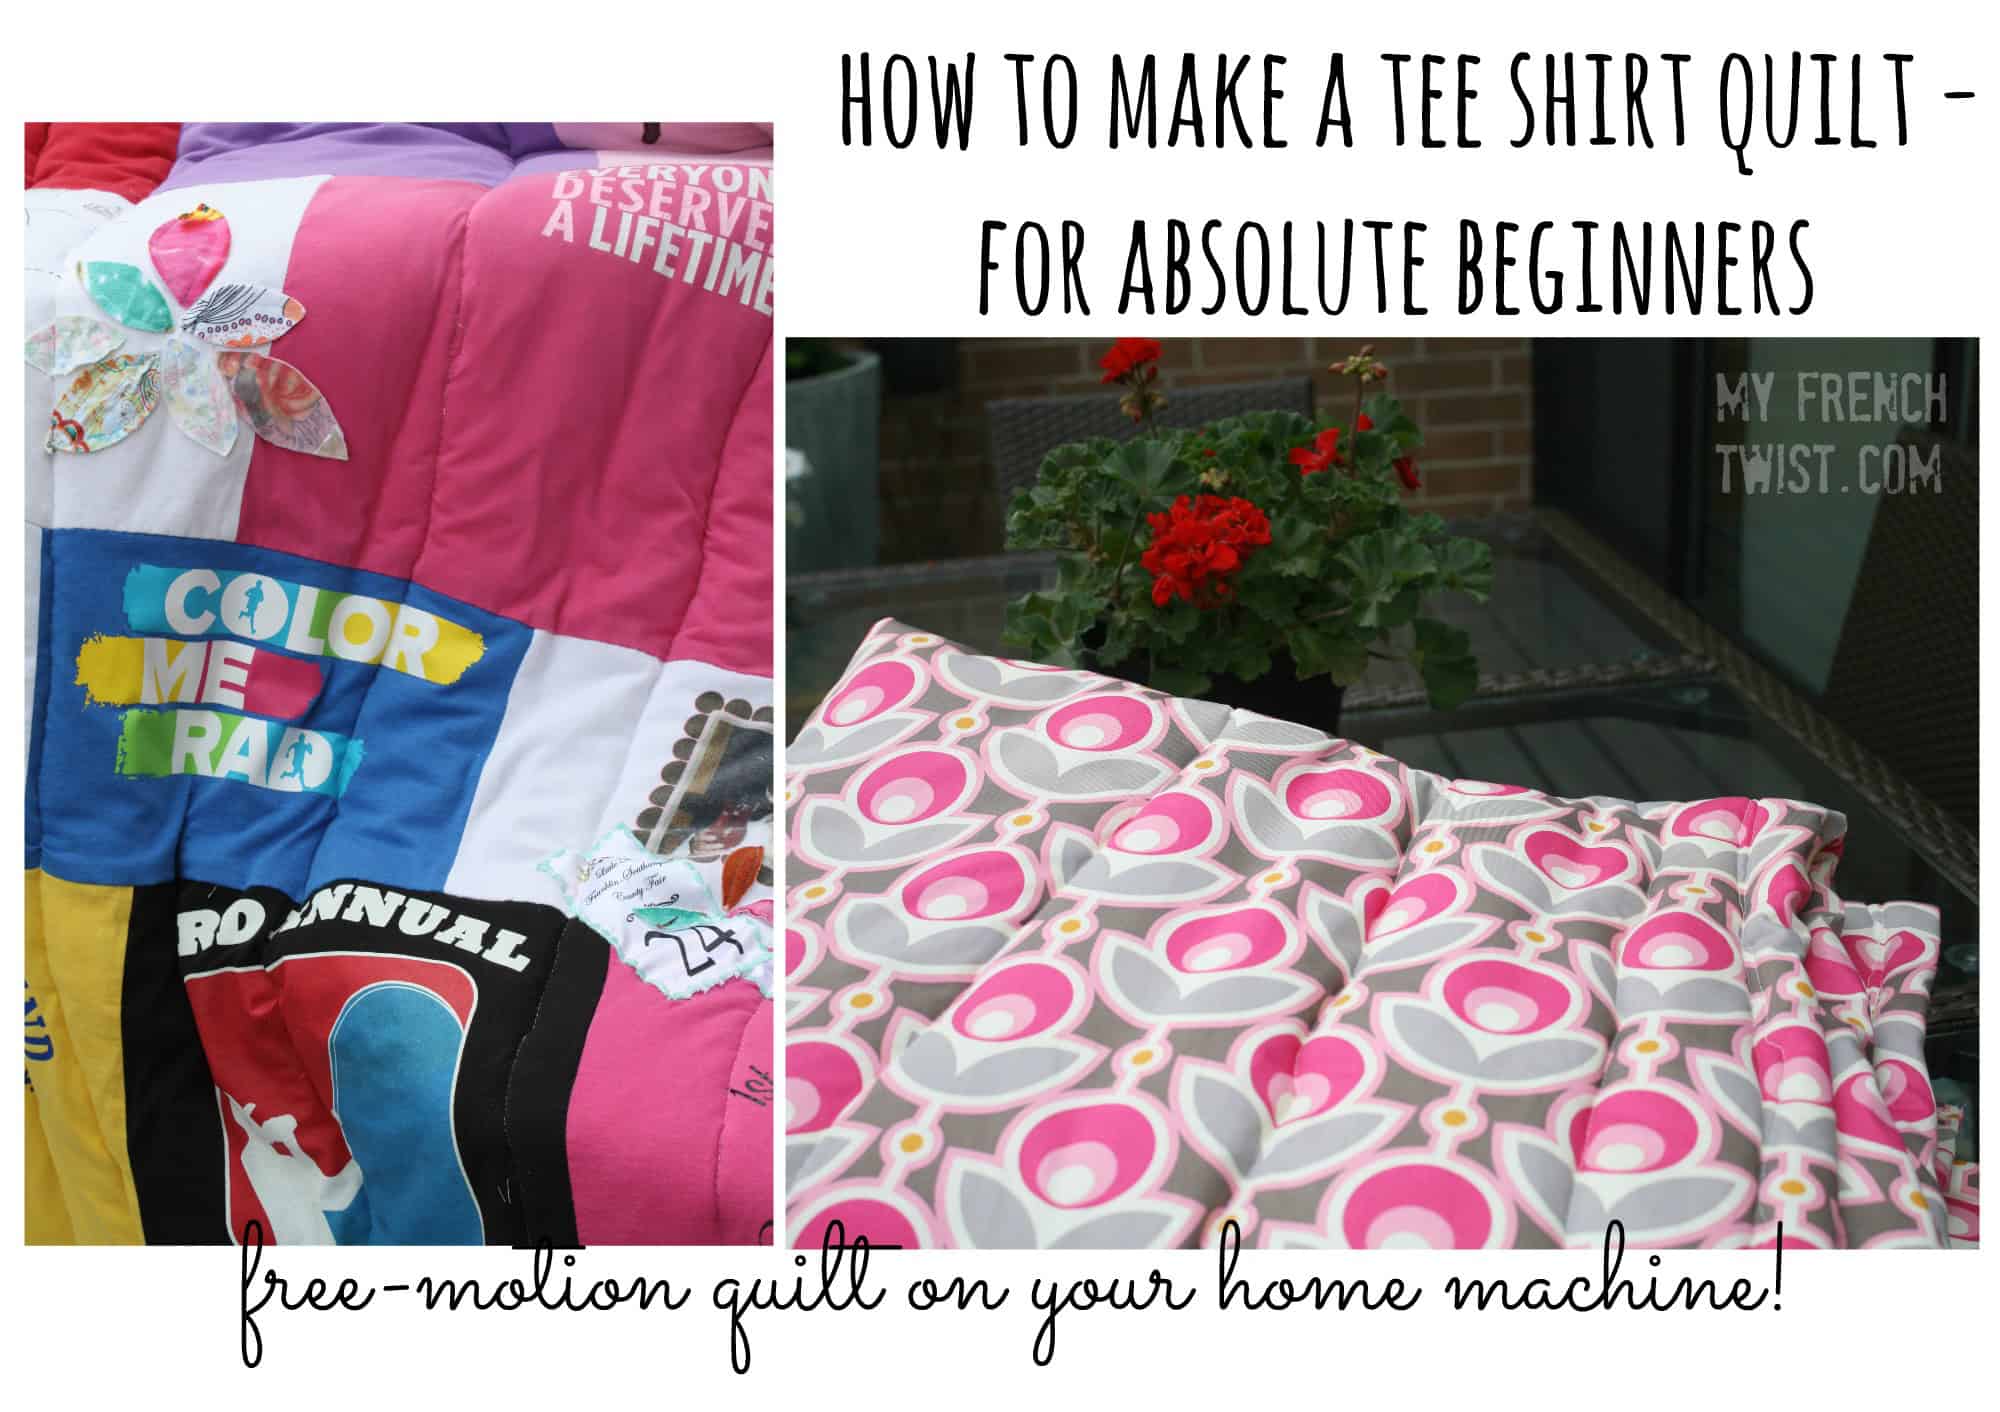

I’ve always wanted to learn quilting and even have plans for one with an abstract Matisse design. But beginners have to start somewhere, so I stepped into the quilting waters slowly – with what else but a labor of love. I made a simple tee shirt quilt for my niece out of her old favorite shirts. It’s graduation season, so this gift is in celebration of her elementary school graduation. Going into middle school is a big deal for a preteen, so why not upgrade her security blanket to a cute, cozy memory quilt!
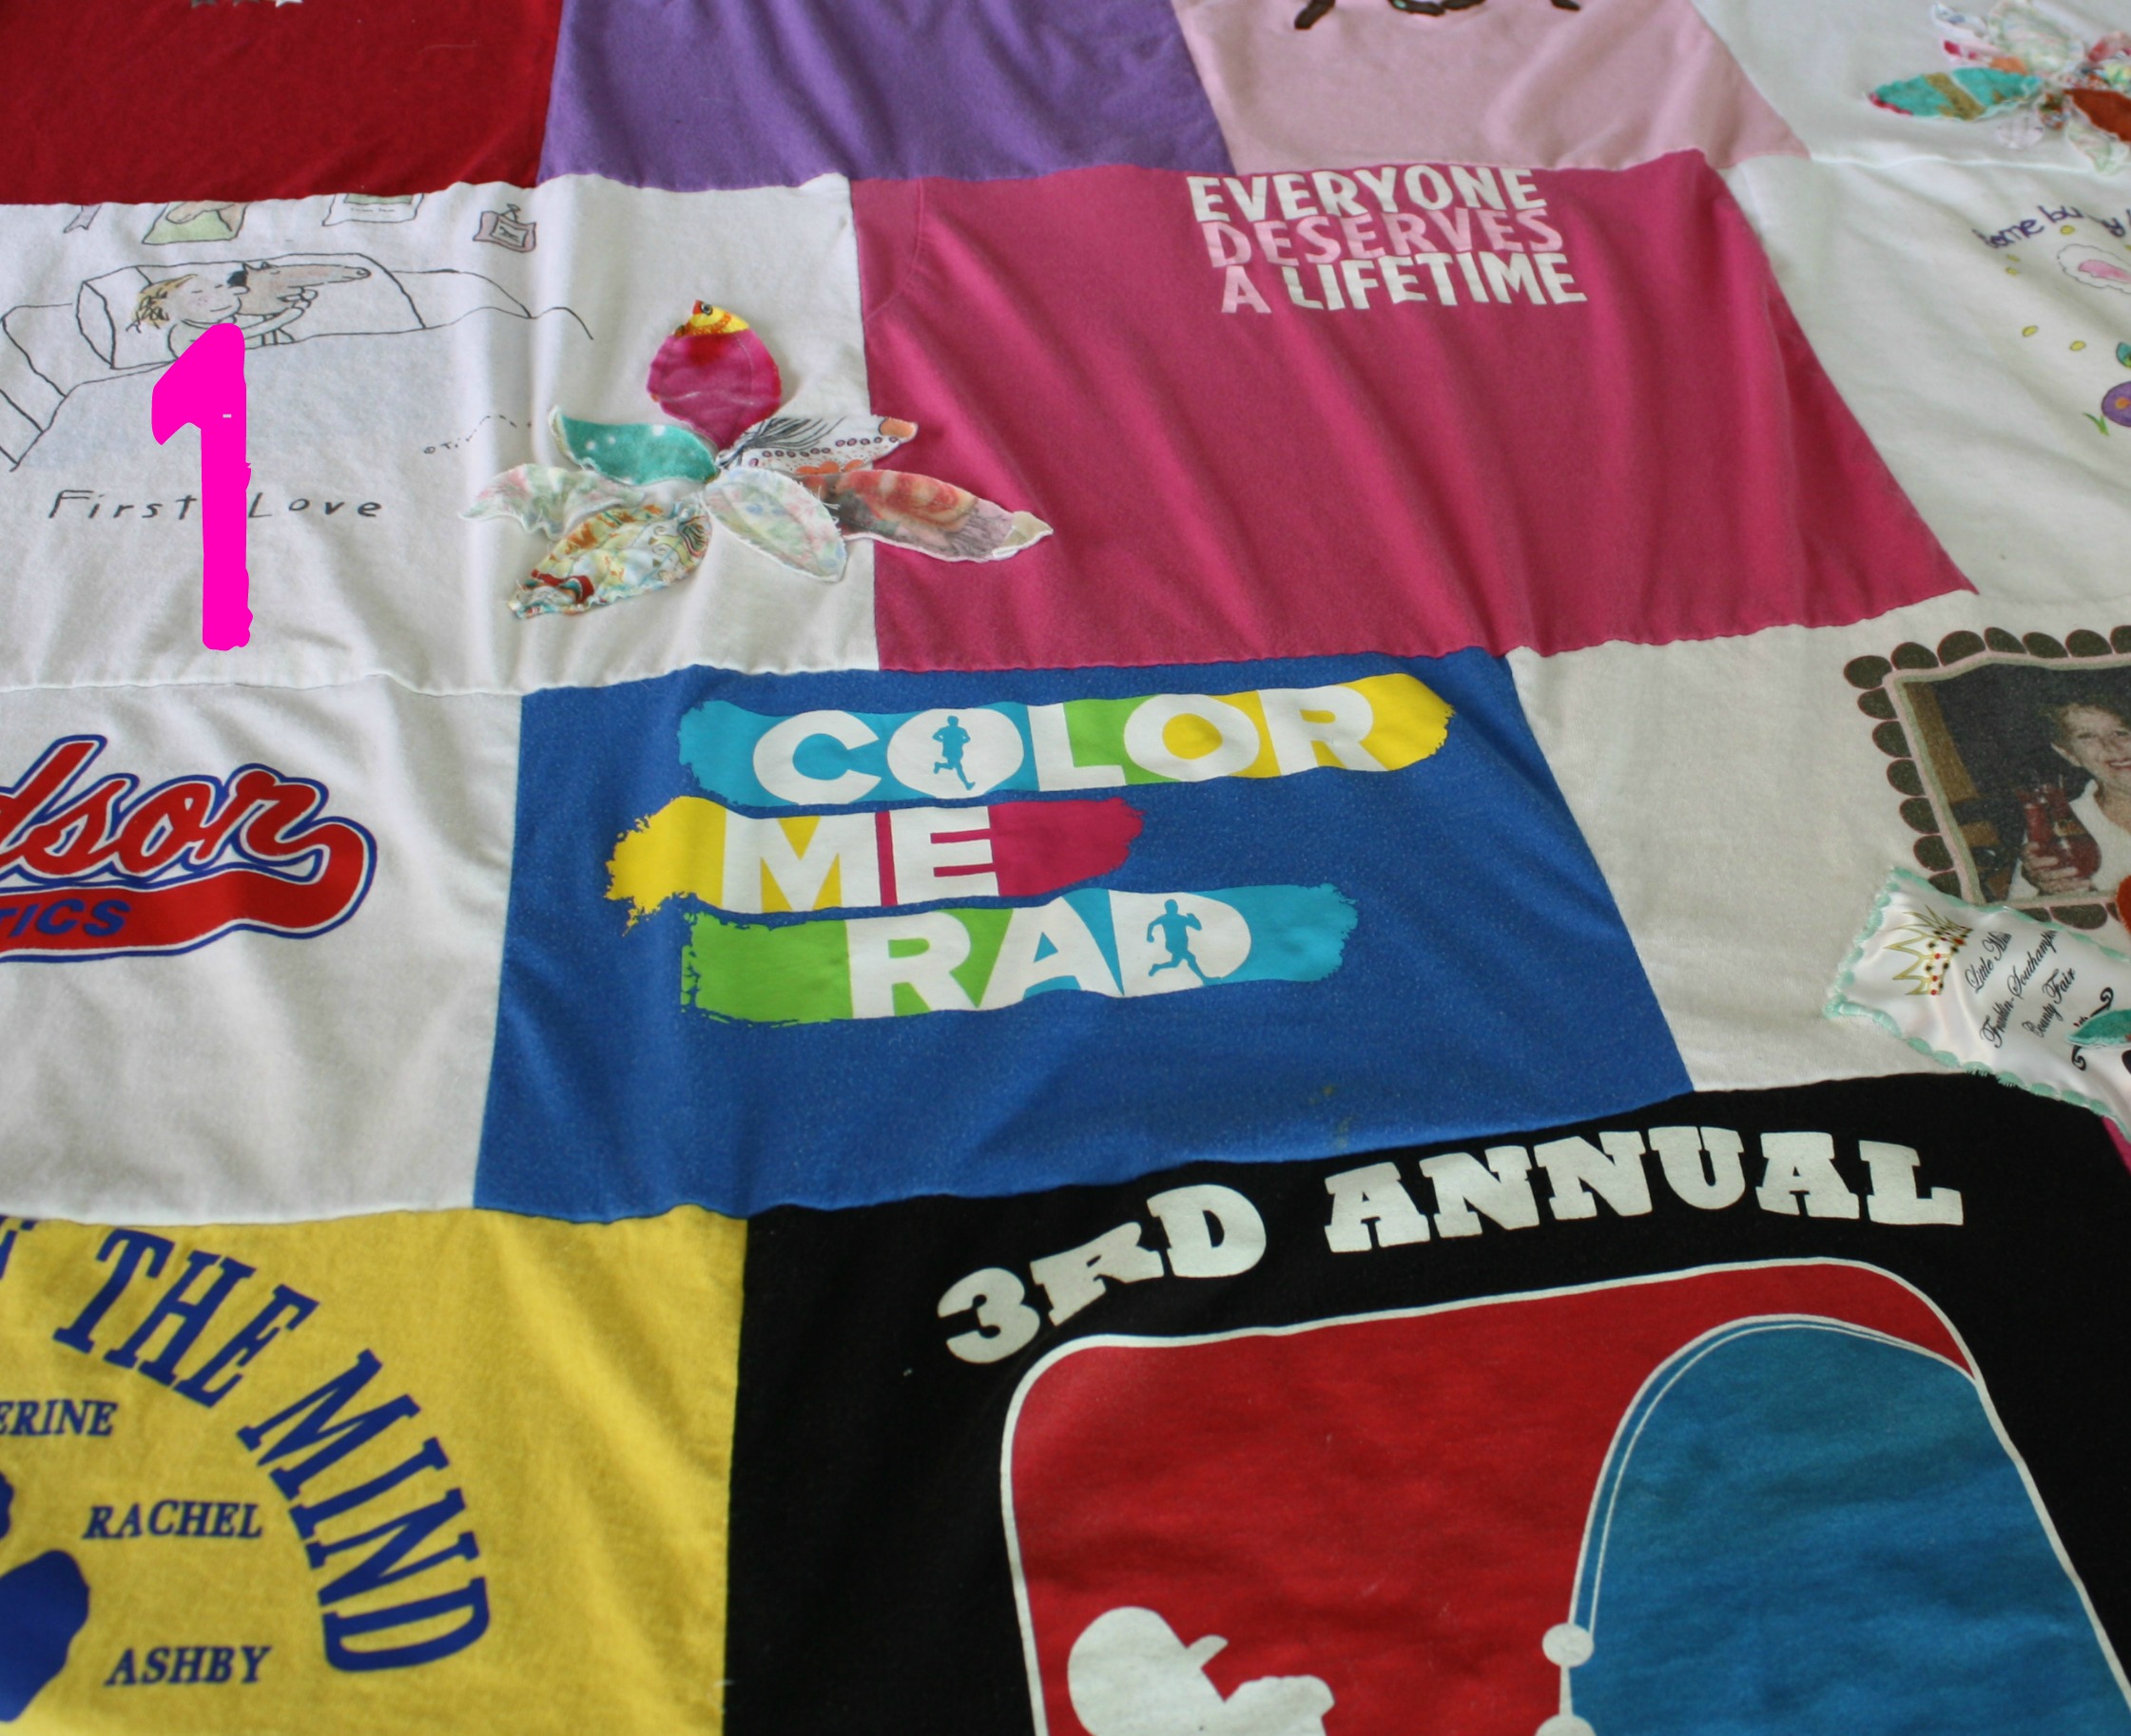
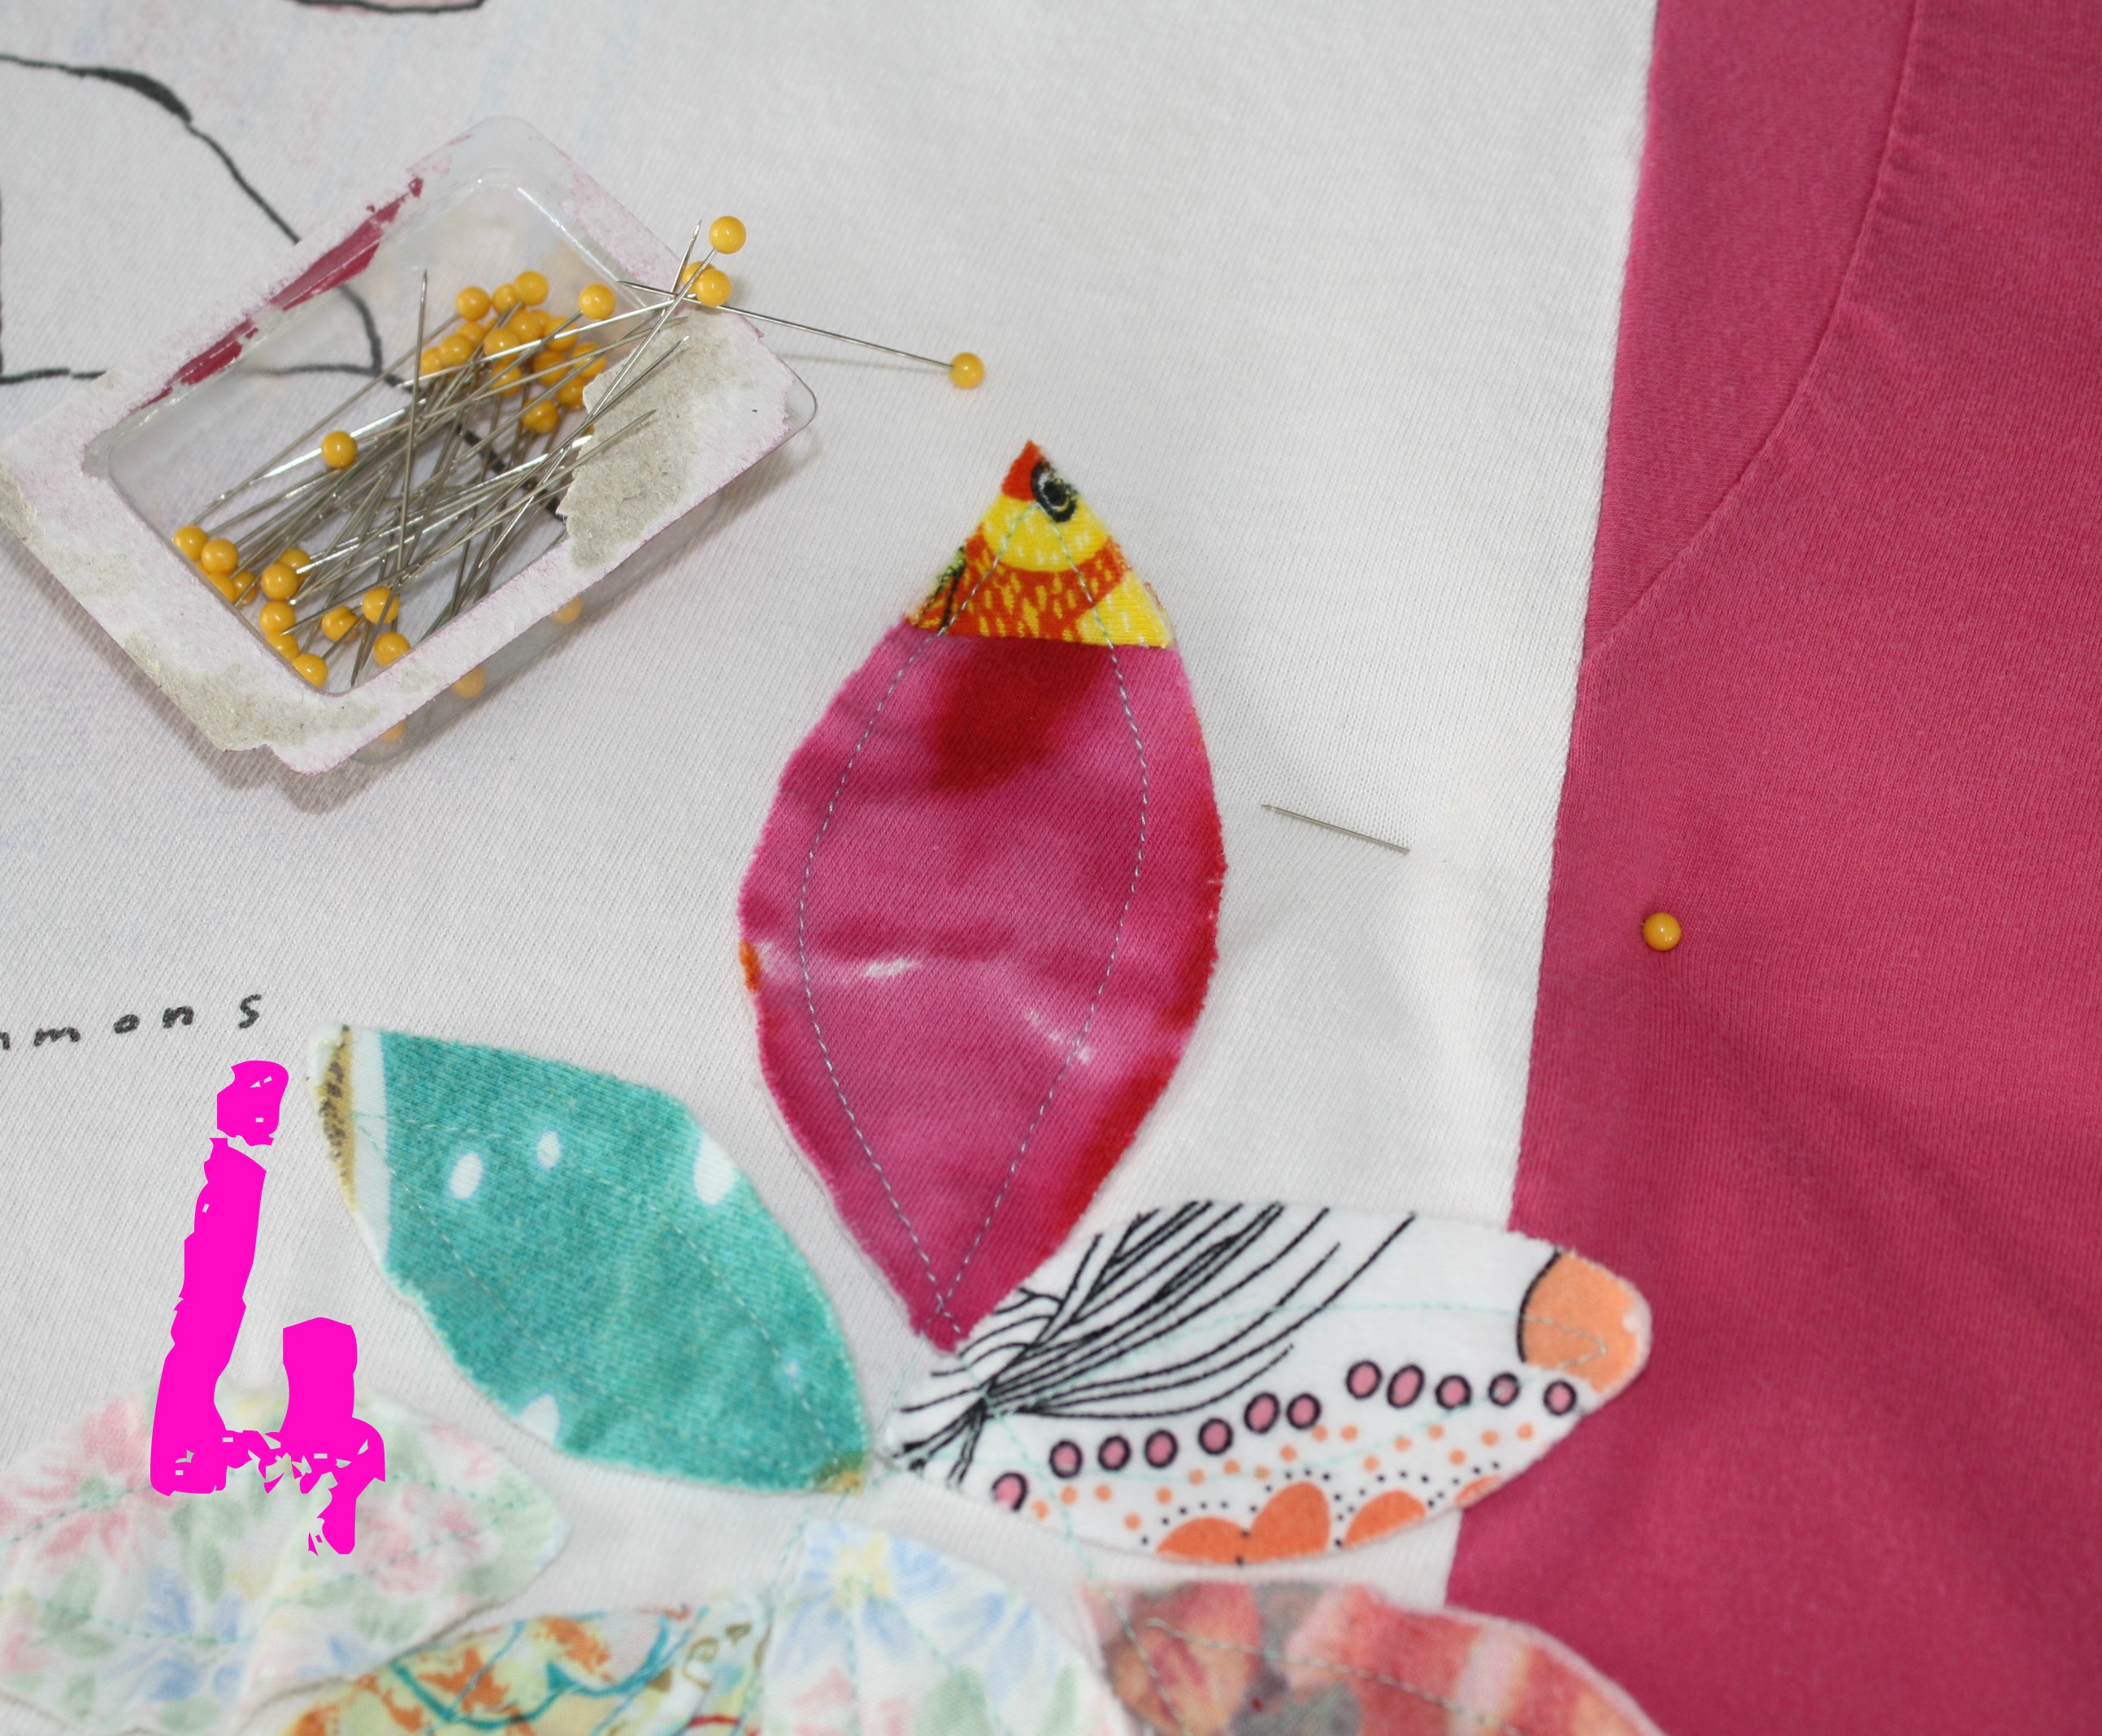
(1) I cut the fronts and backs from each tee shirt, then pieced together the ones I liked most. About 16 shirts equaled a 47″ x 69″ piece. (2) I also stitched on little raw-edge flower petals (the fabric scraps were pieces of her late grandmother’s dresses).

(3) Next, for the batting (stuffing), I decided to use a mattress pad cover that I no longer needed. I cut the elastic edges away then lay it flat on a large table. (4) I lay the tee shirt piece on top, smoothed both pieces out, then pinned them together with quilting pins.
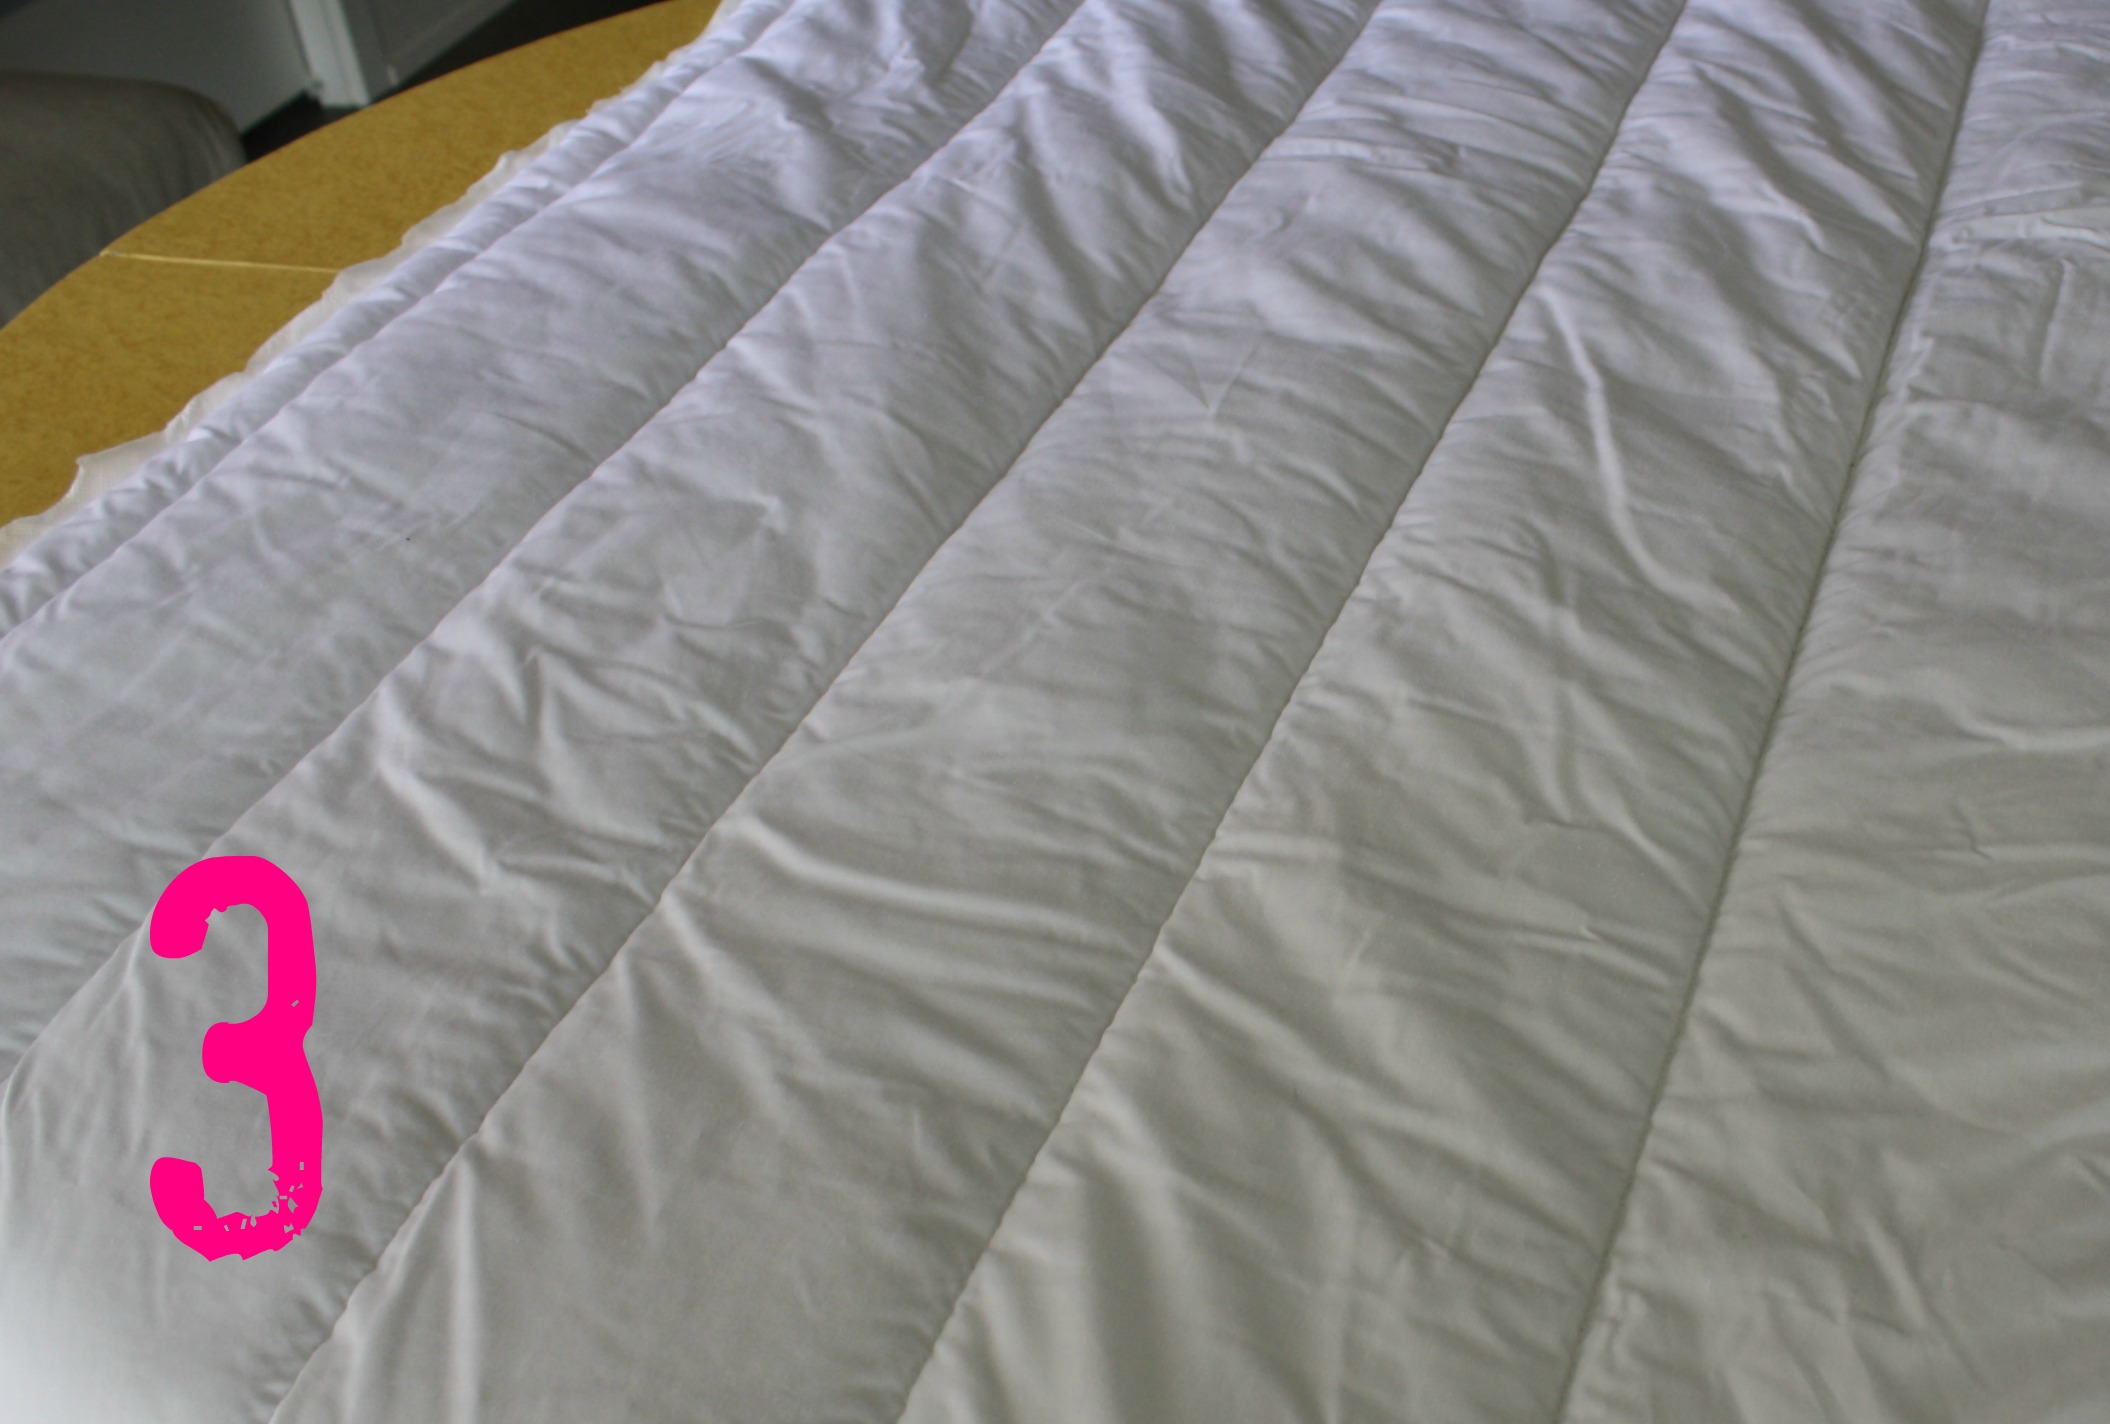
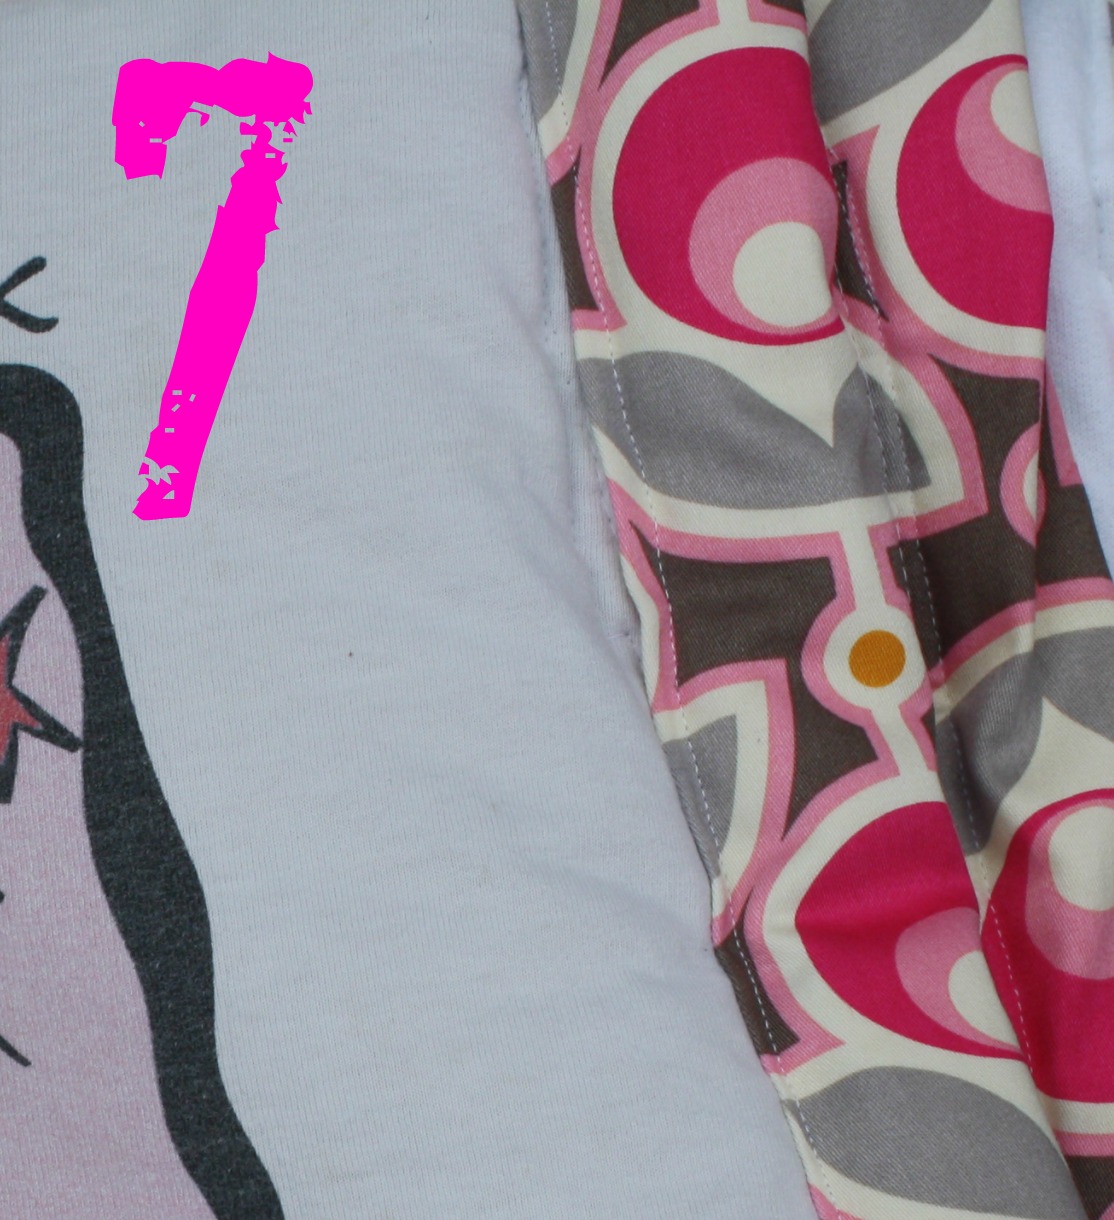
(5) I used home decor fabric for the back of the quilt. I cut a piece about 6 inches larger all around than the quilt front. I lay it underneath the tee shirt/batting piece, so the batting was sandwiched between the back fabric and the tee shirt front. I grabbed some more quilting pins and started pinning, smoothing out the quilt as I went along. (6) Because I used a home sewing machine without any special quilting arm attachments, I changed the presser foot to a darning foot. But be warned, when you use a darning foot, you have to pull the fabric along yourself rather than depend on the feed dogs. When I stopped at intervals, I made sure I manually lowered the needle down into the fabric to secure my place. I then began on one end and made a seam through all the thicknesses. Don’t worry if the seam is not straight. I personally think the wavering and wondering of the seam lines adds to the beauty of free motion quilting. As I did more seams (all roughly 8 inches apart), I rolled the edge of the quilt to fit through my machine.
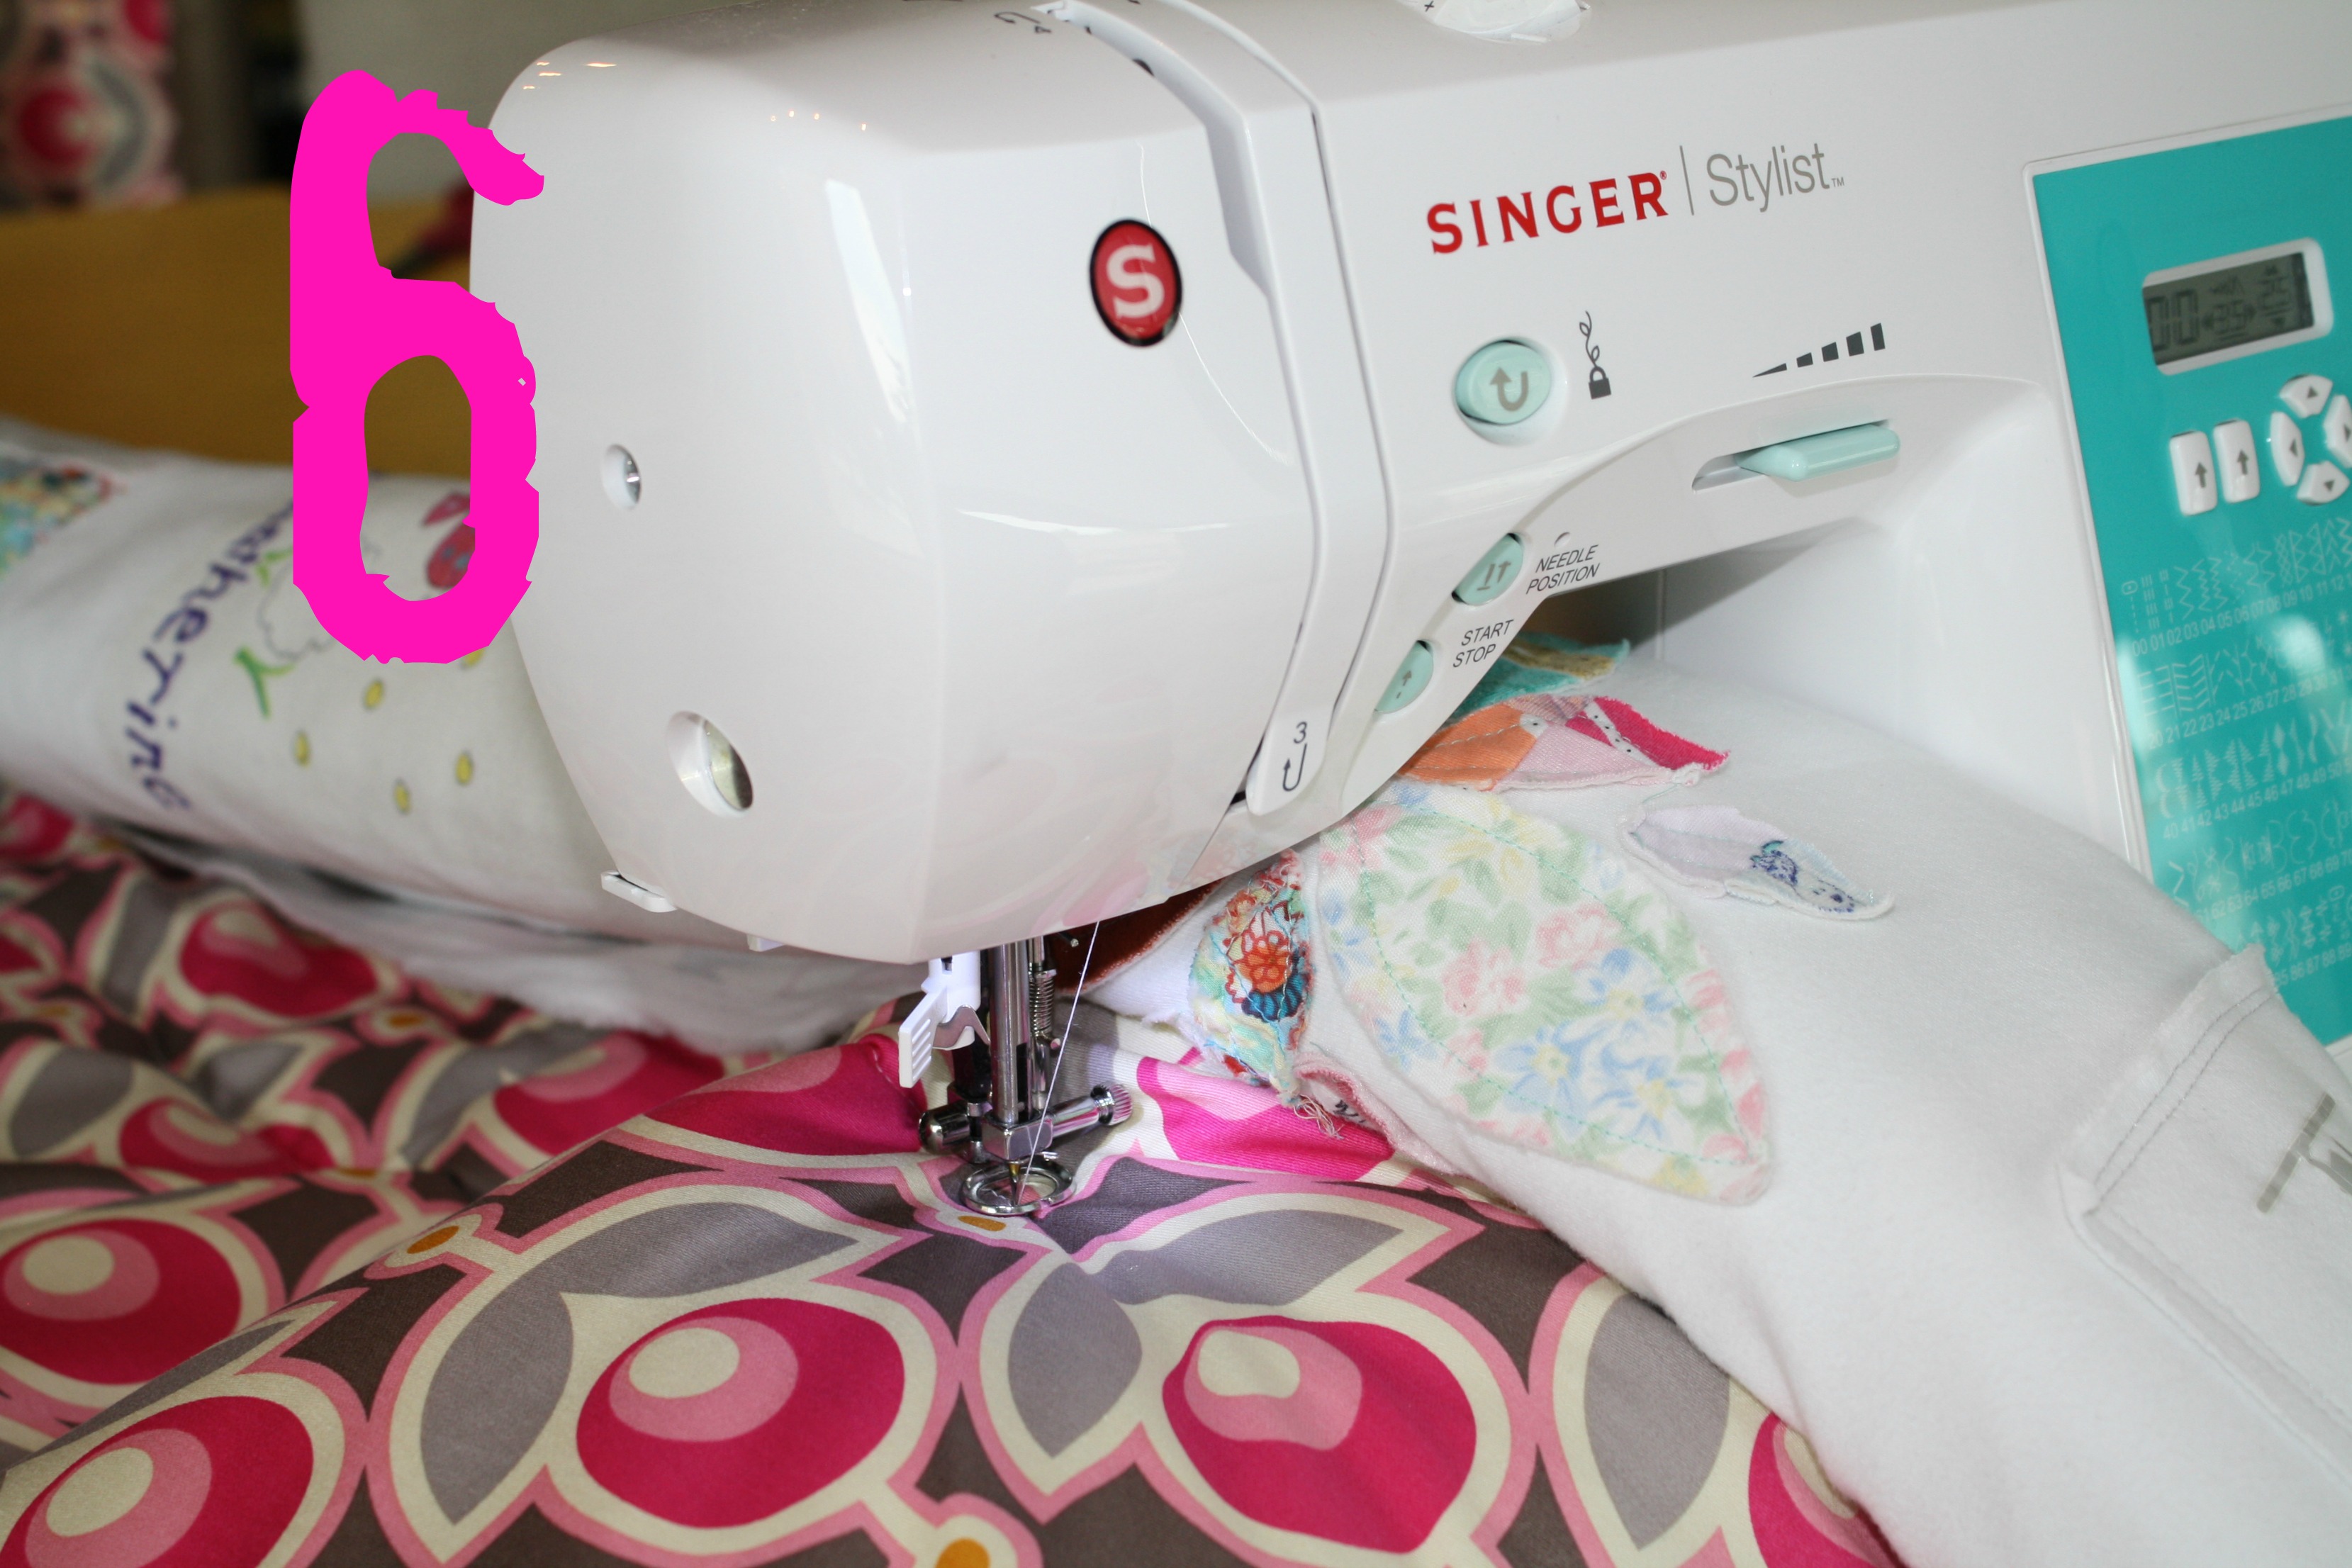
After each seam, I lay the quilt flat and repinned the next seam, so there was no “bunching.” Of course, you can add as many seams as you like, but I kept it simple with just the minimum to keep the pieces together and to give that quilting effect. (7) When the seaming was completed, I trimmed the edges of the tee shirt front piece and the batting, leaving the back piece bigger than the front. Then I folded the back over to the front, creating a small border. I pinned it and stitched it, this time using my regular presser foot.
And now, I’m all done! My first free-motion quilting project! Were my lines straight? No. Were the edges perfectly even? No. But that’s the beauty of free-motion quilting. It can be imperfect and yet still look artsy and beautiful! Is it do-able on a simple home sewing machine? You bet. Will this adorable tee shirt quilt bring a smile to a little girl’s face? I’m banking on it.
Thank you for your informative Article,its very helpful for me.I learned a lot from you.waiting for your next content
.Thank you so much for this blogg.Love You.