Have you ever come across a piece of clothing that just calls your name? Maybe a vintage item from your grandmother’s closet or an incredible find from Goodwill? But it comes with a caveat – it’s not your size. If so, this post if for you. My daughter-in-law Mel has a talent for spotting great finds. Thrifting is her superpower. I thought it would be fun to share her easy formula for how to resize a tank top.
![]()
(Affiliate links included for your convenience. As an Amazon associate I earn from qualifying purchases. See disclosure here.)
supplies needed:
- tape measure, pins, scissors, thread
- sewing machine
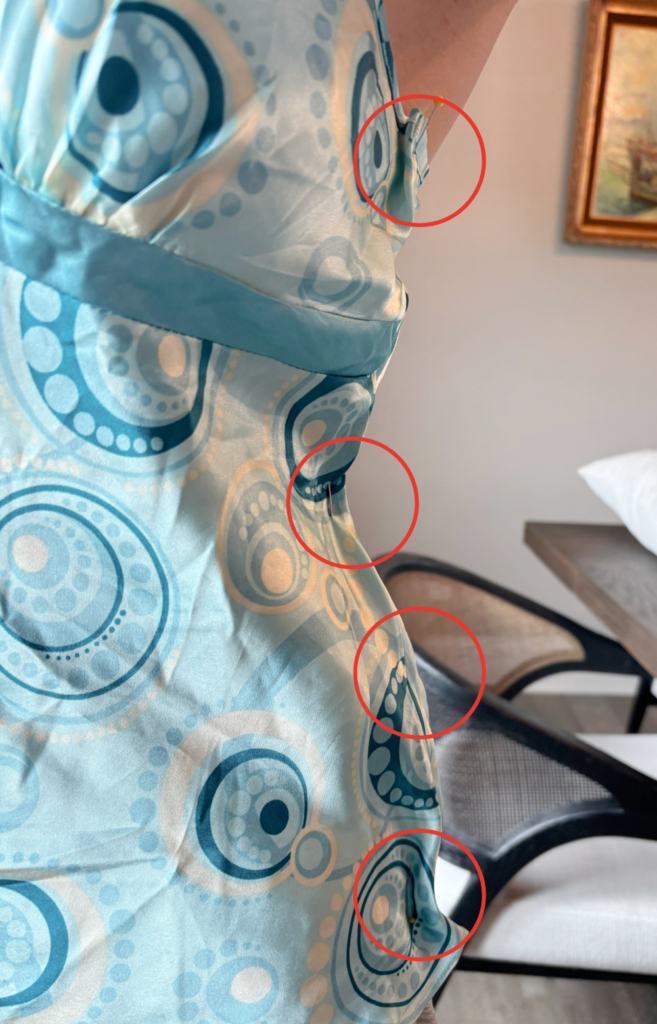
step 1 – pin to fit
It’s no surprise that the first step is to try on the tank top. But wait – PUT IT ON INSIDE OUT. Then have someone pin the sides so the tank fits snugly. This way, you won’t need to remove the pins when you take it off. Just measure how much needs to be taken in (this amount is called the seam allowance.) Then check and adjust all the pins so the seam allowance is even from top to bottom.
![]()
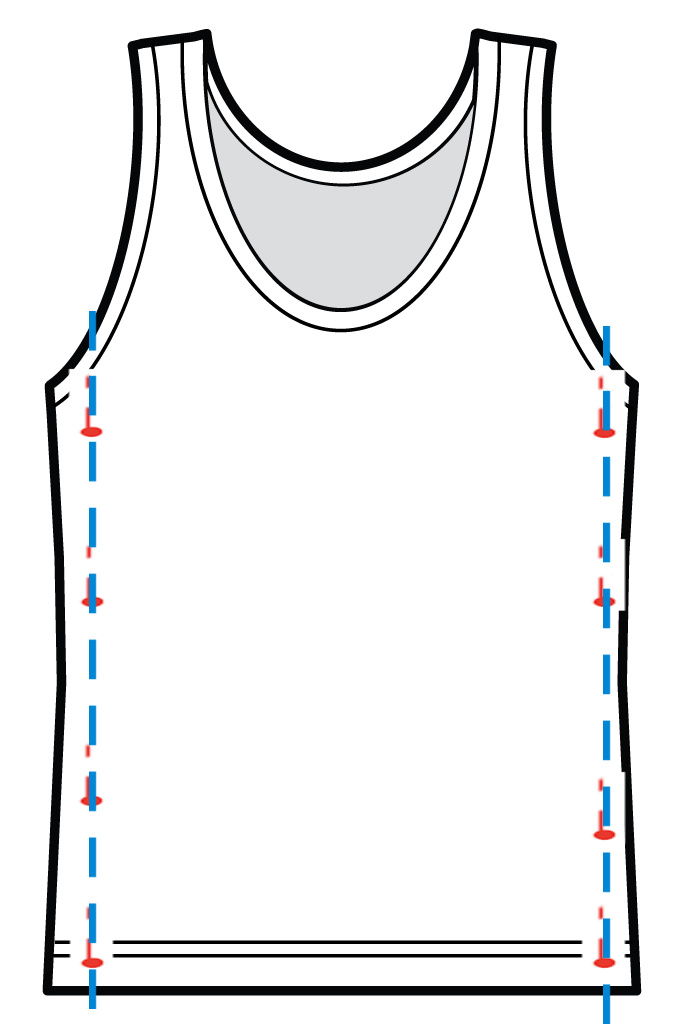
step 2 – stitch side seams
Now that the sides have been pinned, keep the top INSIDE OUT and machine stitch the seams along the path of the pins (see photo below with stitch lines shown in blue).
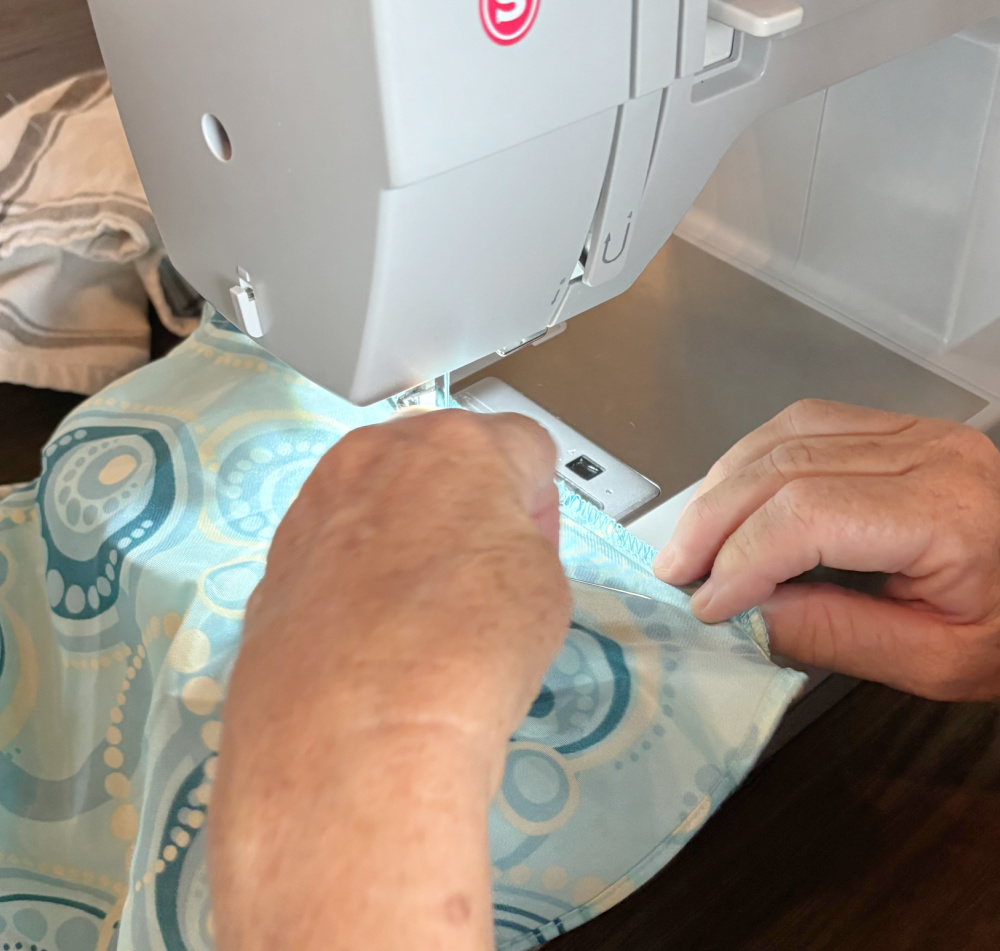
Lastly, trim seams and press garment.
![]()
![]()
The biggest compliment is a little share – pin the photo below!
![]()

Great tutorial! Thanks for joining in on Home Matters Linky Party! I will be featuring your post this week! #HomeMattersParty xx
Thank you for linking to SSPS 370 and sharing your tips for resizing a top. See you again Monday