
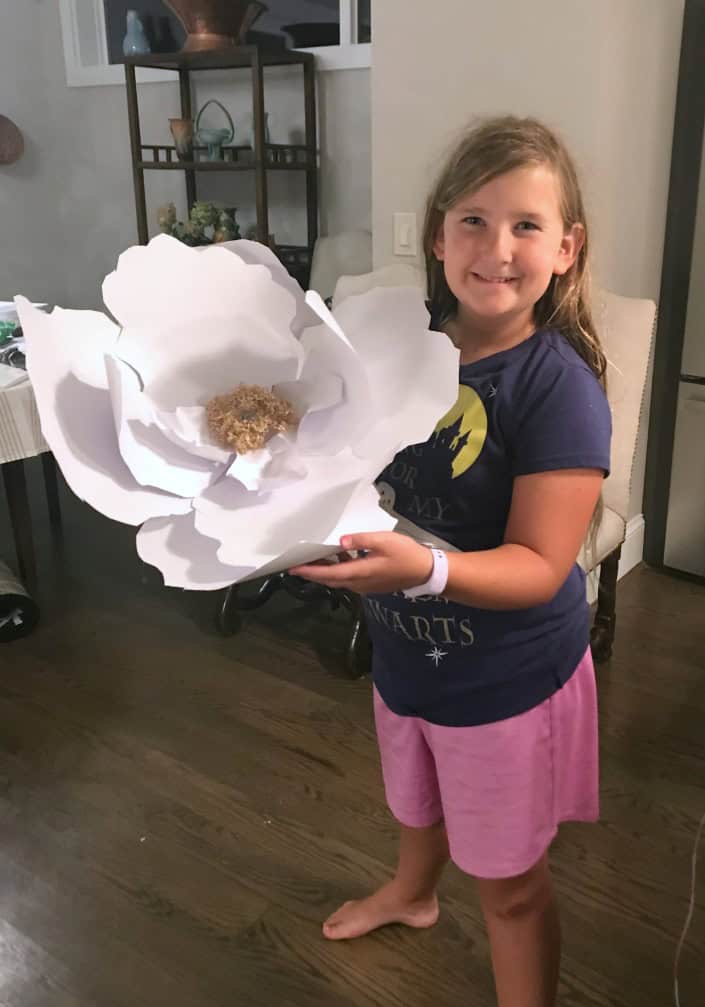
What surprised me most when making these giant paper flowers was not how sturdy they felt or how stunning they looked but how EASY they were to make. Of course, once you learn the basic construction, you can become more adventurous and end up with some truly mind-blowing creations. But even in their simplest form, they are lovely. I taught my friend’s 11-year-old daughter to make them and was amazed at how easily she learned the task. In fact, she rocked it.
(Affiliate links included for your convenience. As an Amazon associate I earn from qualifying purchases. See disclosure here.)
supplies needed:
- 12 x 12 white cardstock paper, 100 lb – (50 sheets)
- hot glue gun & scissors
- dried hydrangea blooms for flower centers
step 1 – making the petals
First cut 3-4 petals from the cardstock. Use one full sheet of 12 x 12 paper for each petal. Just make a flowing, curvy petal with a slight stem. Remember, there’s no right or wrong design. Nature is filled with imperfections, and often those are her most beautiful offerings.

Curl – Once the petals are cut, curl some of their edges, using a small cylinder shaped object. I used a small copper pipe, but even a broomstick will work.

Cut & glue – Next, cut a 2-3 inch slit in the base of each petal. Apply hot glue to one side of the base, then gently pull the other side over it. This adds dimension. For the first layer of petals, I usually do this to only two of the four petals. For the subsequent layers, I do this for all petals.


Assemble – Once the petals are cut, curled and shaped, glue the bases on top of each other, as shown below.

step 2 – layering the petals
Using 3 more sheets of paper, cut out 3 more large petals. Using the same process as in step 1, curl and shape them. Then glue them on top of the first layer.

Repeat this process for a third layer of petals, but this time cut the petals just a bit smaller then the largest ones. I like to curl the layers closest to the center more tightly than the base layers.

step 3 – adorn the center
The options for adorning the center of the flower are endless. But to keep it easy, I picked some hydrangea blooms from my yard, let them dry out, then glued a small piece to the center of the paper flower. I especially like the color contrast between the white petals and the sepia colored bloom.

final notes –
I have found the formula for the prettiest flowers is the following:
- create a base layer of 4 large petals
- second layer of 3 large petals
- third layer of 3 smaller petals
- fourth layer of 3 even smaller petals (cut 2 petals from 1 sheet of paper)
- glue a dried blossom to the center
There are so many ways these lovely giant flowers can be used. I’m hosting a double wedding in my home this weekend, so I displayed them on my front door. To attach them, I simply used these picture hanging strips. (And yes, you read that correctly. Because a social distancing wedding in 90 degree weather didn’t seem very adventurous, we decided to make it a double! More to share on that in upcoming posts.)

The biggest compliment is a little share – pin the photo below!


Absolutely gorgeous! I want to try with my daughter! She is so Artsy & will love it!❤Thank you
These are surprisingly easy to make!
I love this idea! Your brides had to have loved how these looked on your front door for the double wedding.
Oh, Wendy!!! How lovely! I am sooo glad you all had the weddings at your home despite the stupid virus… It’s impossible to put everything in life on hold forever; our ancestors surely didn’t! Looking forward to reading this post later this evening. But, I am happy to feature this post tonight at Share Your Style #265, thank you. <3 I hope it was okay to share your granddaughter (I am assuming) as their was another blogger who shared hers. The two girls look cute following each other in the SYS post. <3
Congratulations to the happy couples!!
Hugs,
Barb 🙂
Thanks so much Barbara!
Your flowers are beautiful, Wendy! Thank you for sharing at Party In Your PJ’s, you are being featured on my blog Tuesday evening.
Thank you Ann!
Ok, those are simply amazing! AMAZING I would love for you to share this at the TFT link party at my blog. Pinned!
Thank you and I will!
I love this project. Excited to try it! Thanks for sharing.
Glad you liked it!