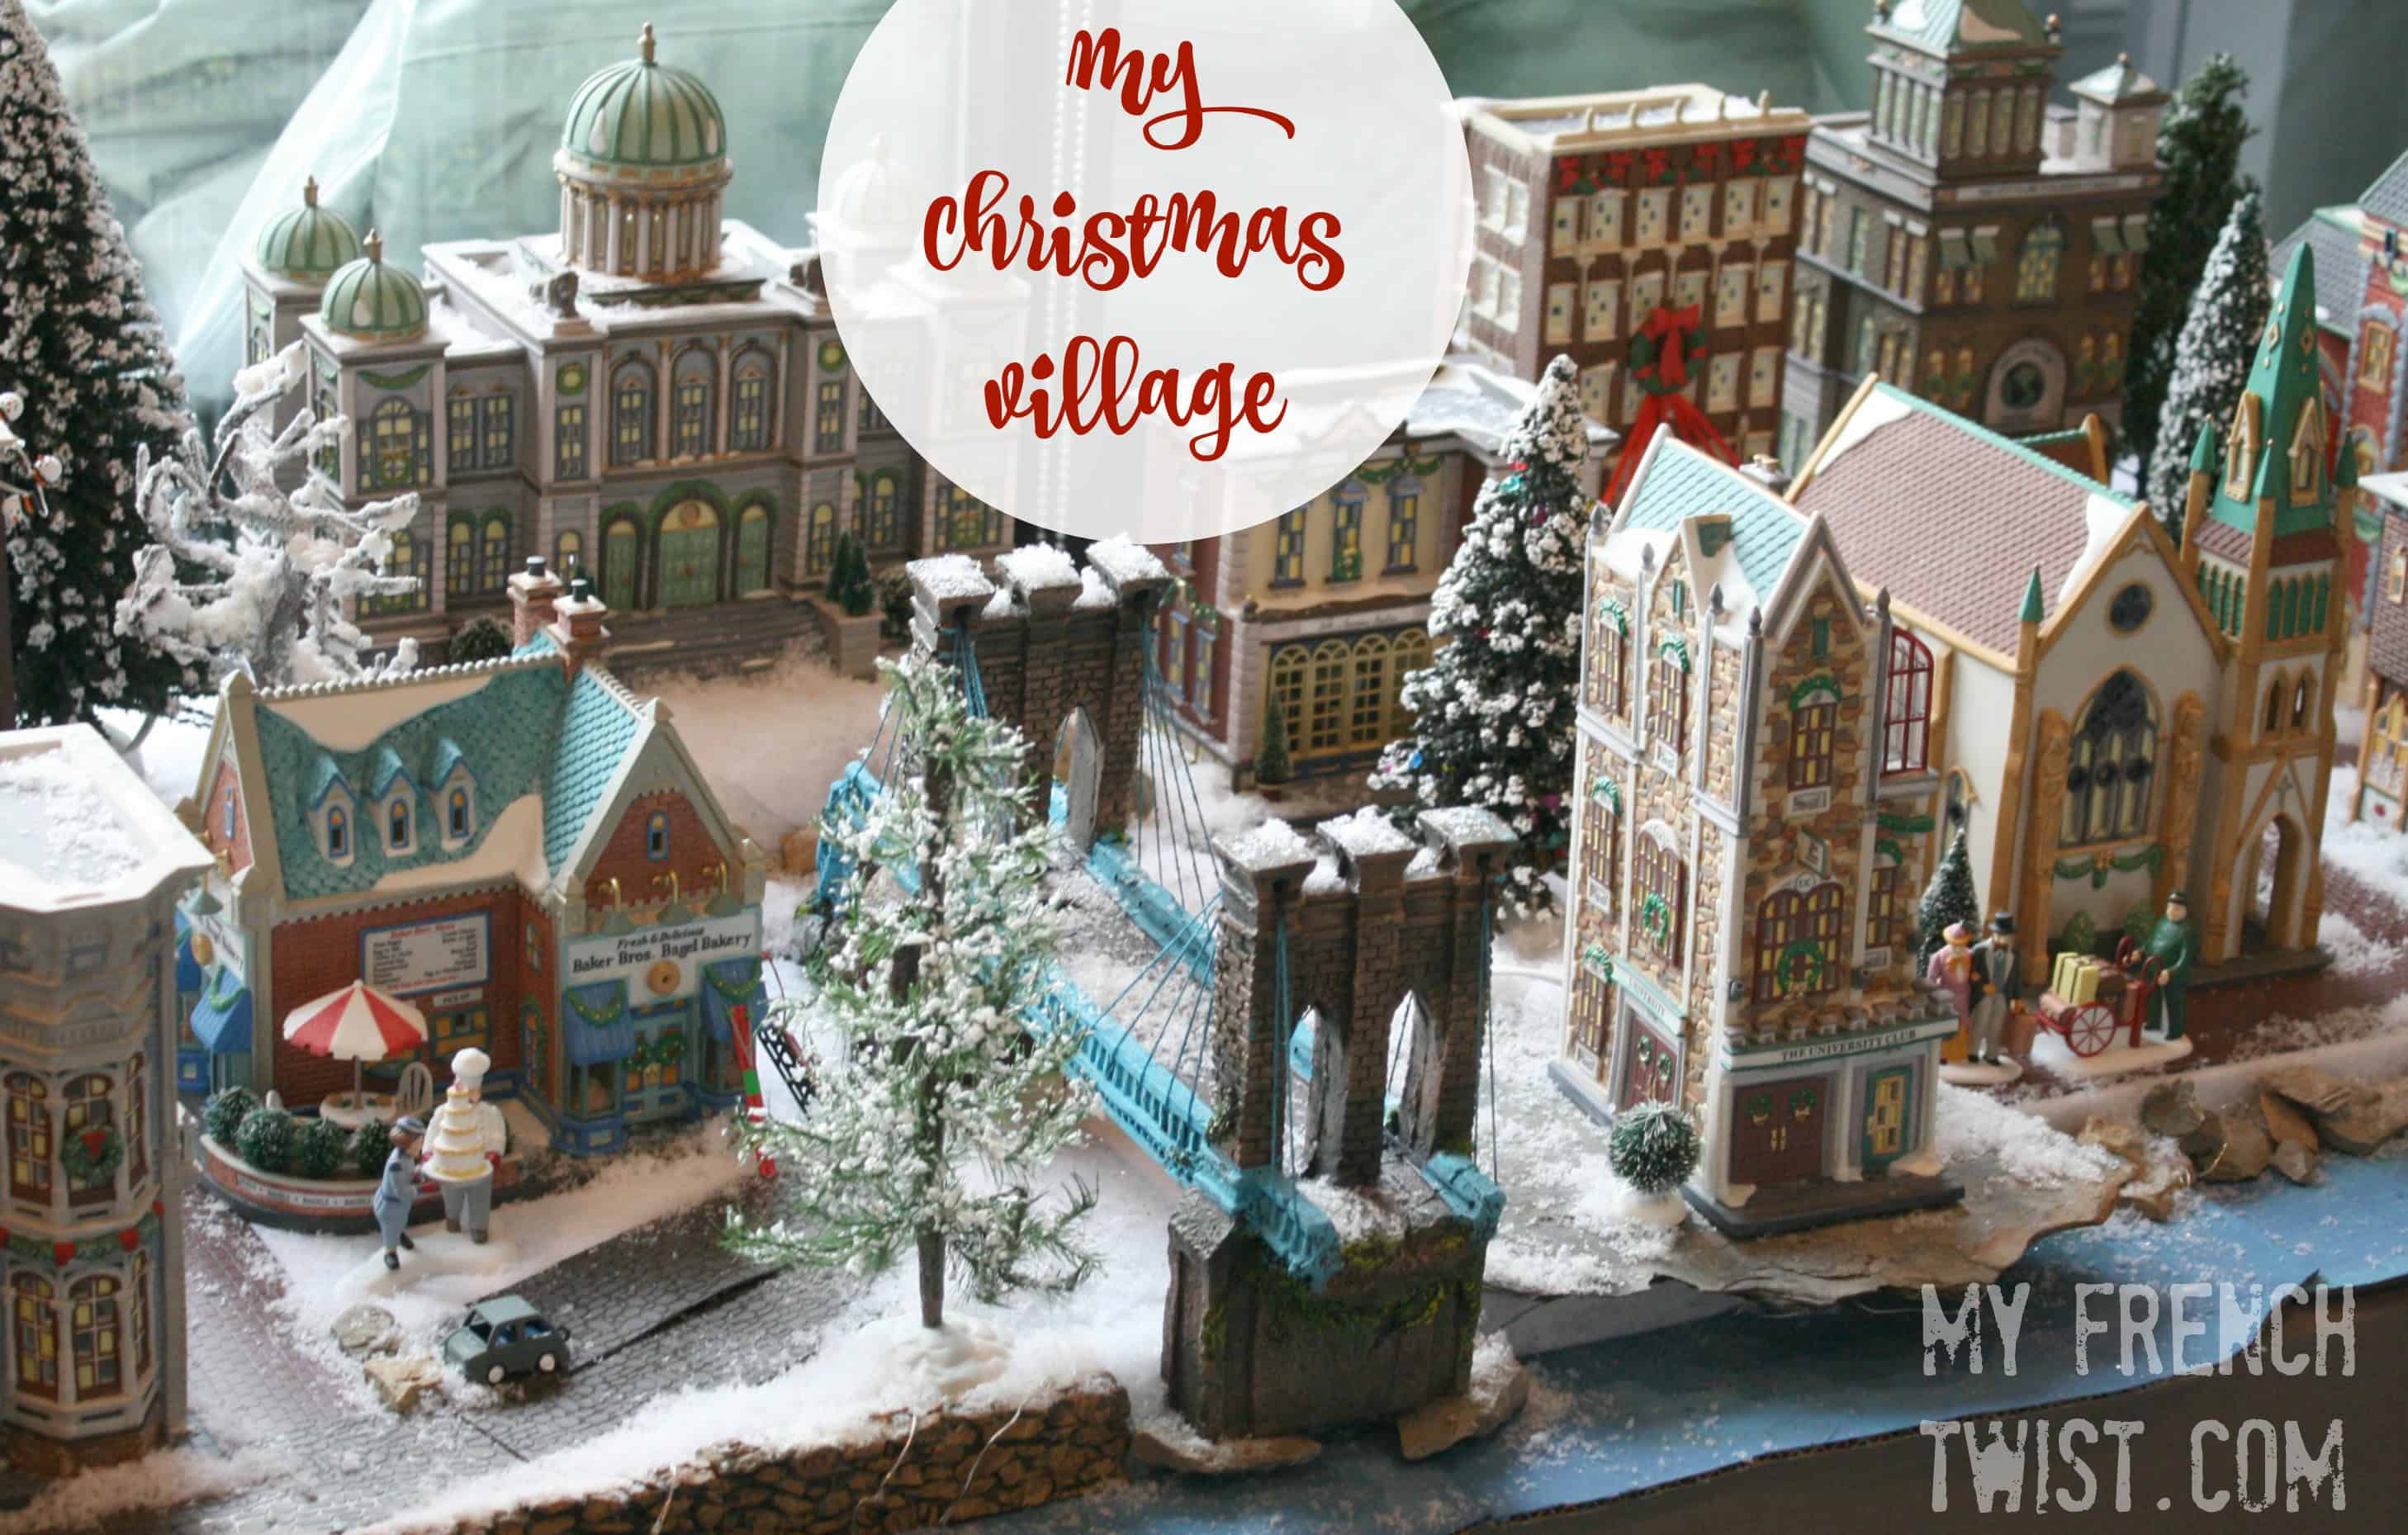
Setting up a realistic Christmas village takes time, but I’ve finally finished assembling my Department 56 village, the Christmas in the City series. But this year I decided to put a twist on it. Since we recently downsized to an urban condo, I built a representation of my new digs – the city of Covington, Kentucky. In case you don’t know, it’s a suburb of Cincinnati (a stone’s throw across the river) but it does fall below the Mason Dixon line. For a southern gal, that makes me happy (no harsh emails, please.) I just love my roots (unless we’re talking hair, of course.)
Covington has a charming little historic section, a breathtaking view of Cincinnati’s skyline, and of course all the diversity you’d expect in a metropolitan area. And I have to admit, I love it. I have such a heart for the people here, those in chic high-rise condos as well as those frequenting our homeless shelters this winter. I love them all. I learn from them all. It’s my city, and I wanted to represent it with my beautiful ceramic buildings and tiny cobblestone streets. And finally, it’s completed. My Christmas in the City, or rather Christmas in Covington.
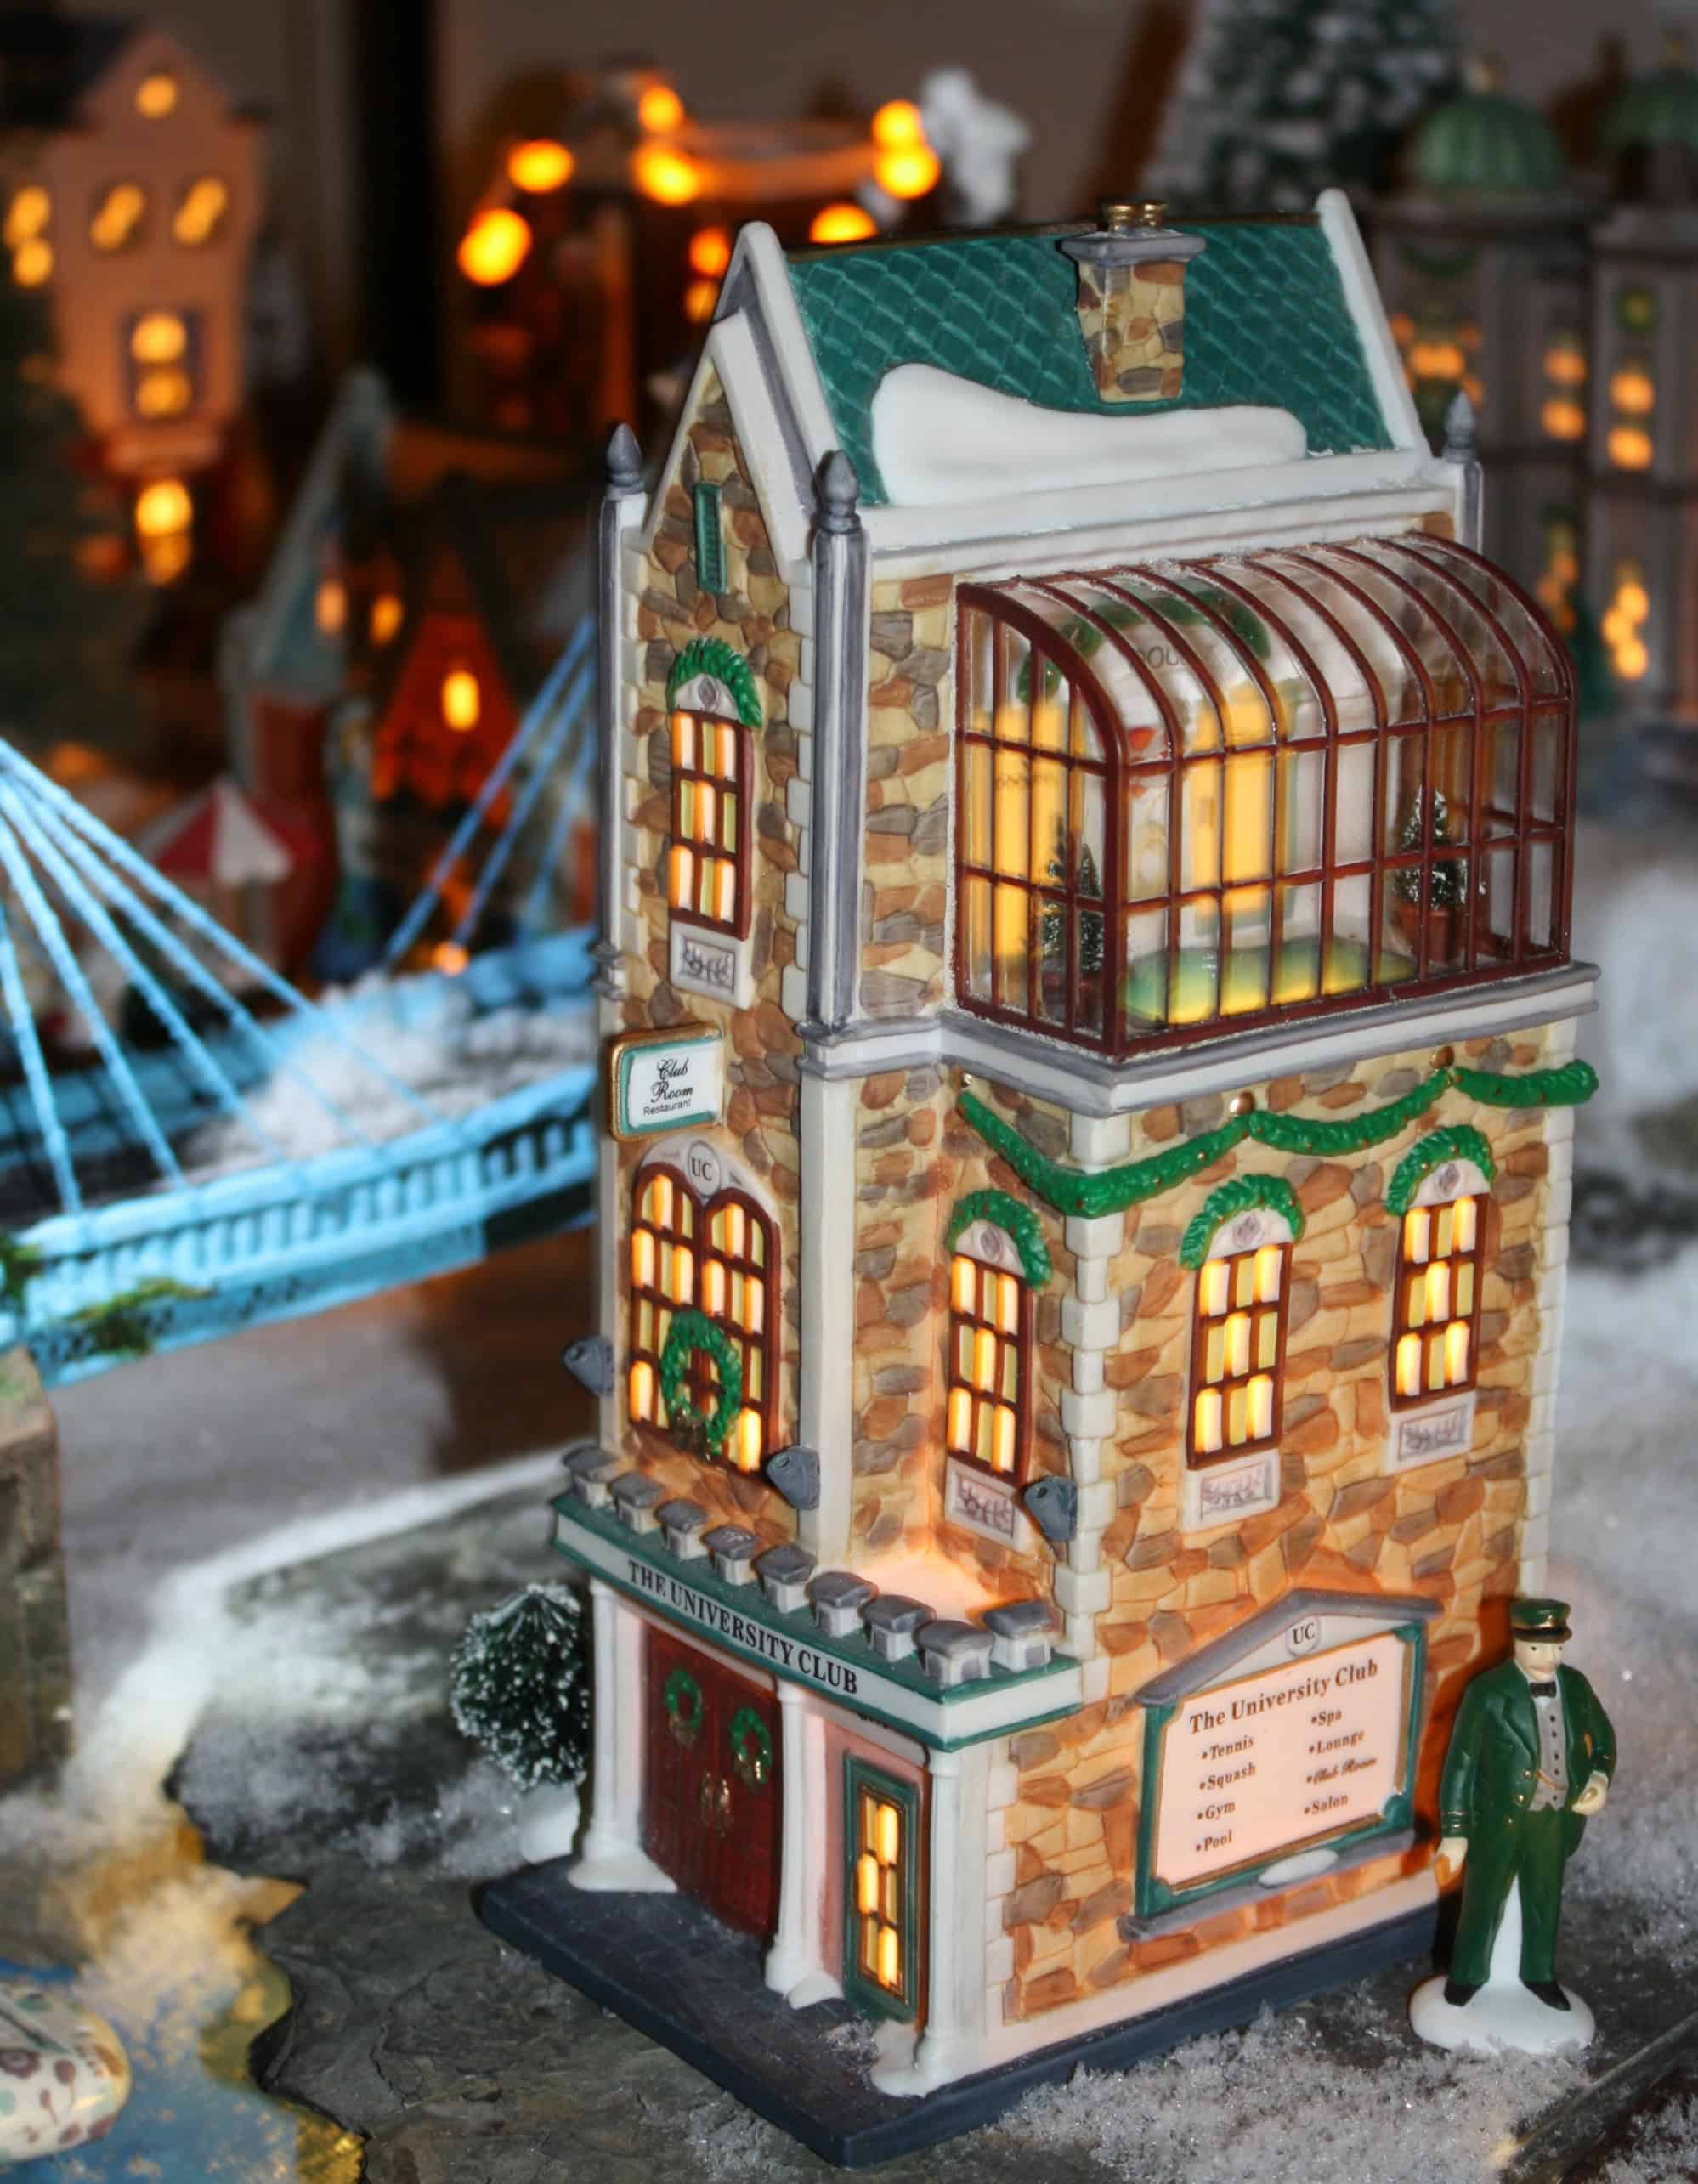
The planning phase of my christmas village was much more tedious than actually assembling it. My impulse was lay the streets out in a grid and place the buildings accurately along the sides. However, striving for such a realistic portrayal of Covington resulted in many of the storefronts facing to the side or back of the village. So I decided instead to give a looser representation, with all the buildings facing forwards. Their detailed artistry is just too sweet not to be showcased.
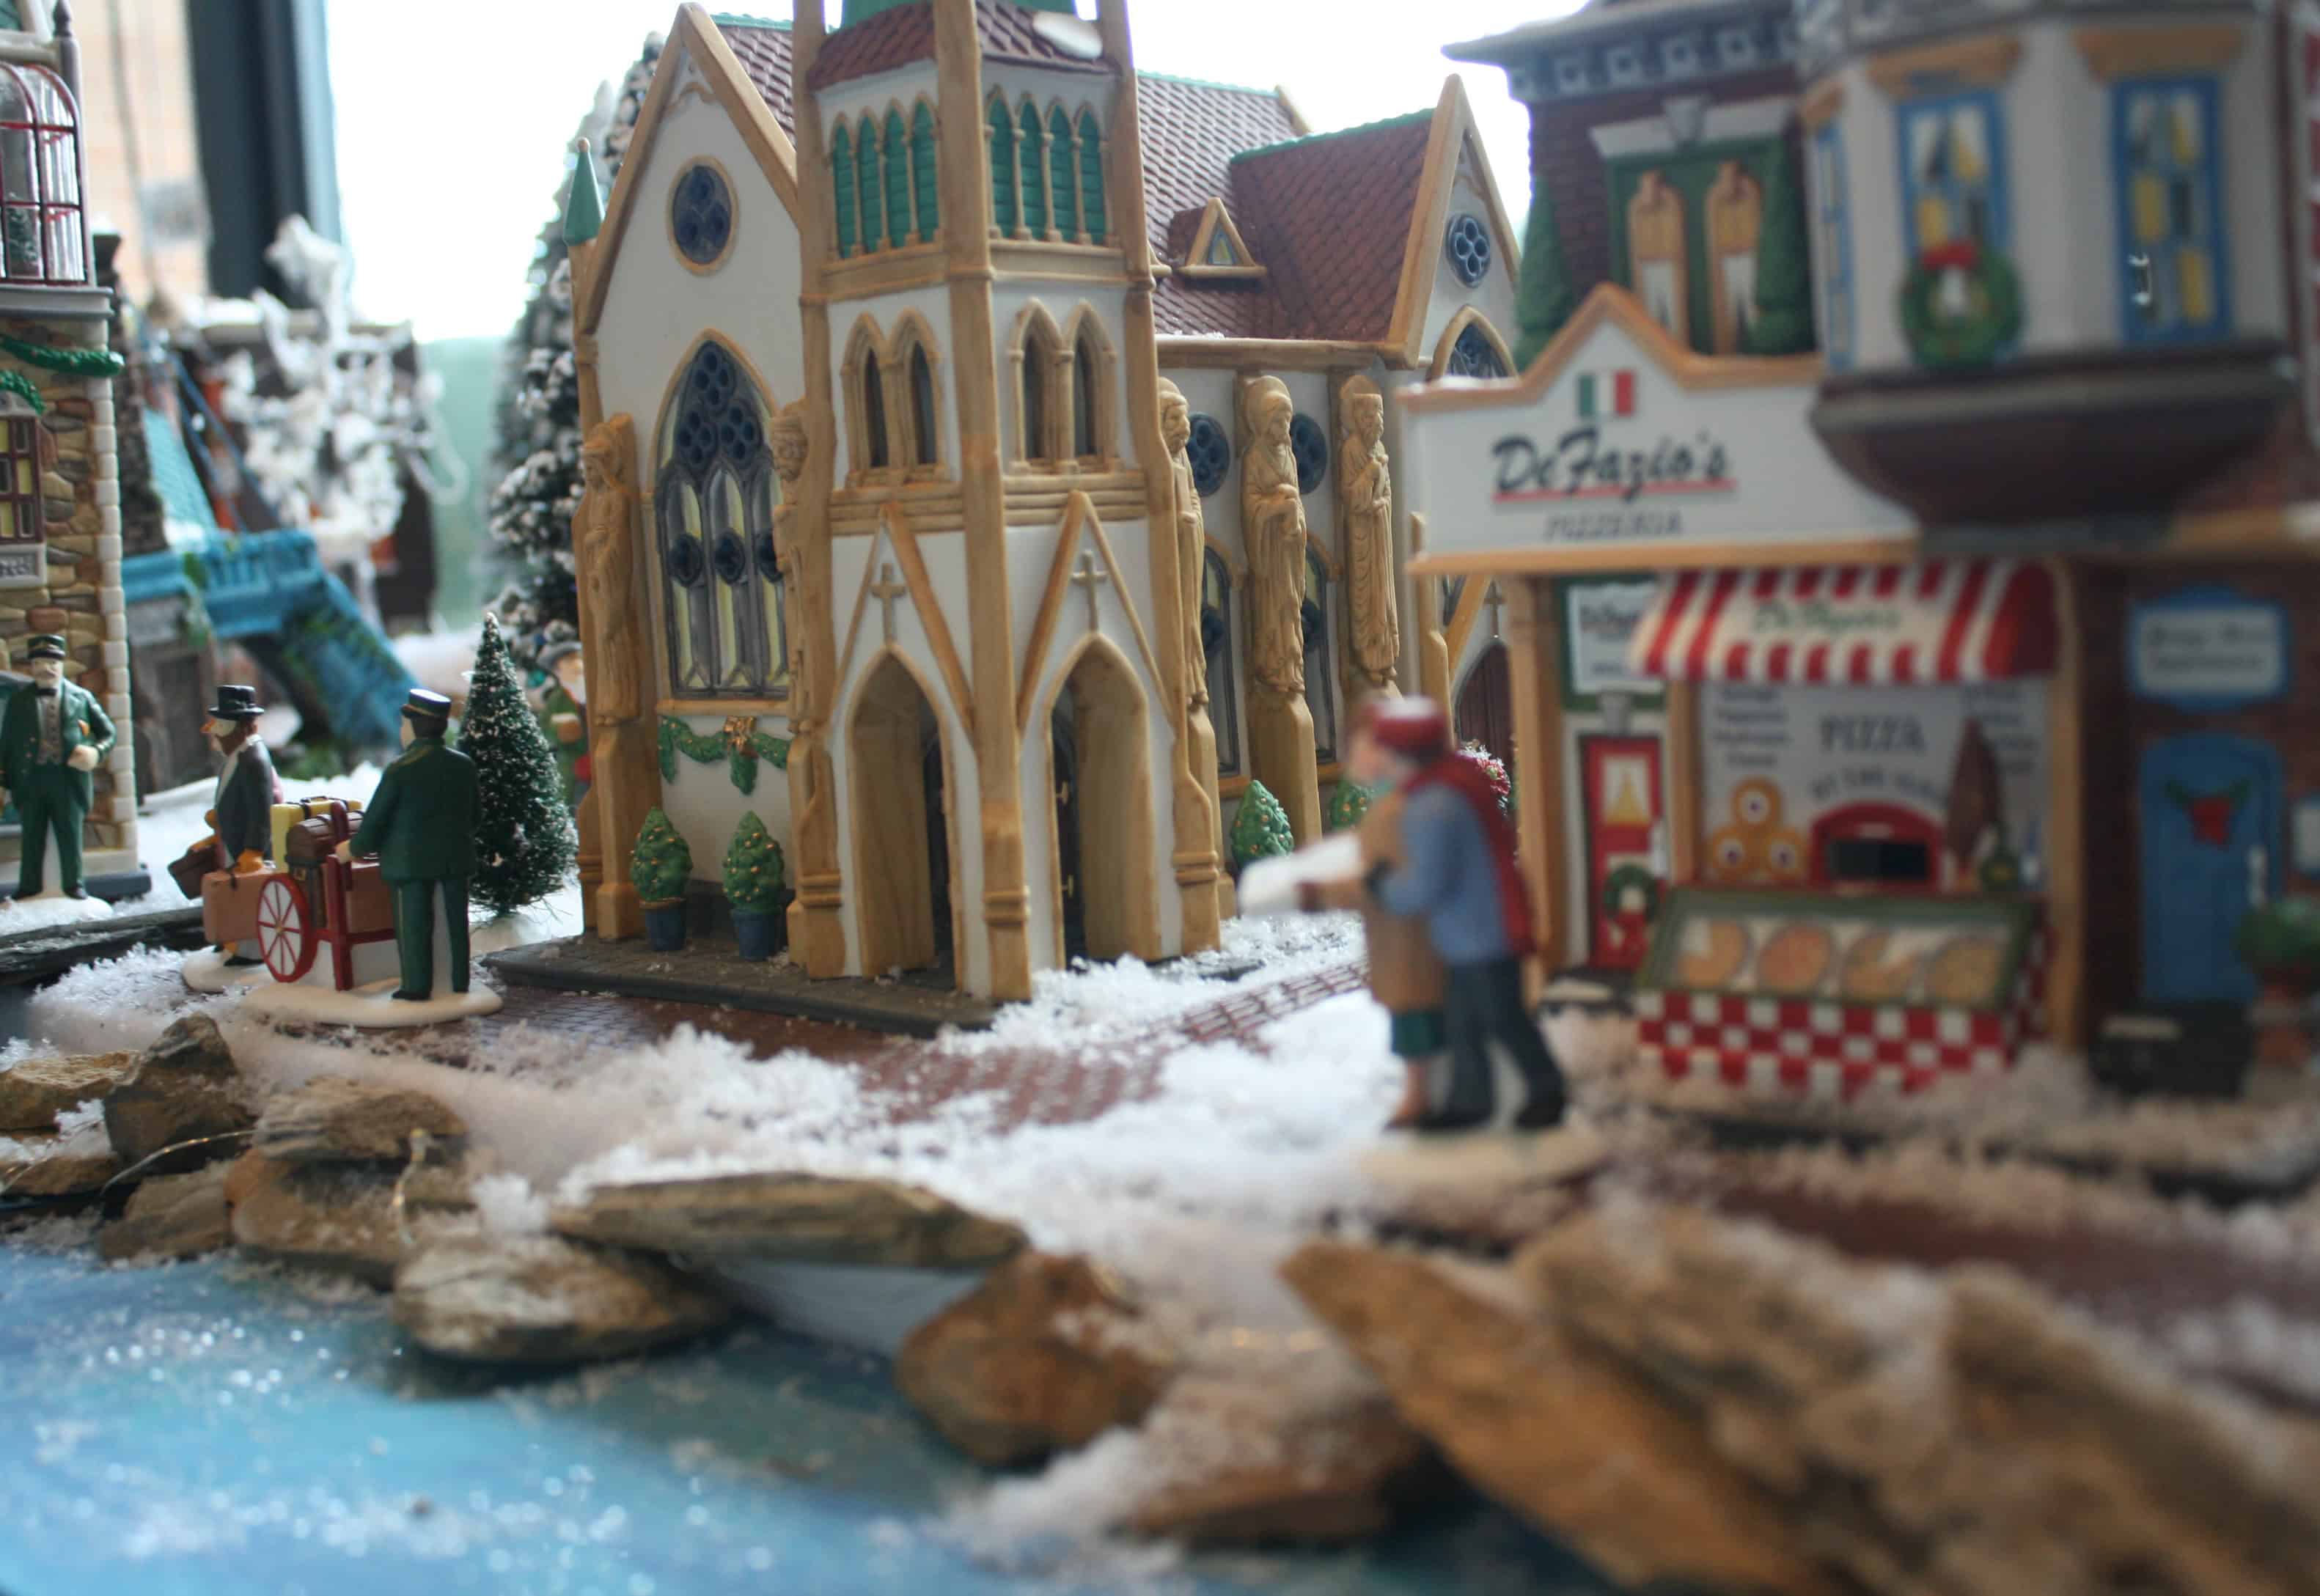
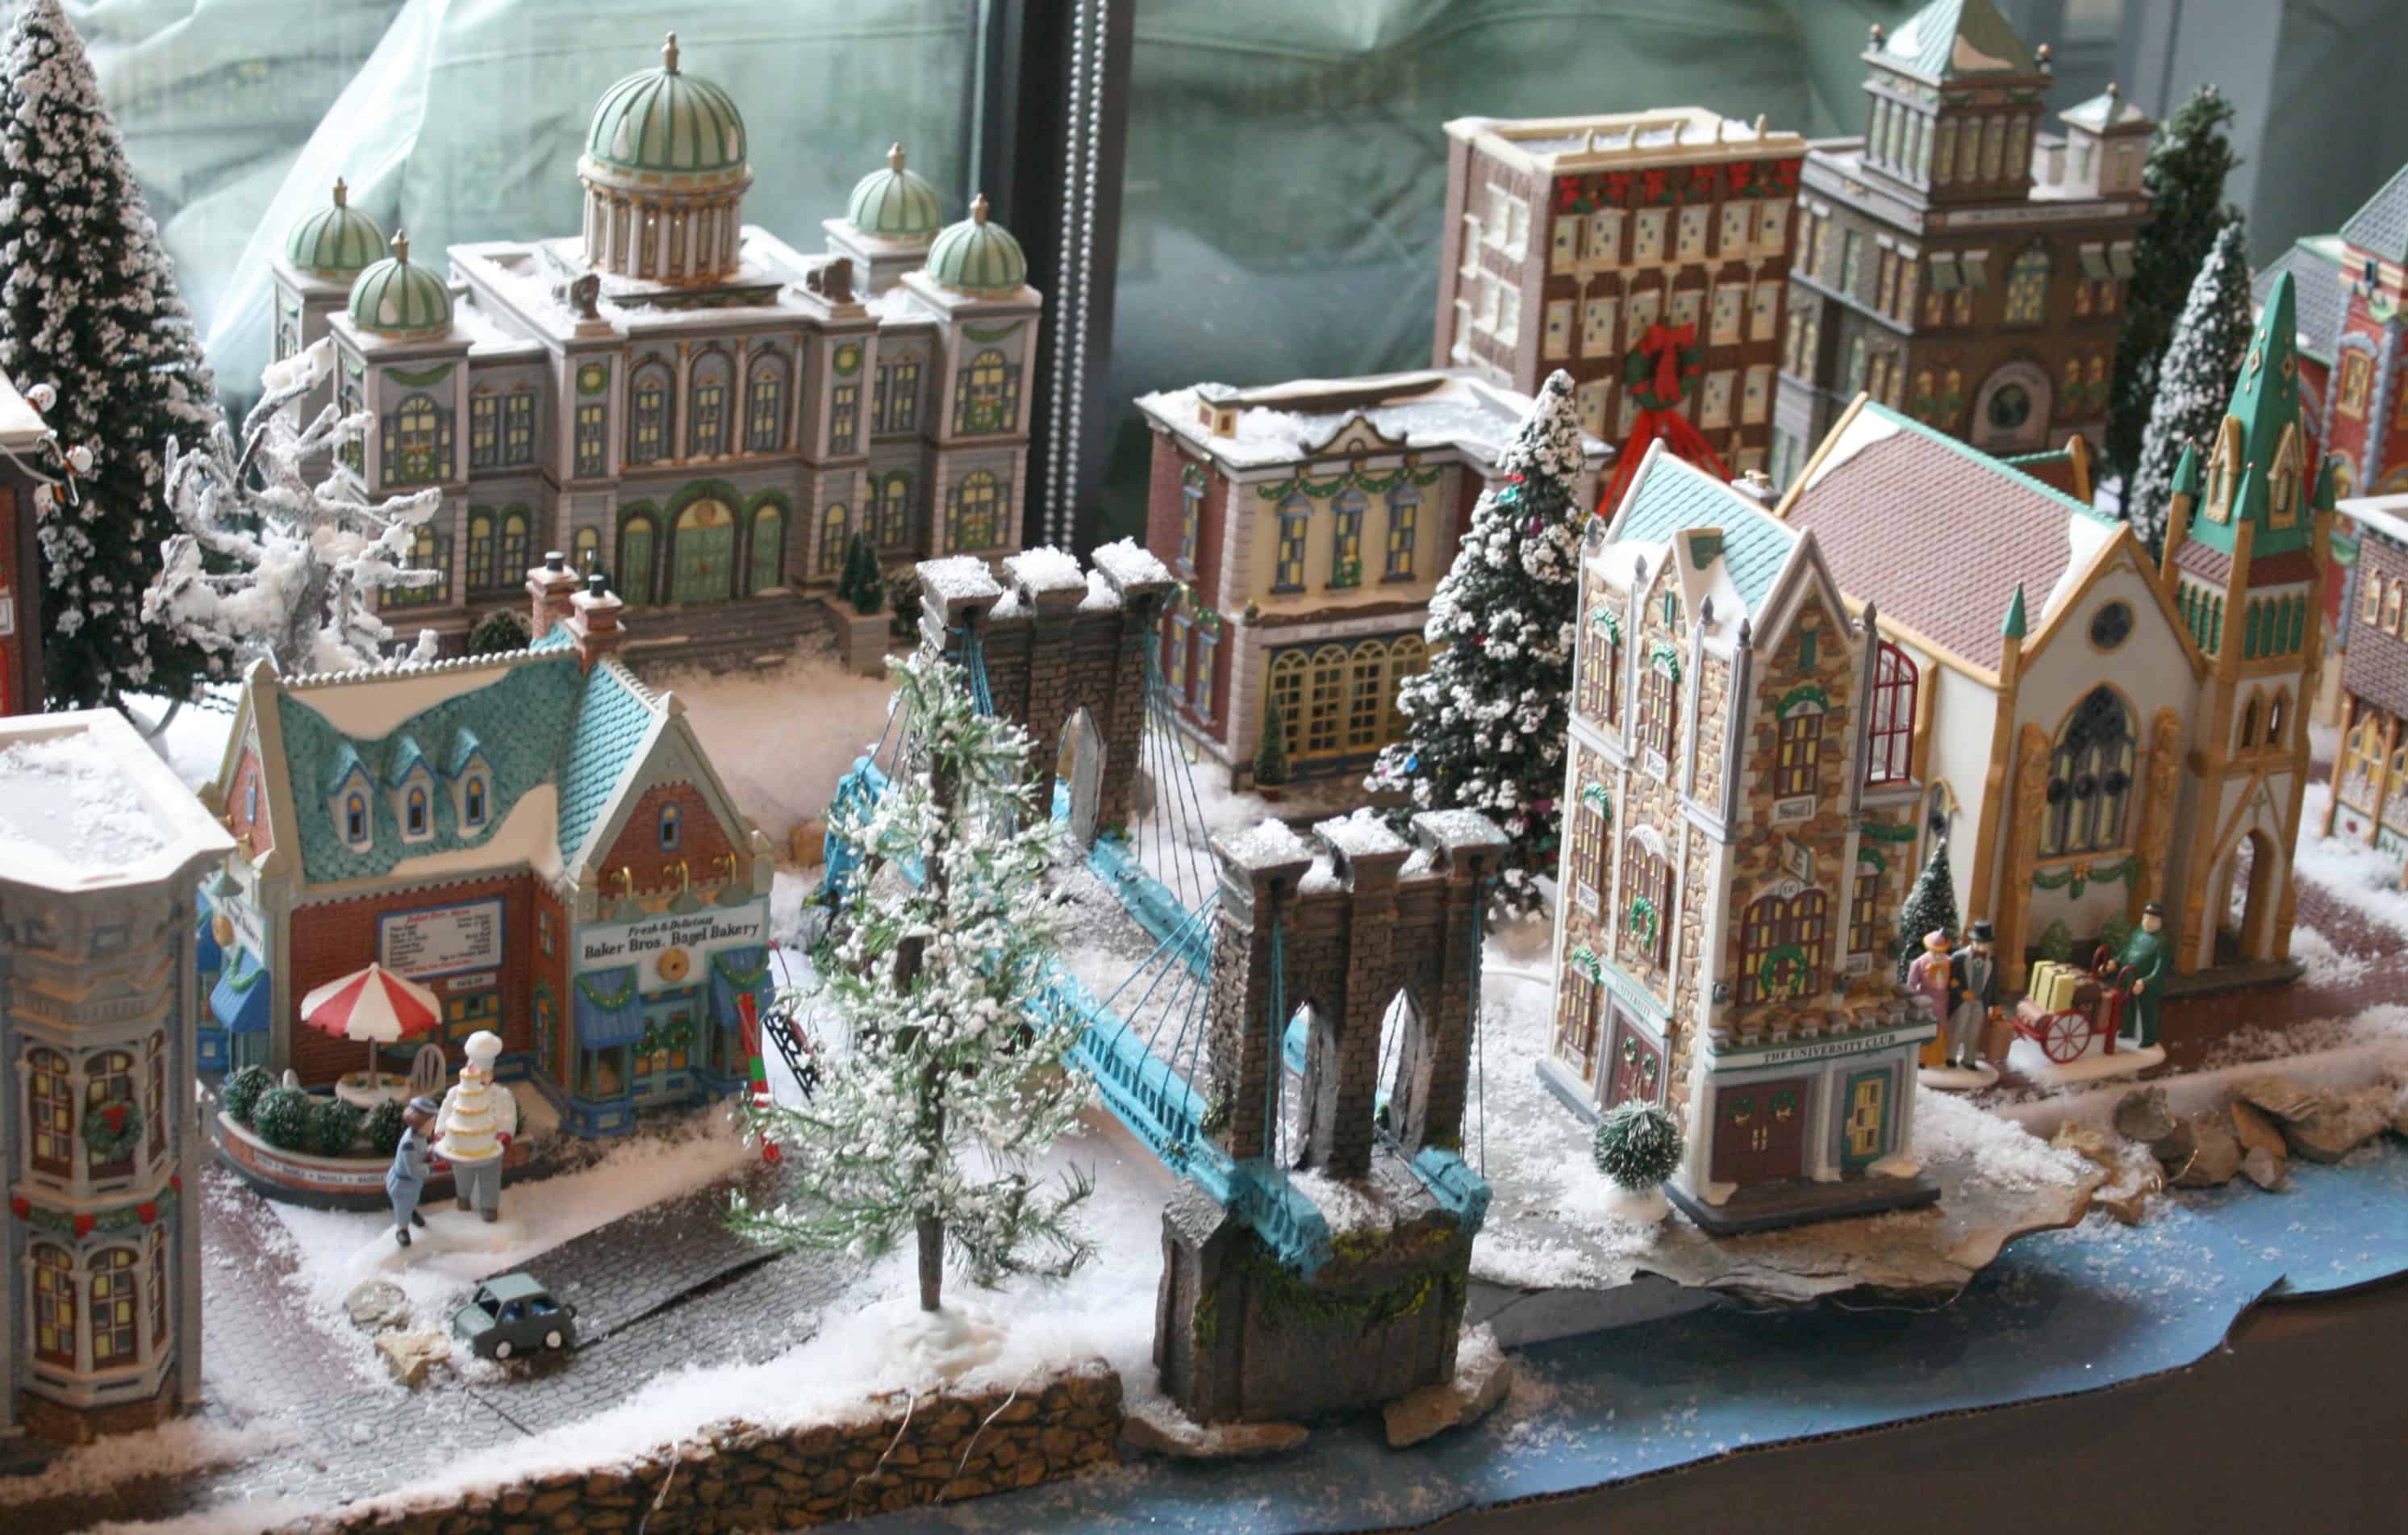
For those of you who have been to our fair city, I modeled the right side of my town after Madison Avenue. A beautiful old church… a favorite pizzeria… well, come see for yourself! 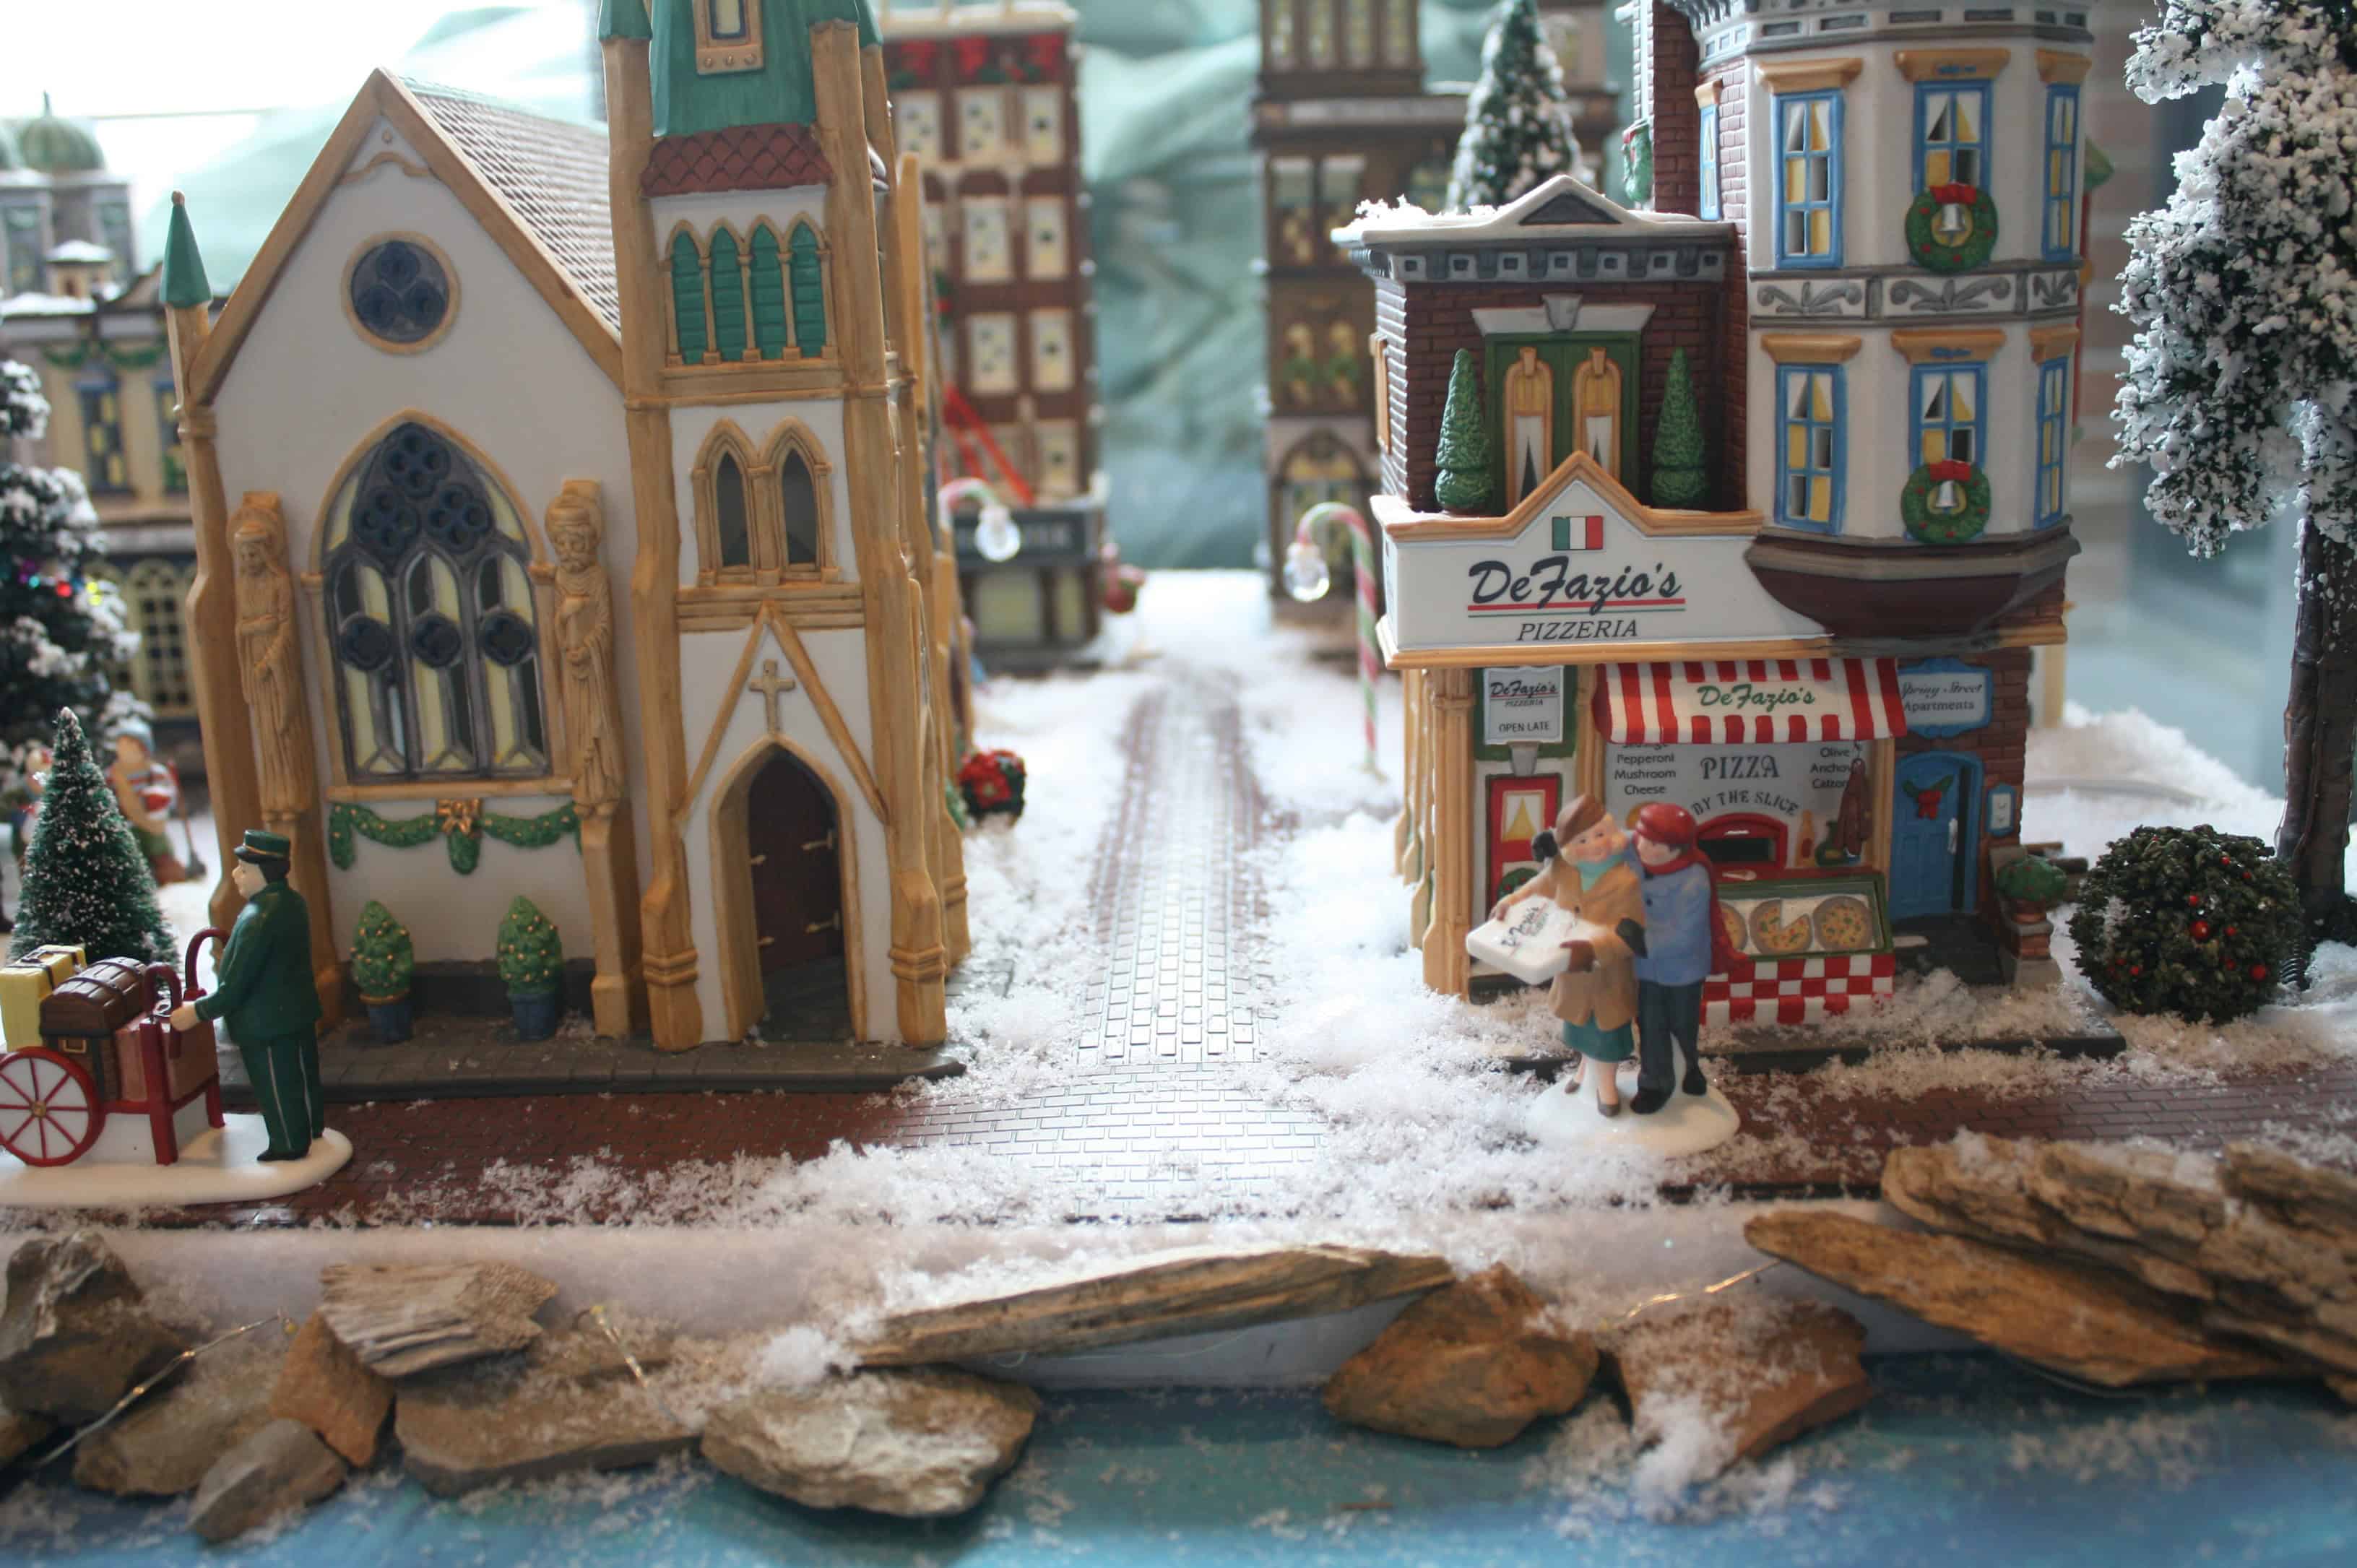
And this little vignette below is one of my favorites (yes, even thought it’s not a pug.)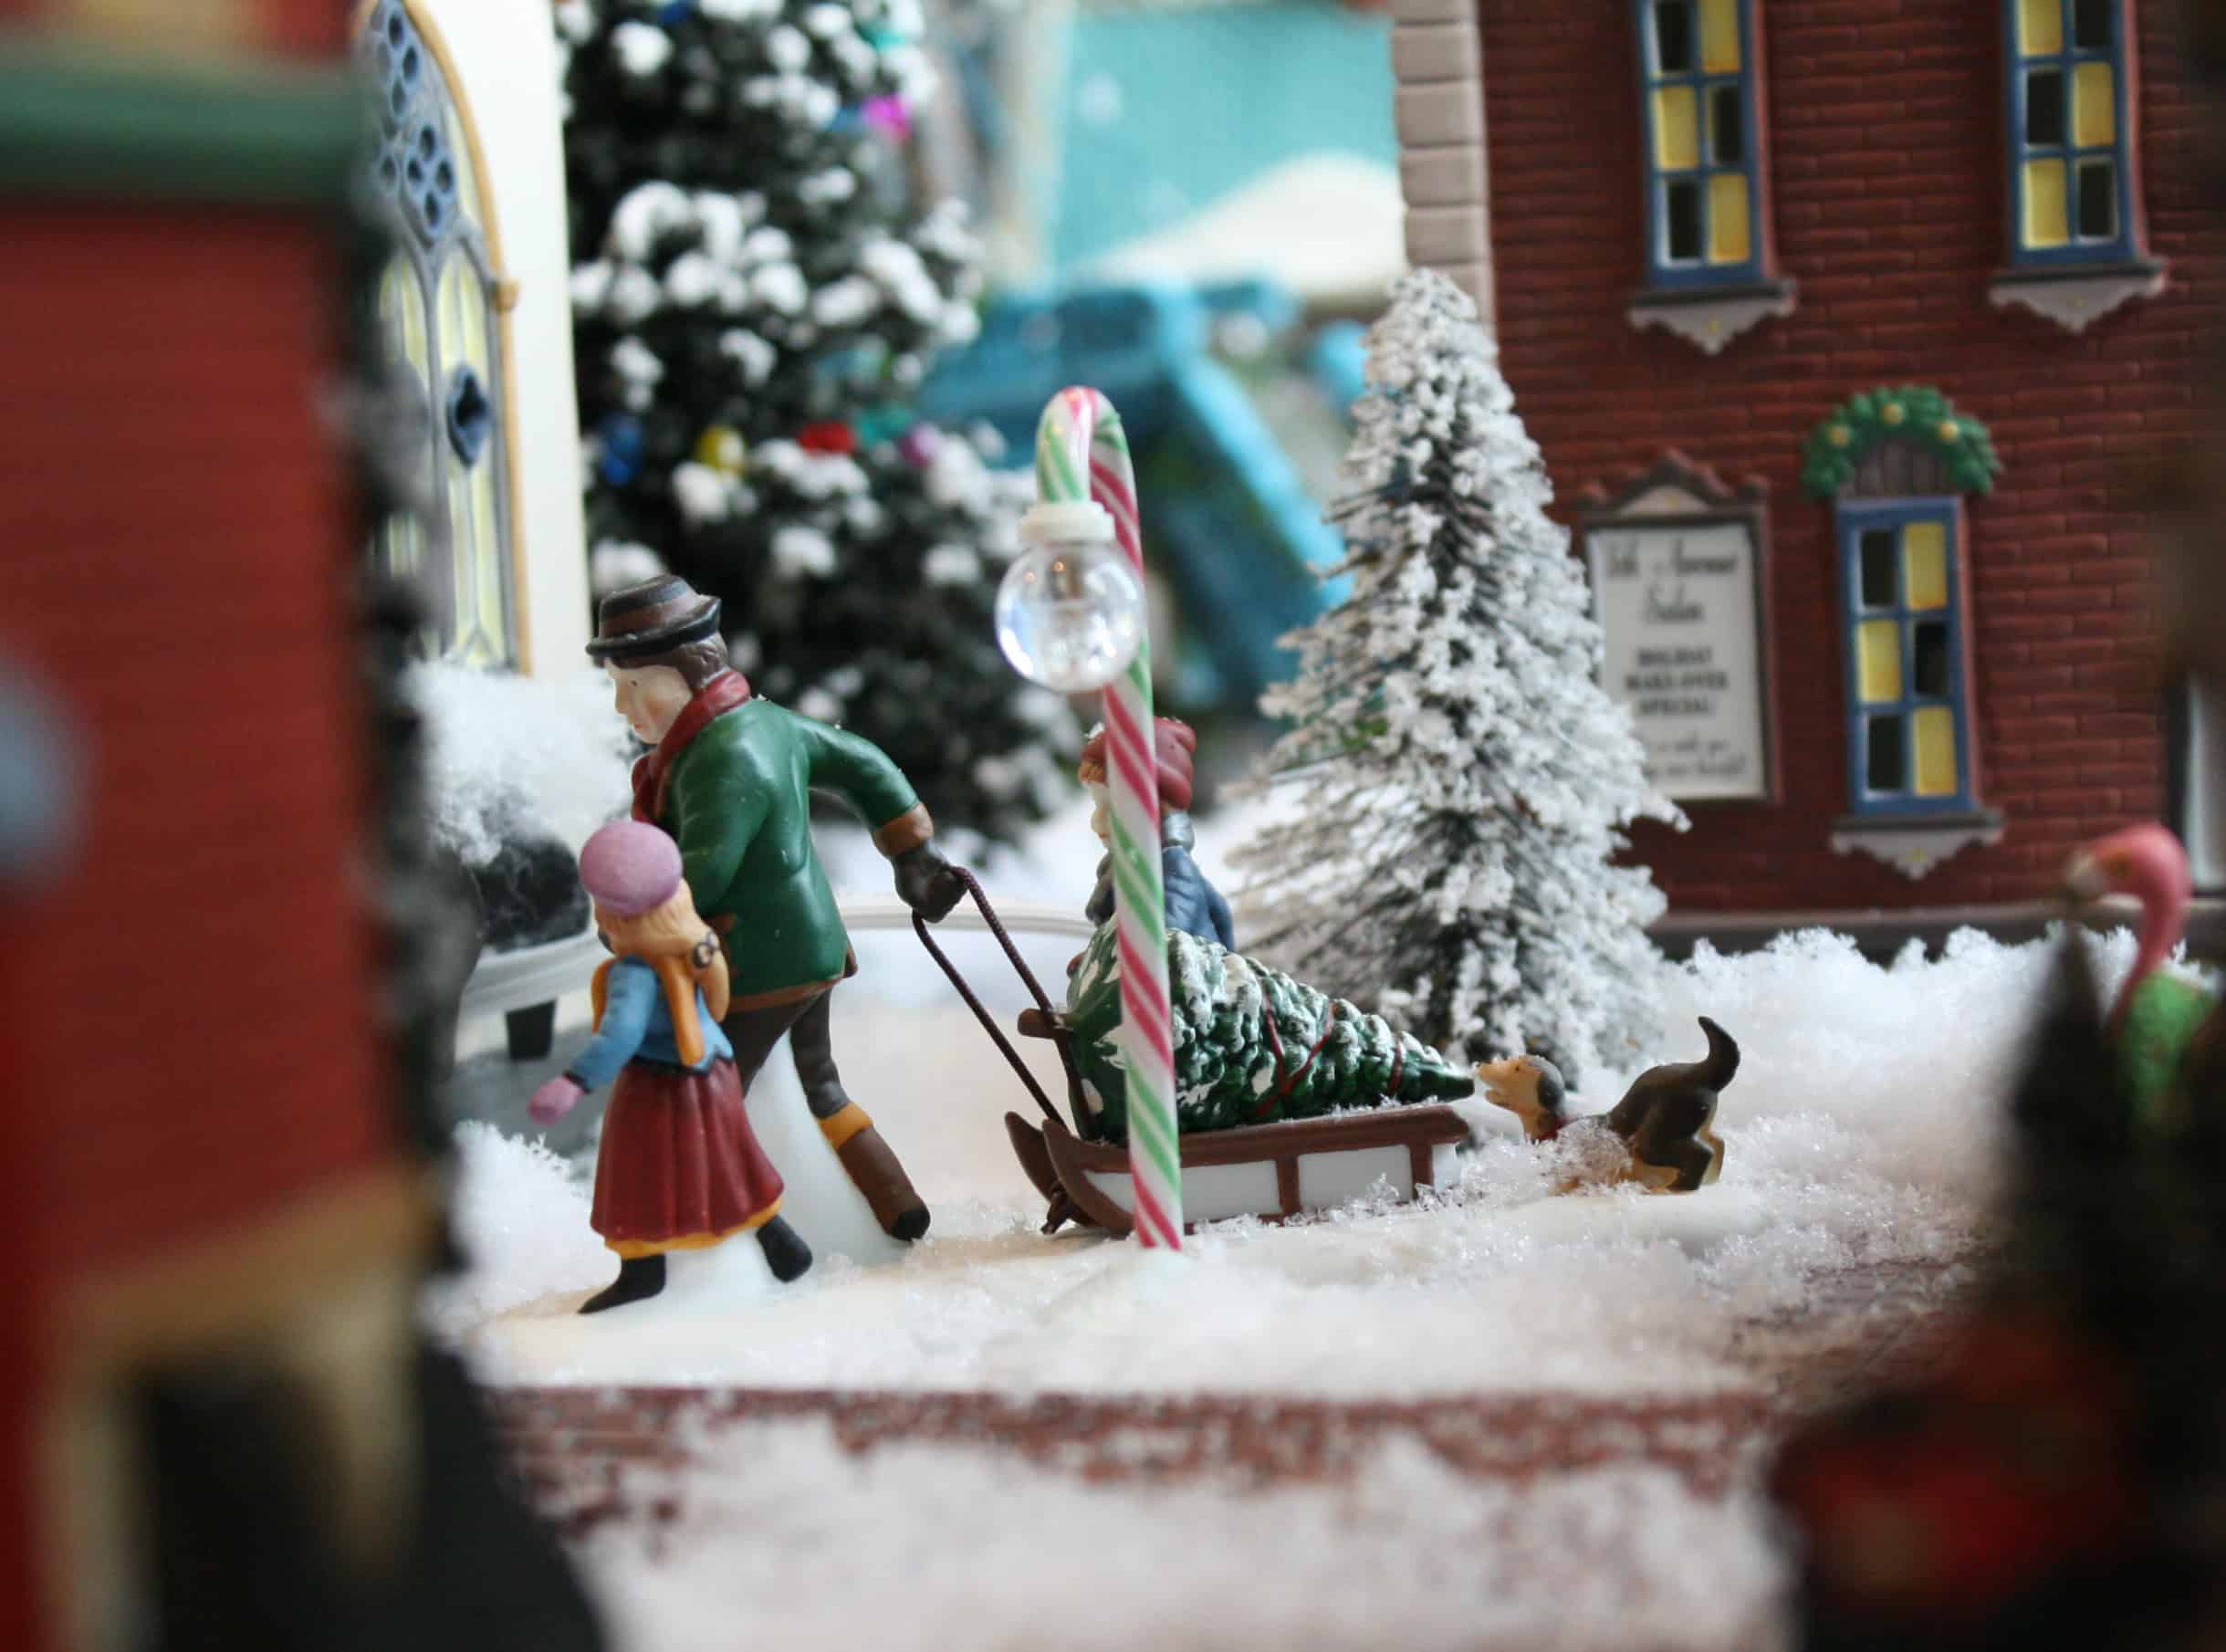
In this next photo, notice the courthouse in the background and the Roebling suspension bridge to the left?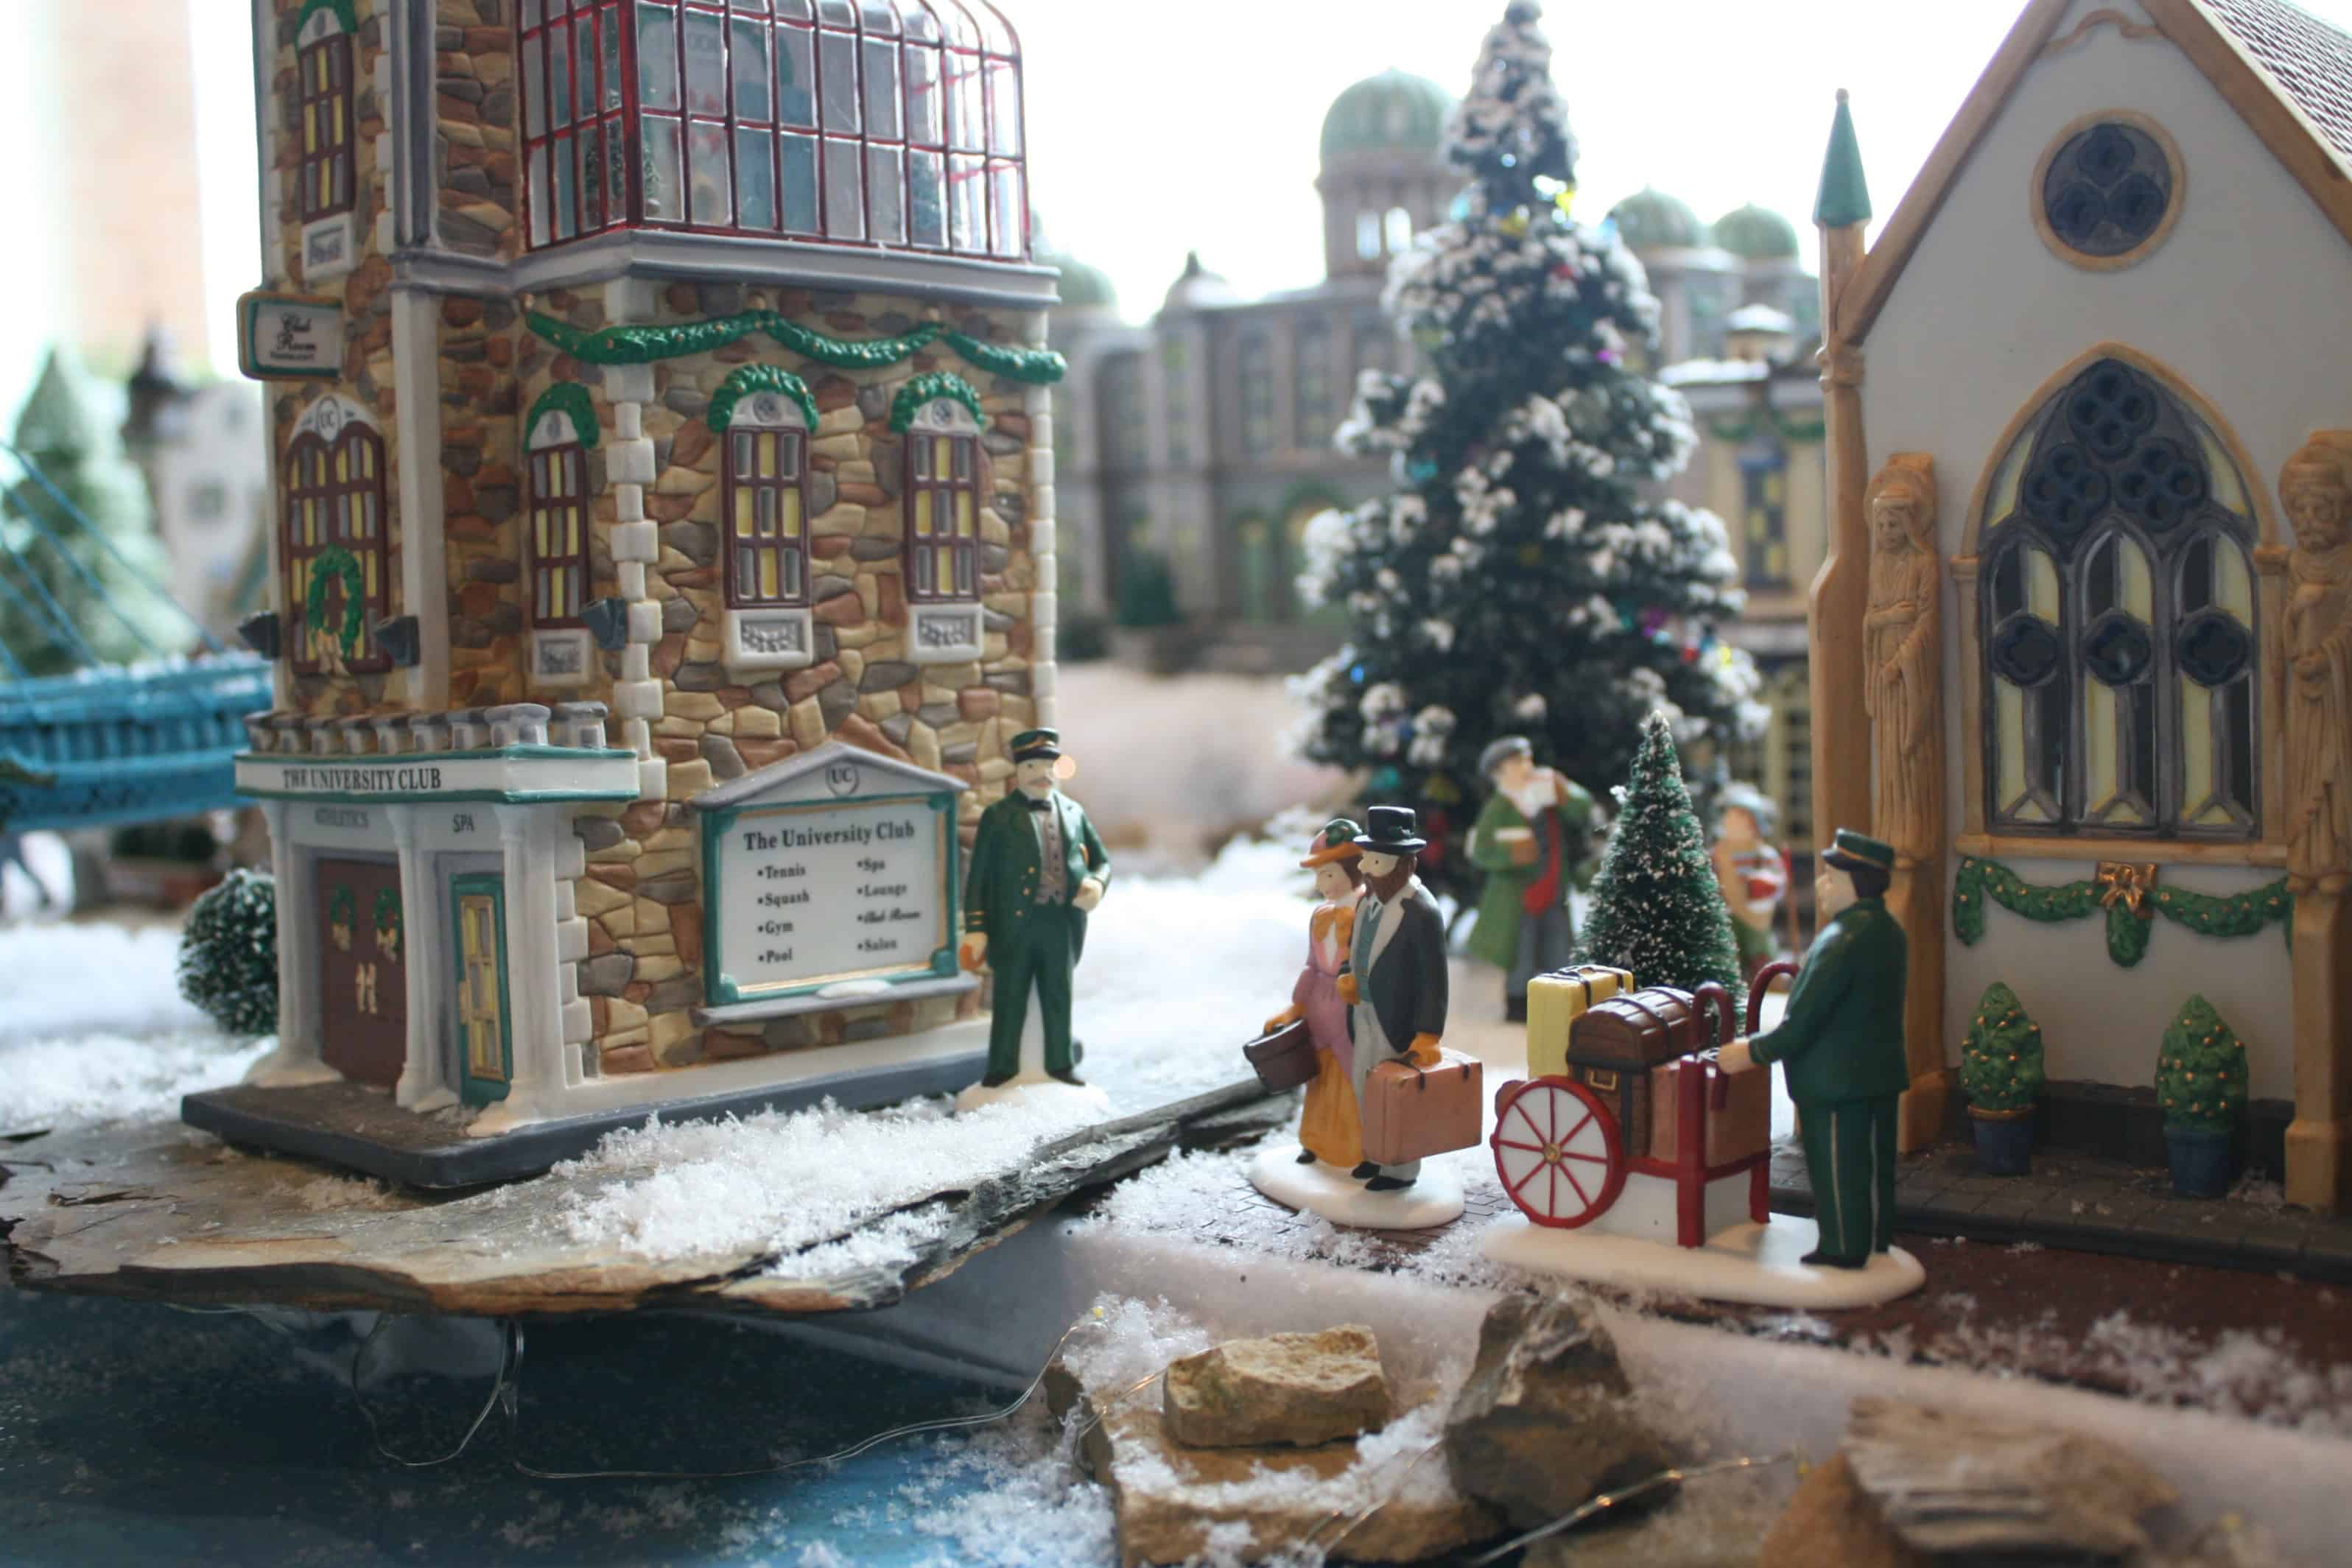
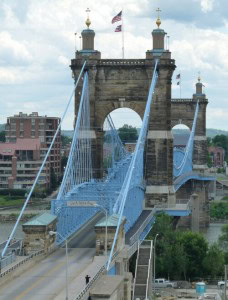
Here’s a photo of the real Roebling Bridge,that joins Cincinnati to Covington.

And here’s my version of the Roebling Bridge. 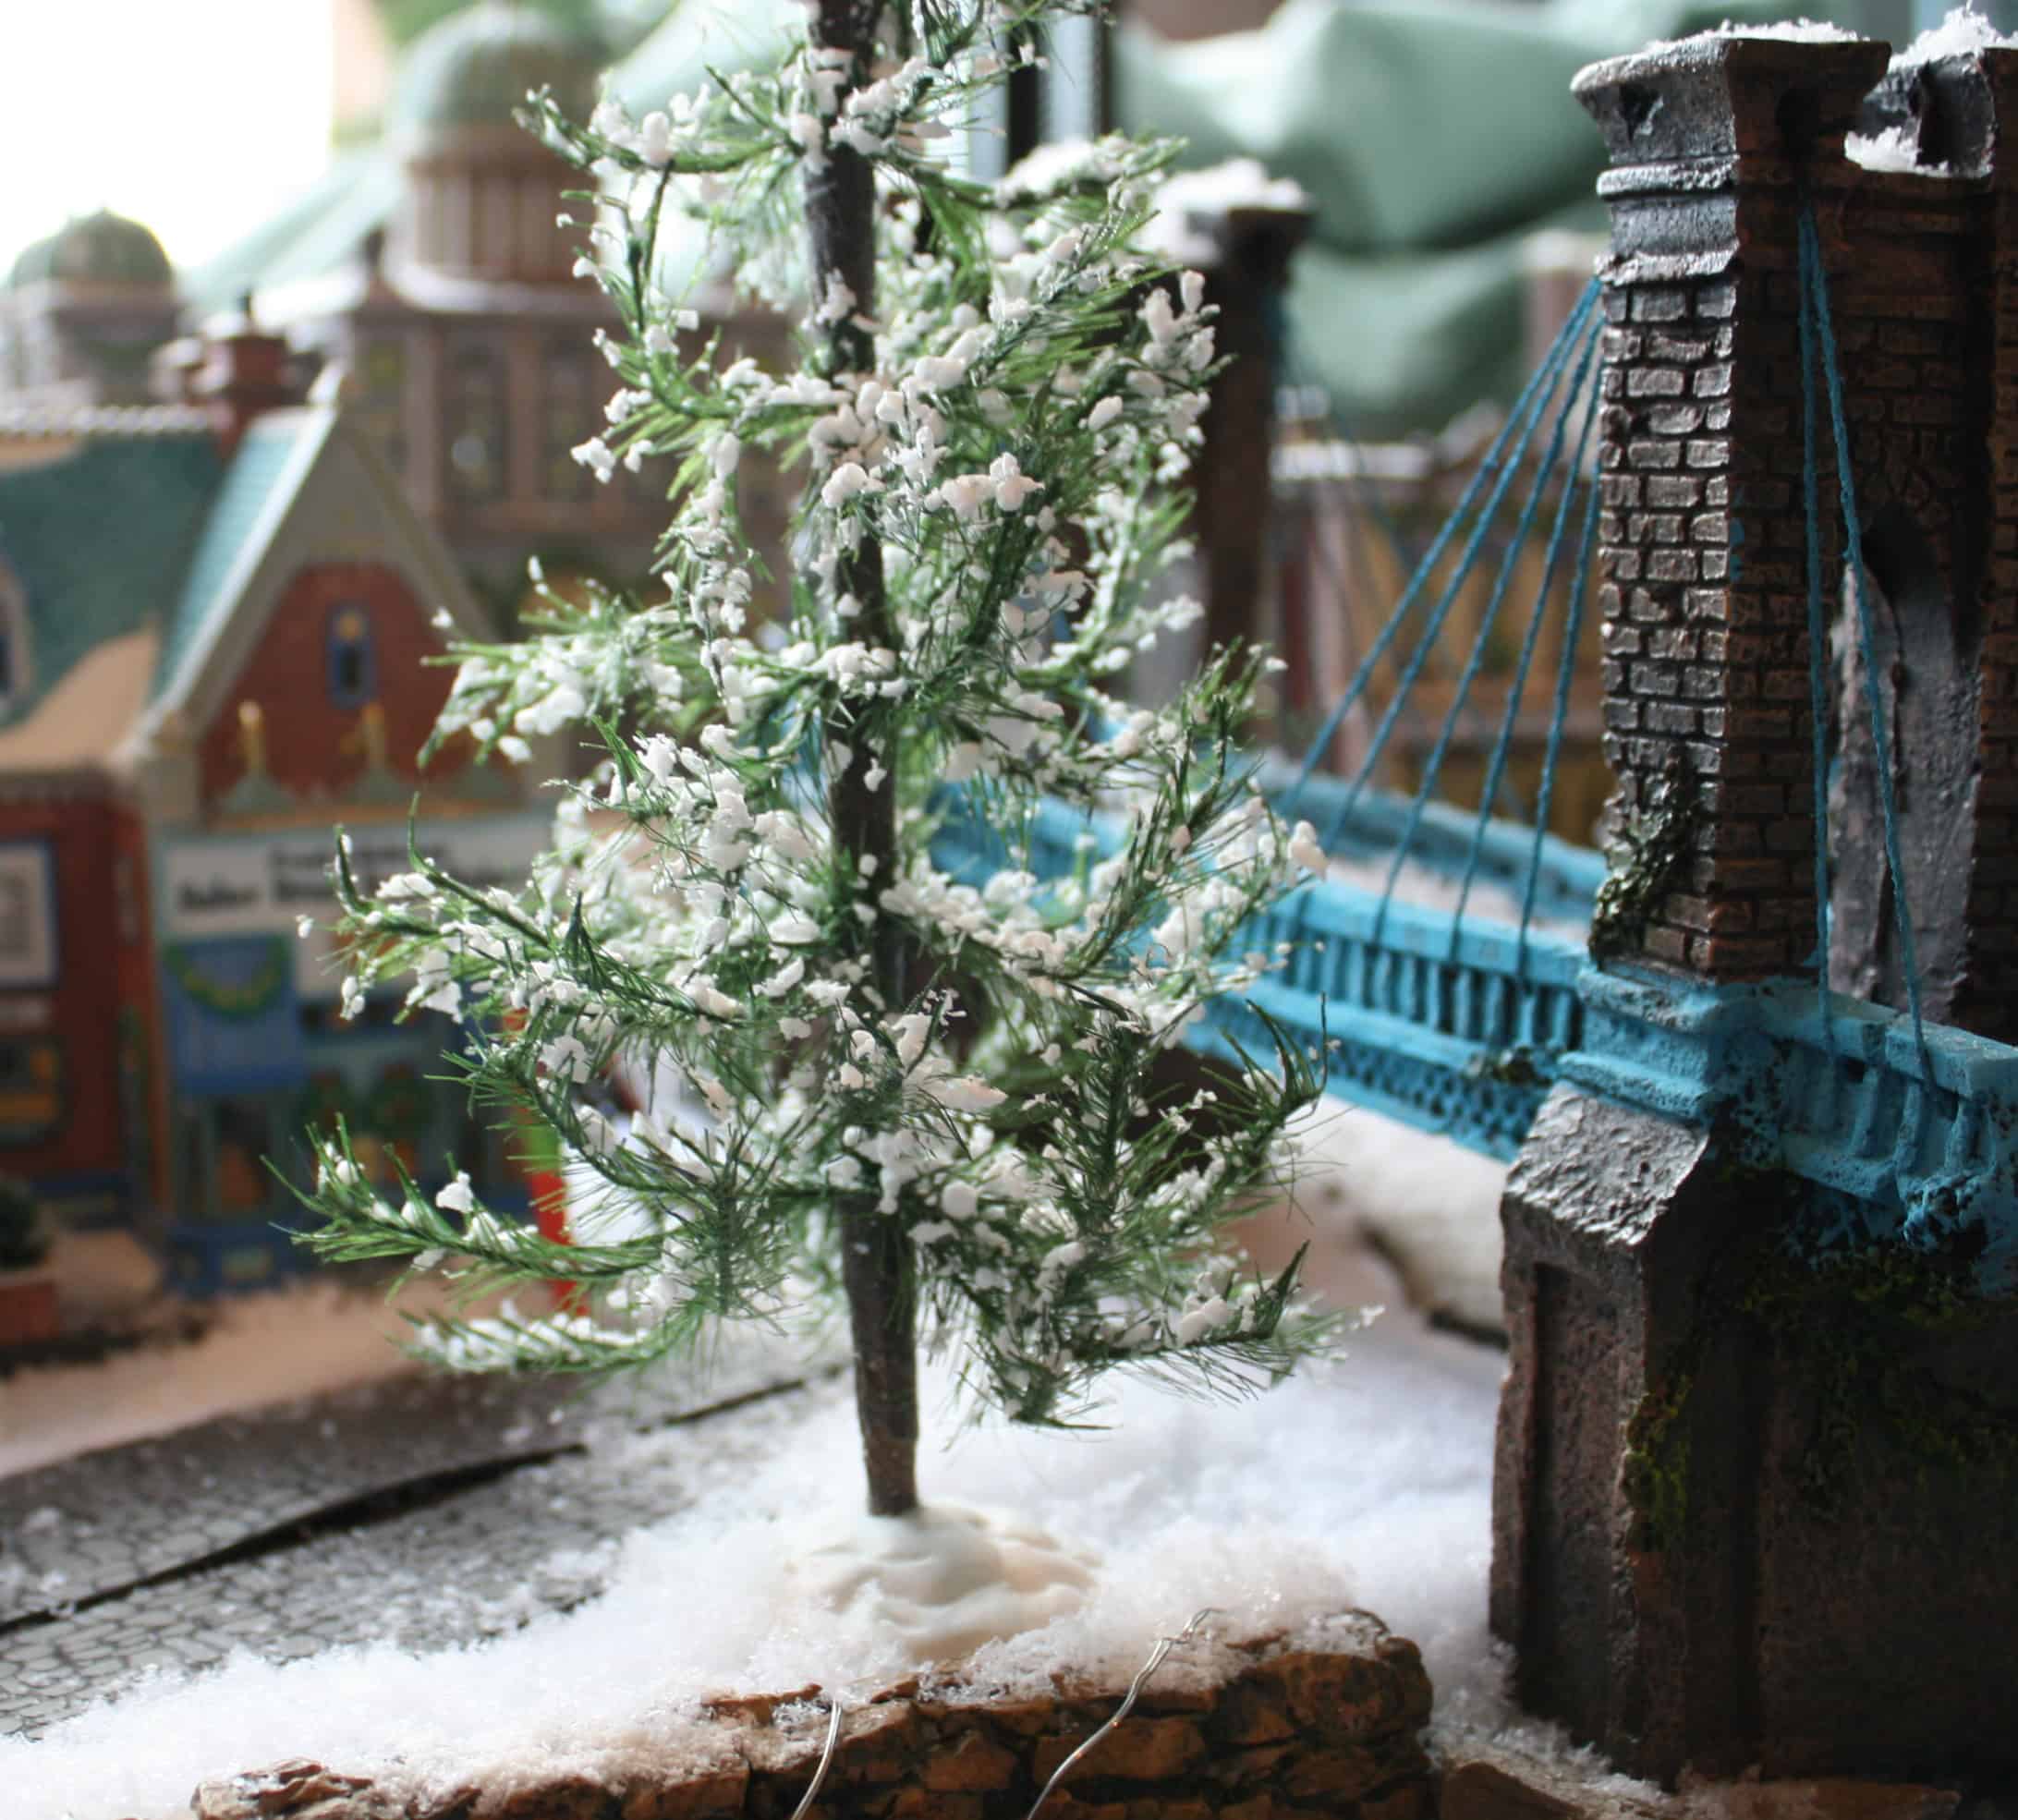
The left side of my miniature town is modeled after Greenup Street and the Licking Riverside historic district. 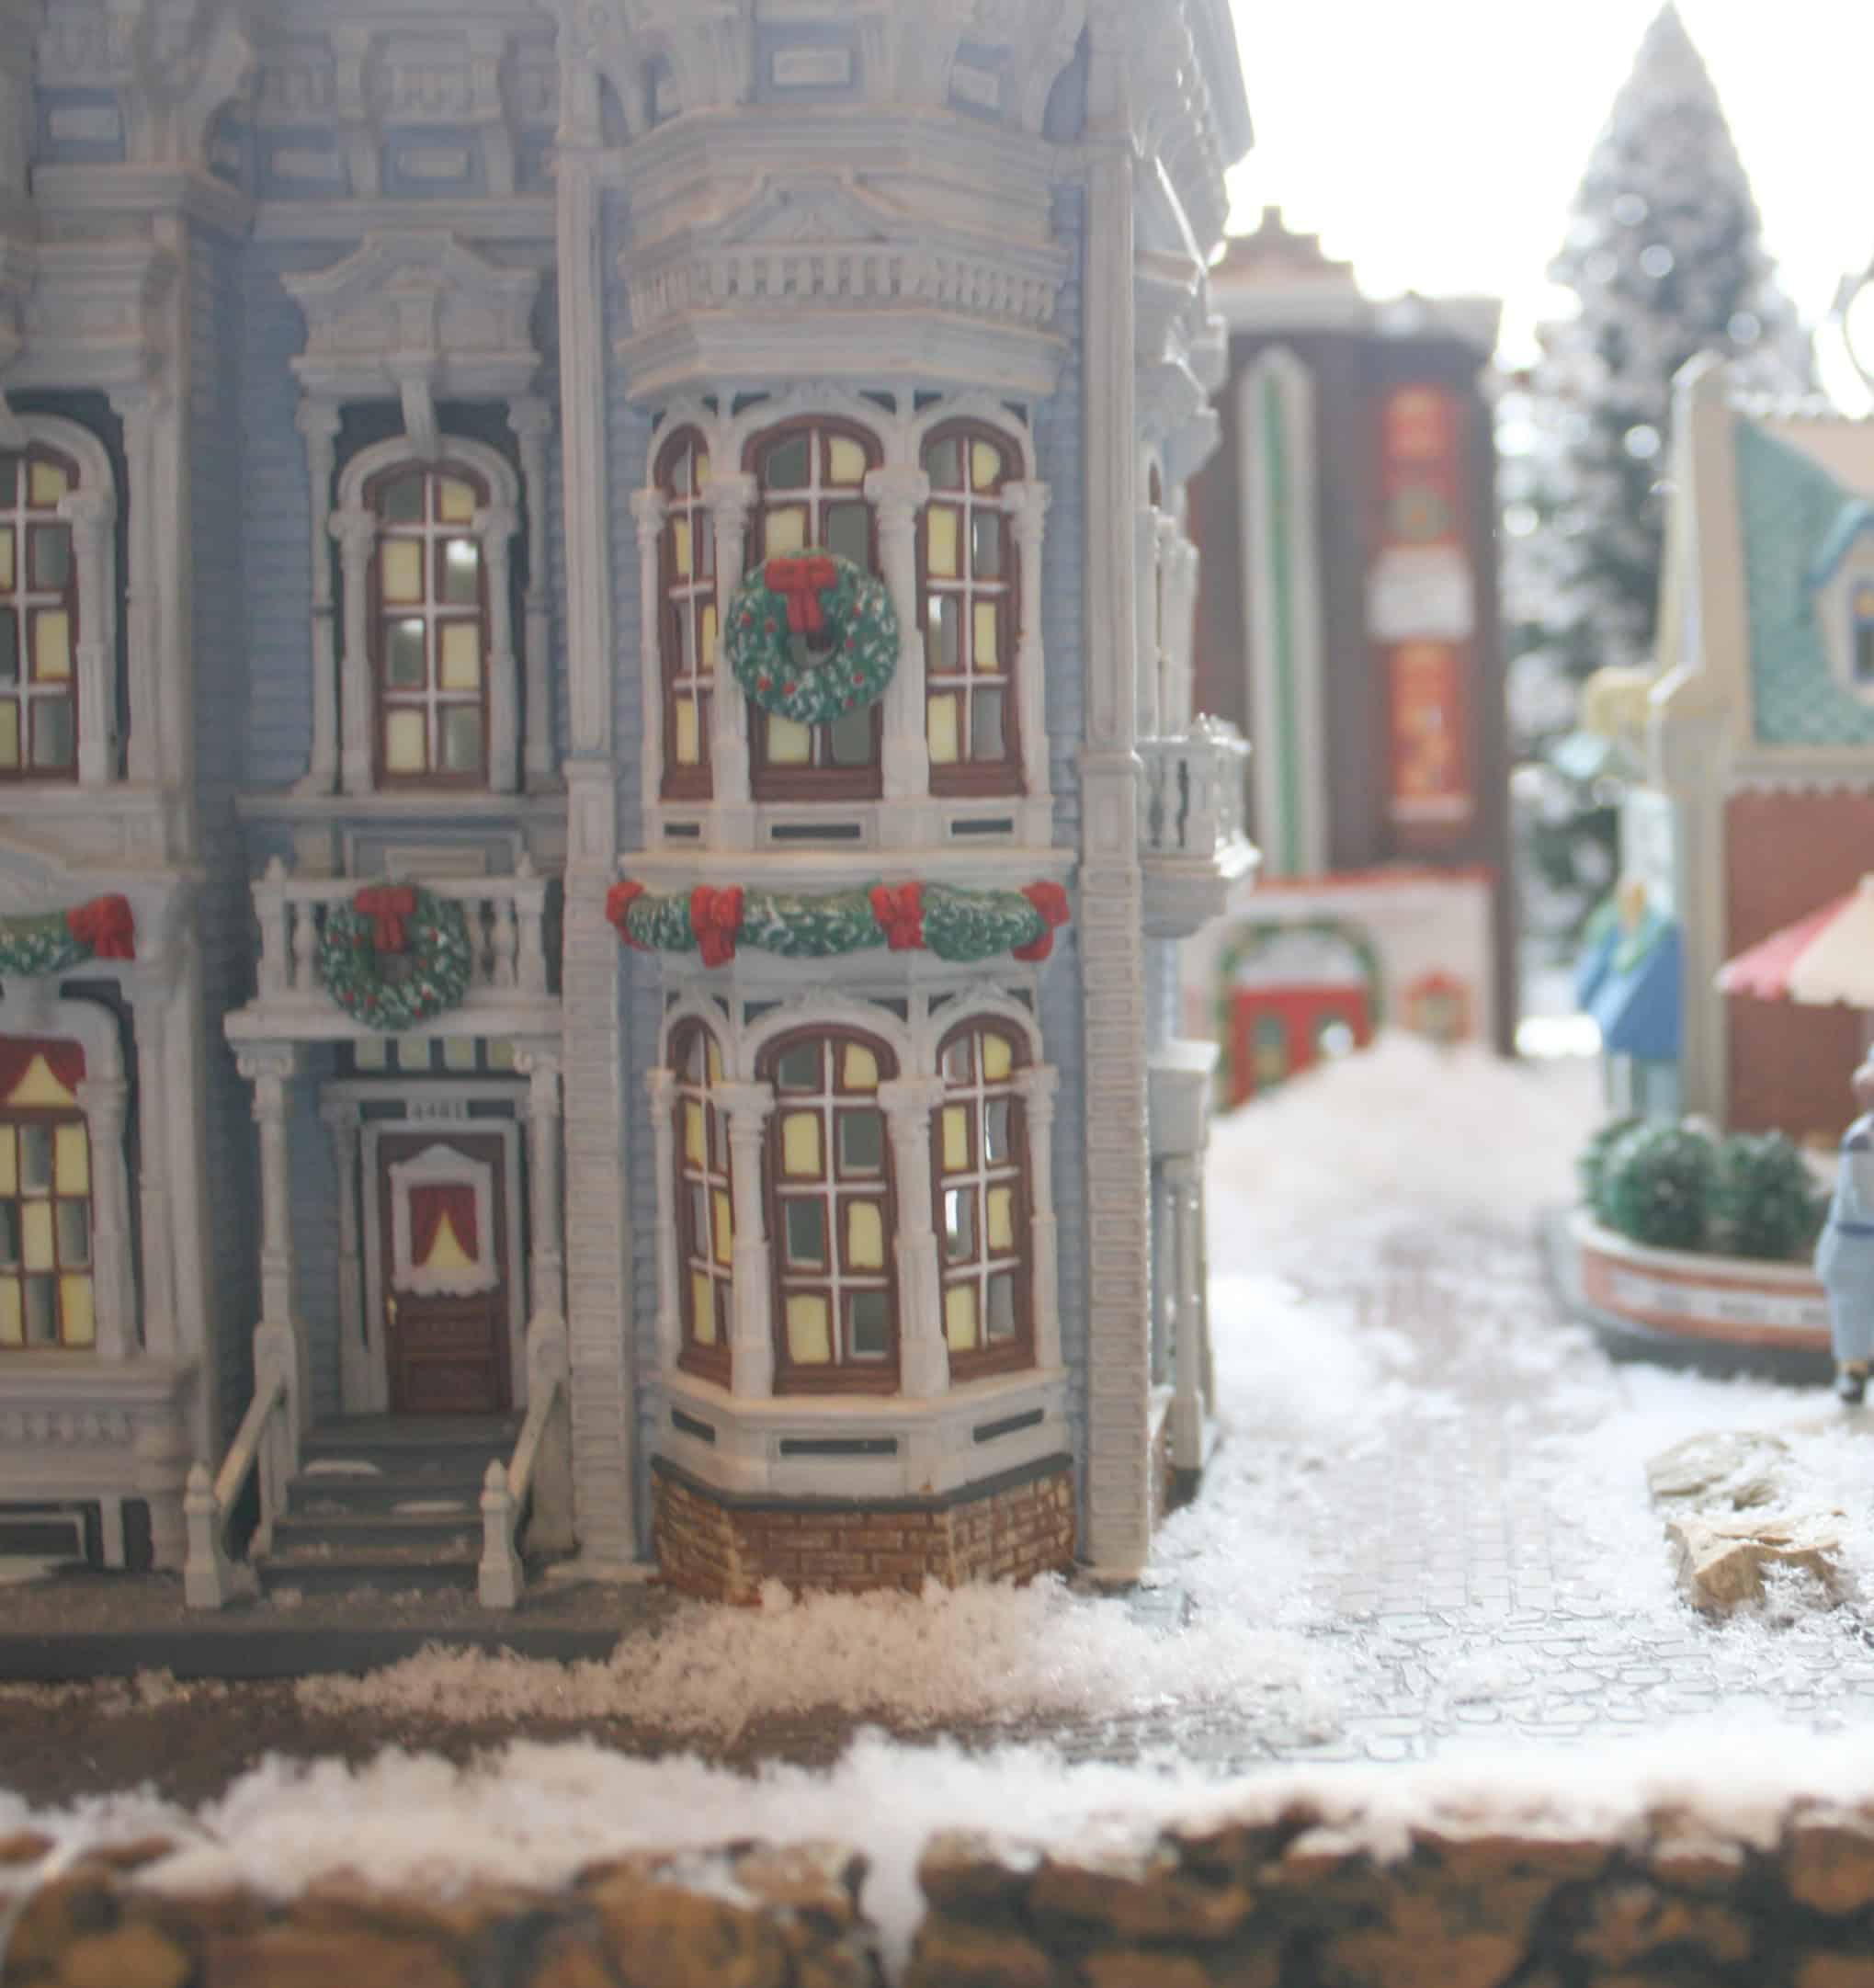
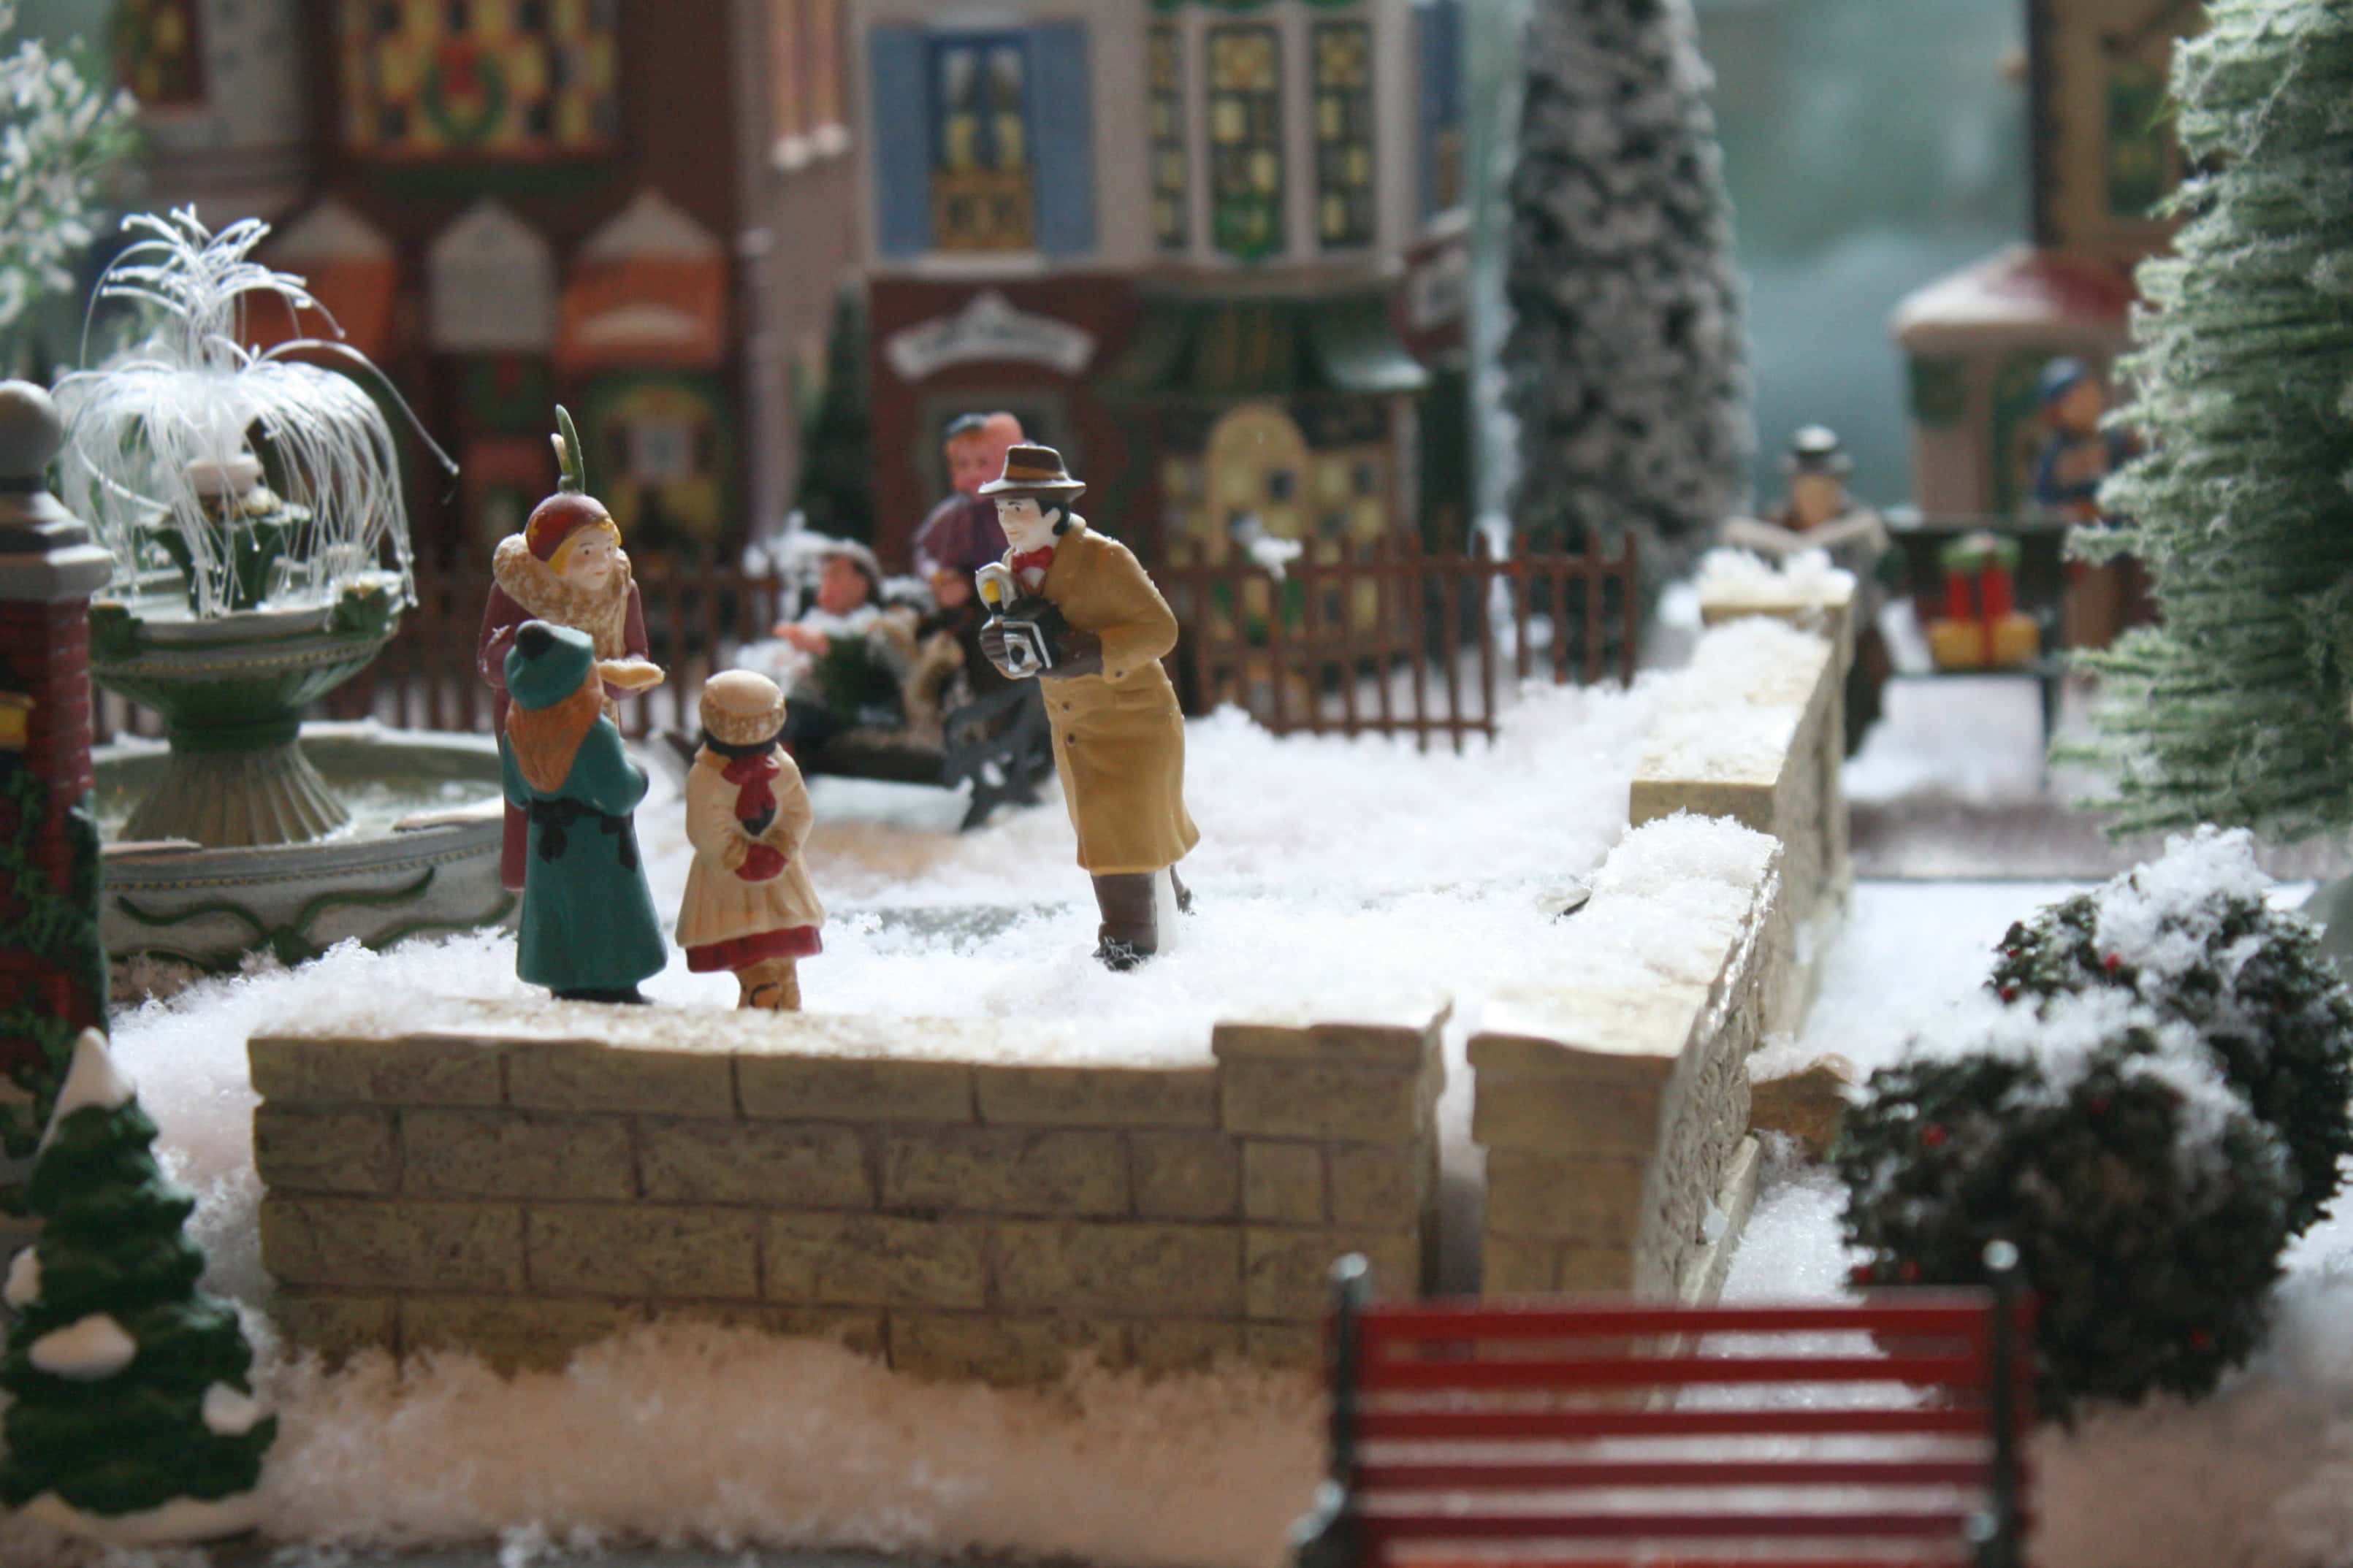
Here’s a photo of the real George Rogers Clark city park.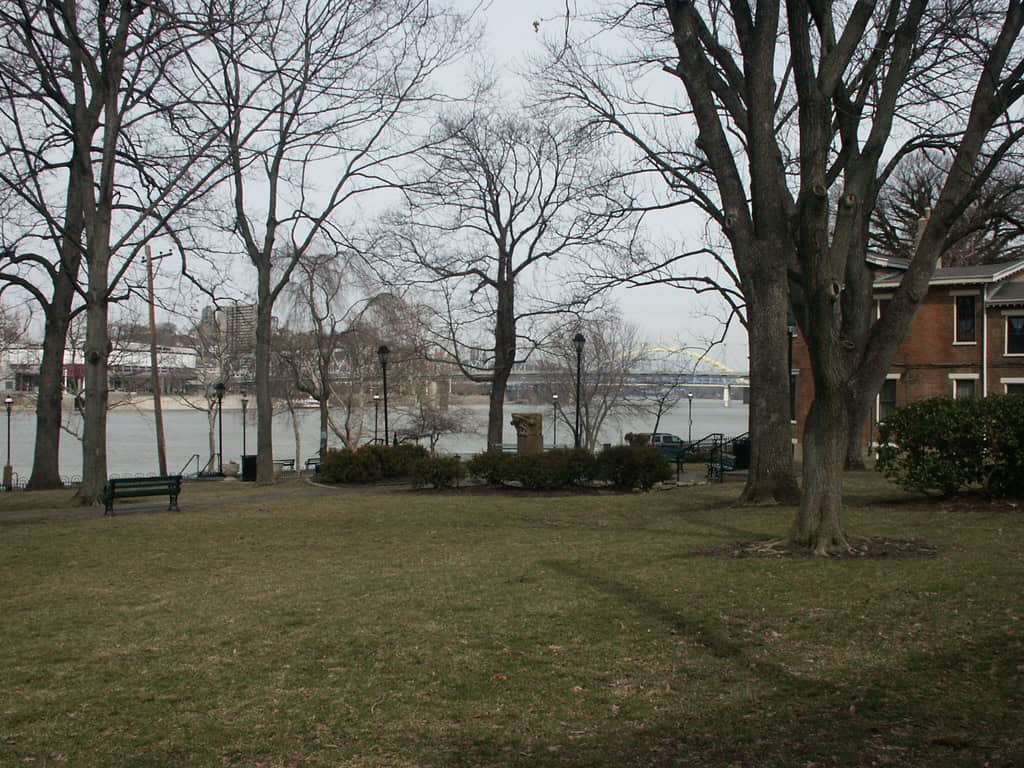
And here’s my portrayal of it. Anyone who lives here can confirm that it is home to daily photography shoots. 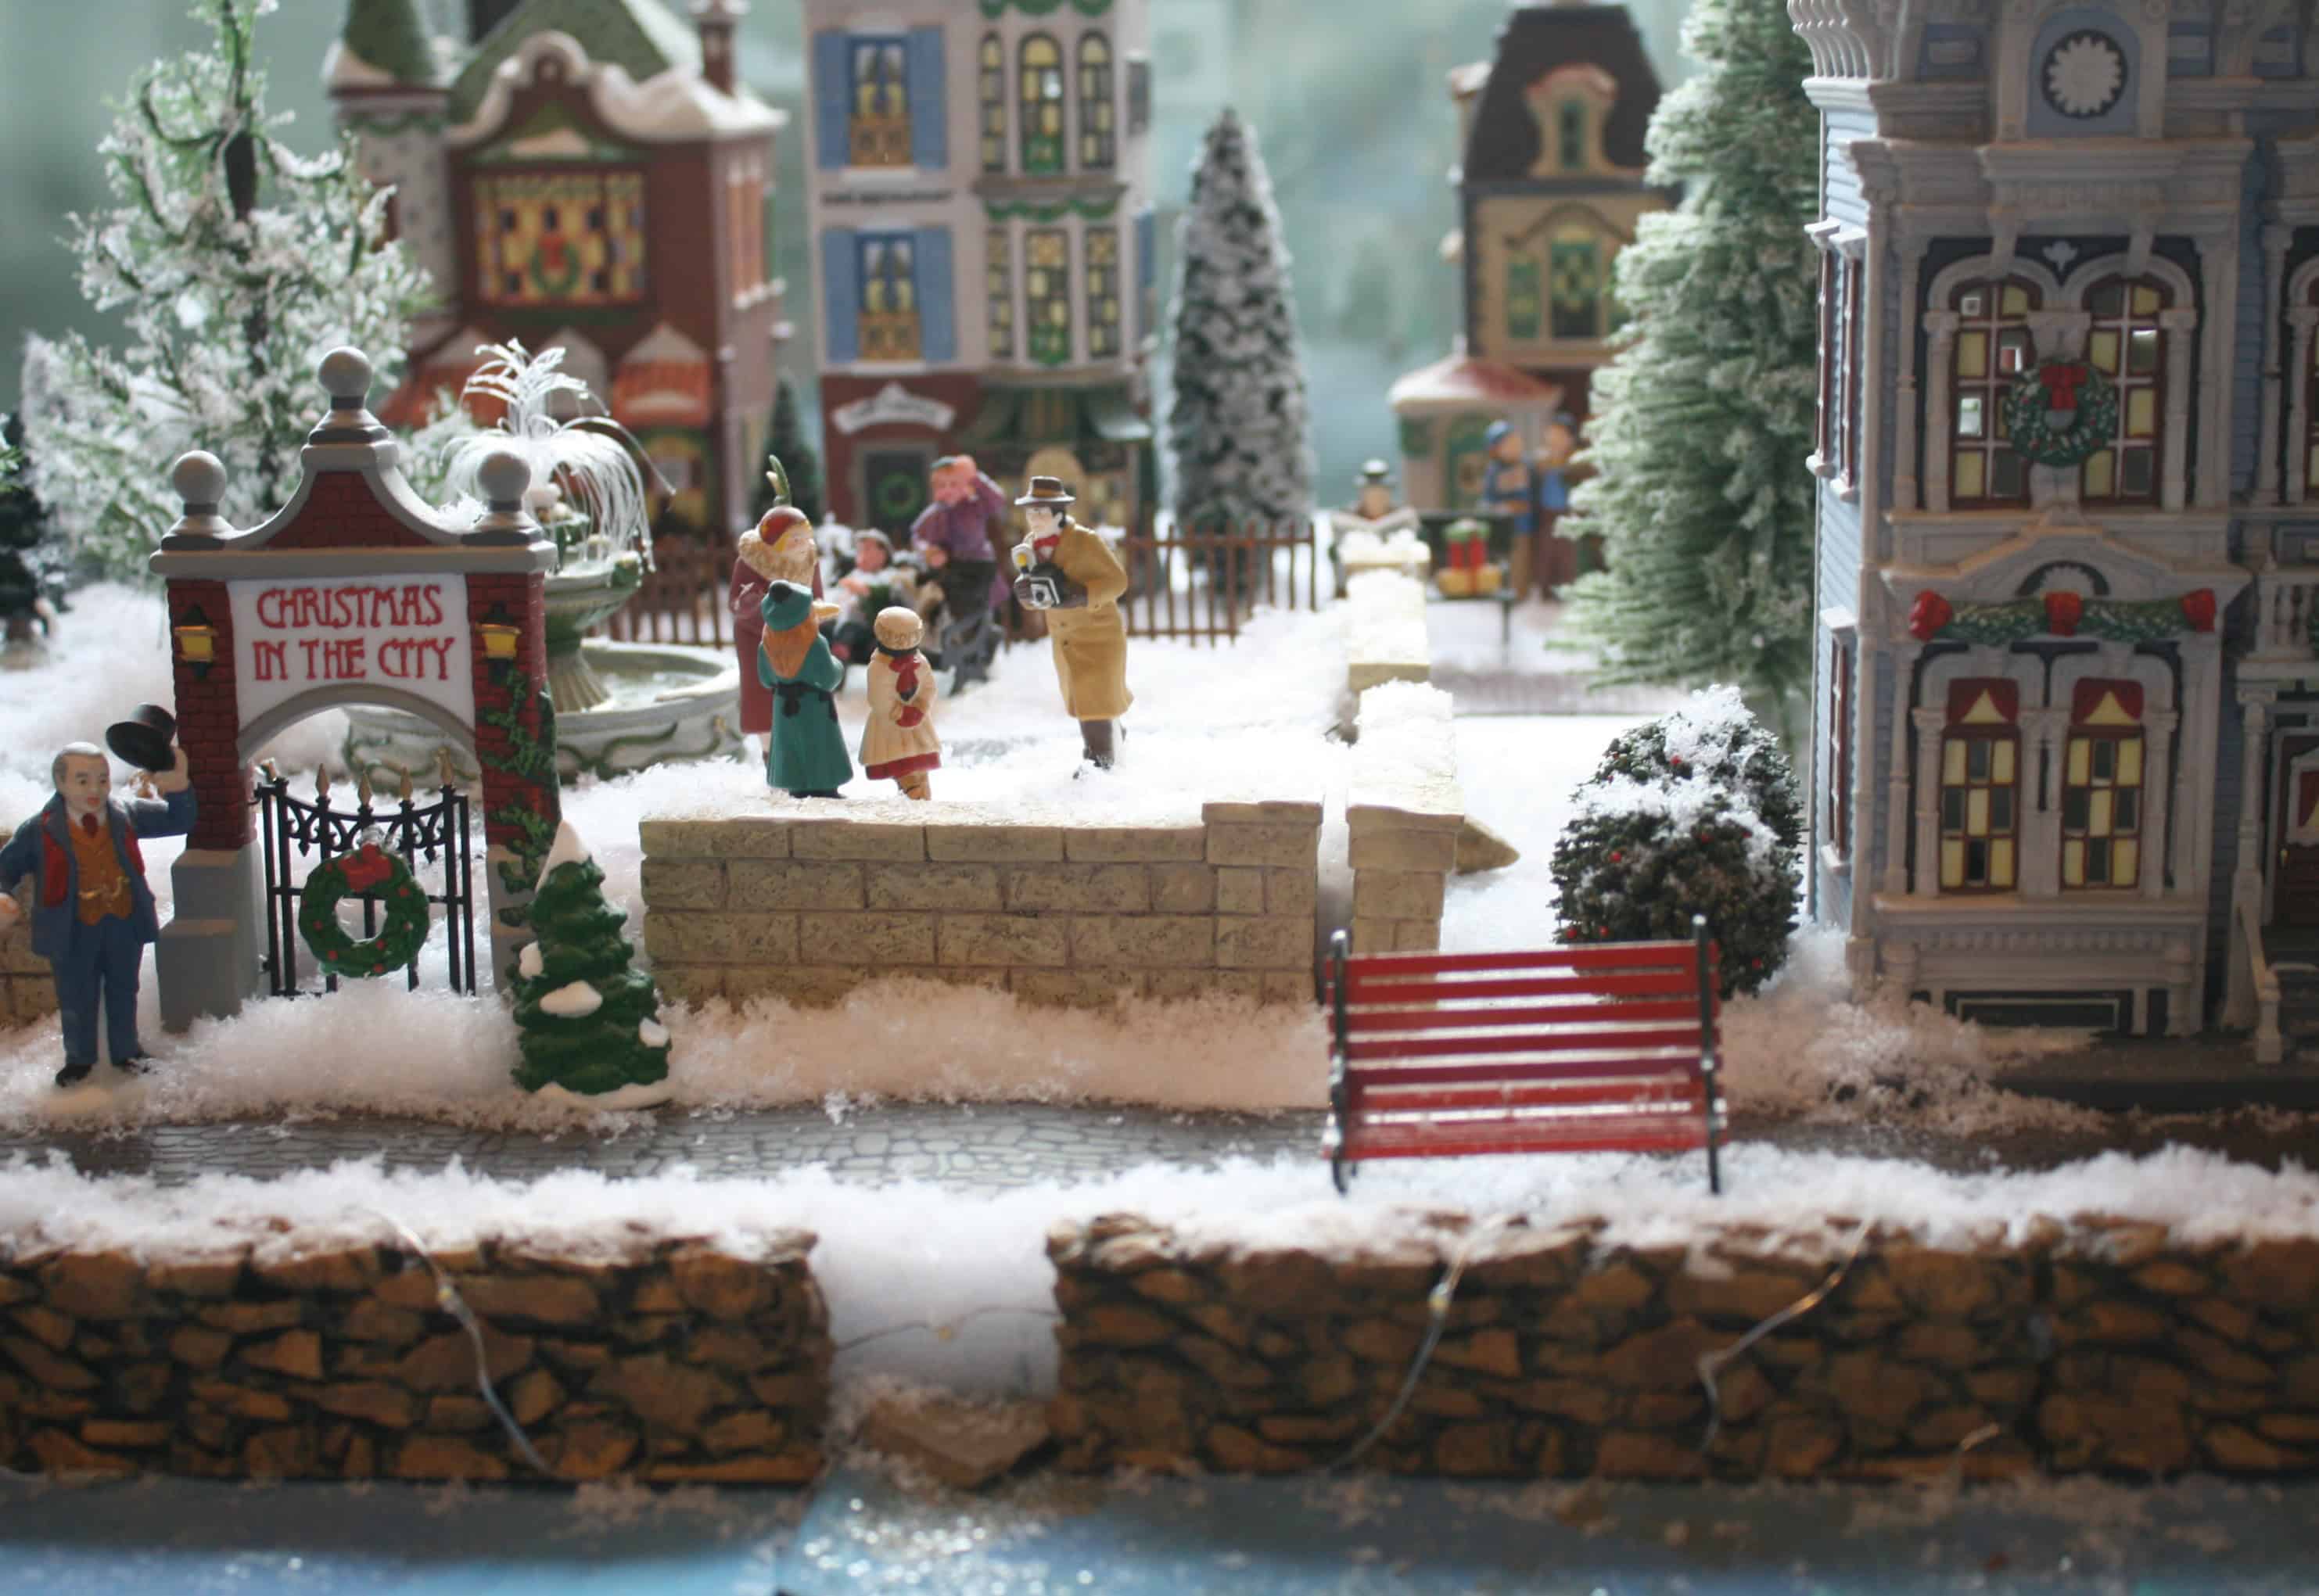
There’s an eclectic mix of condos, townhouses, historic old homes as well as restaurants and bars.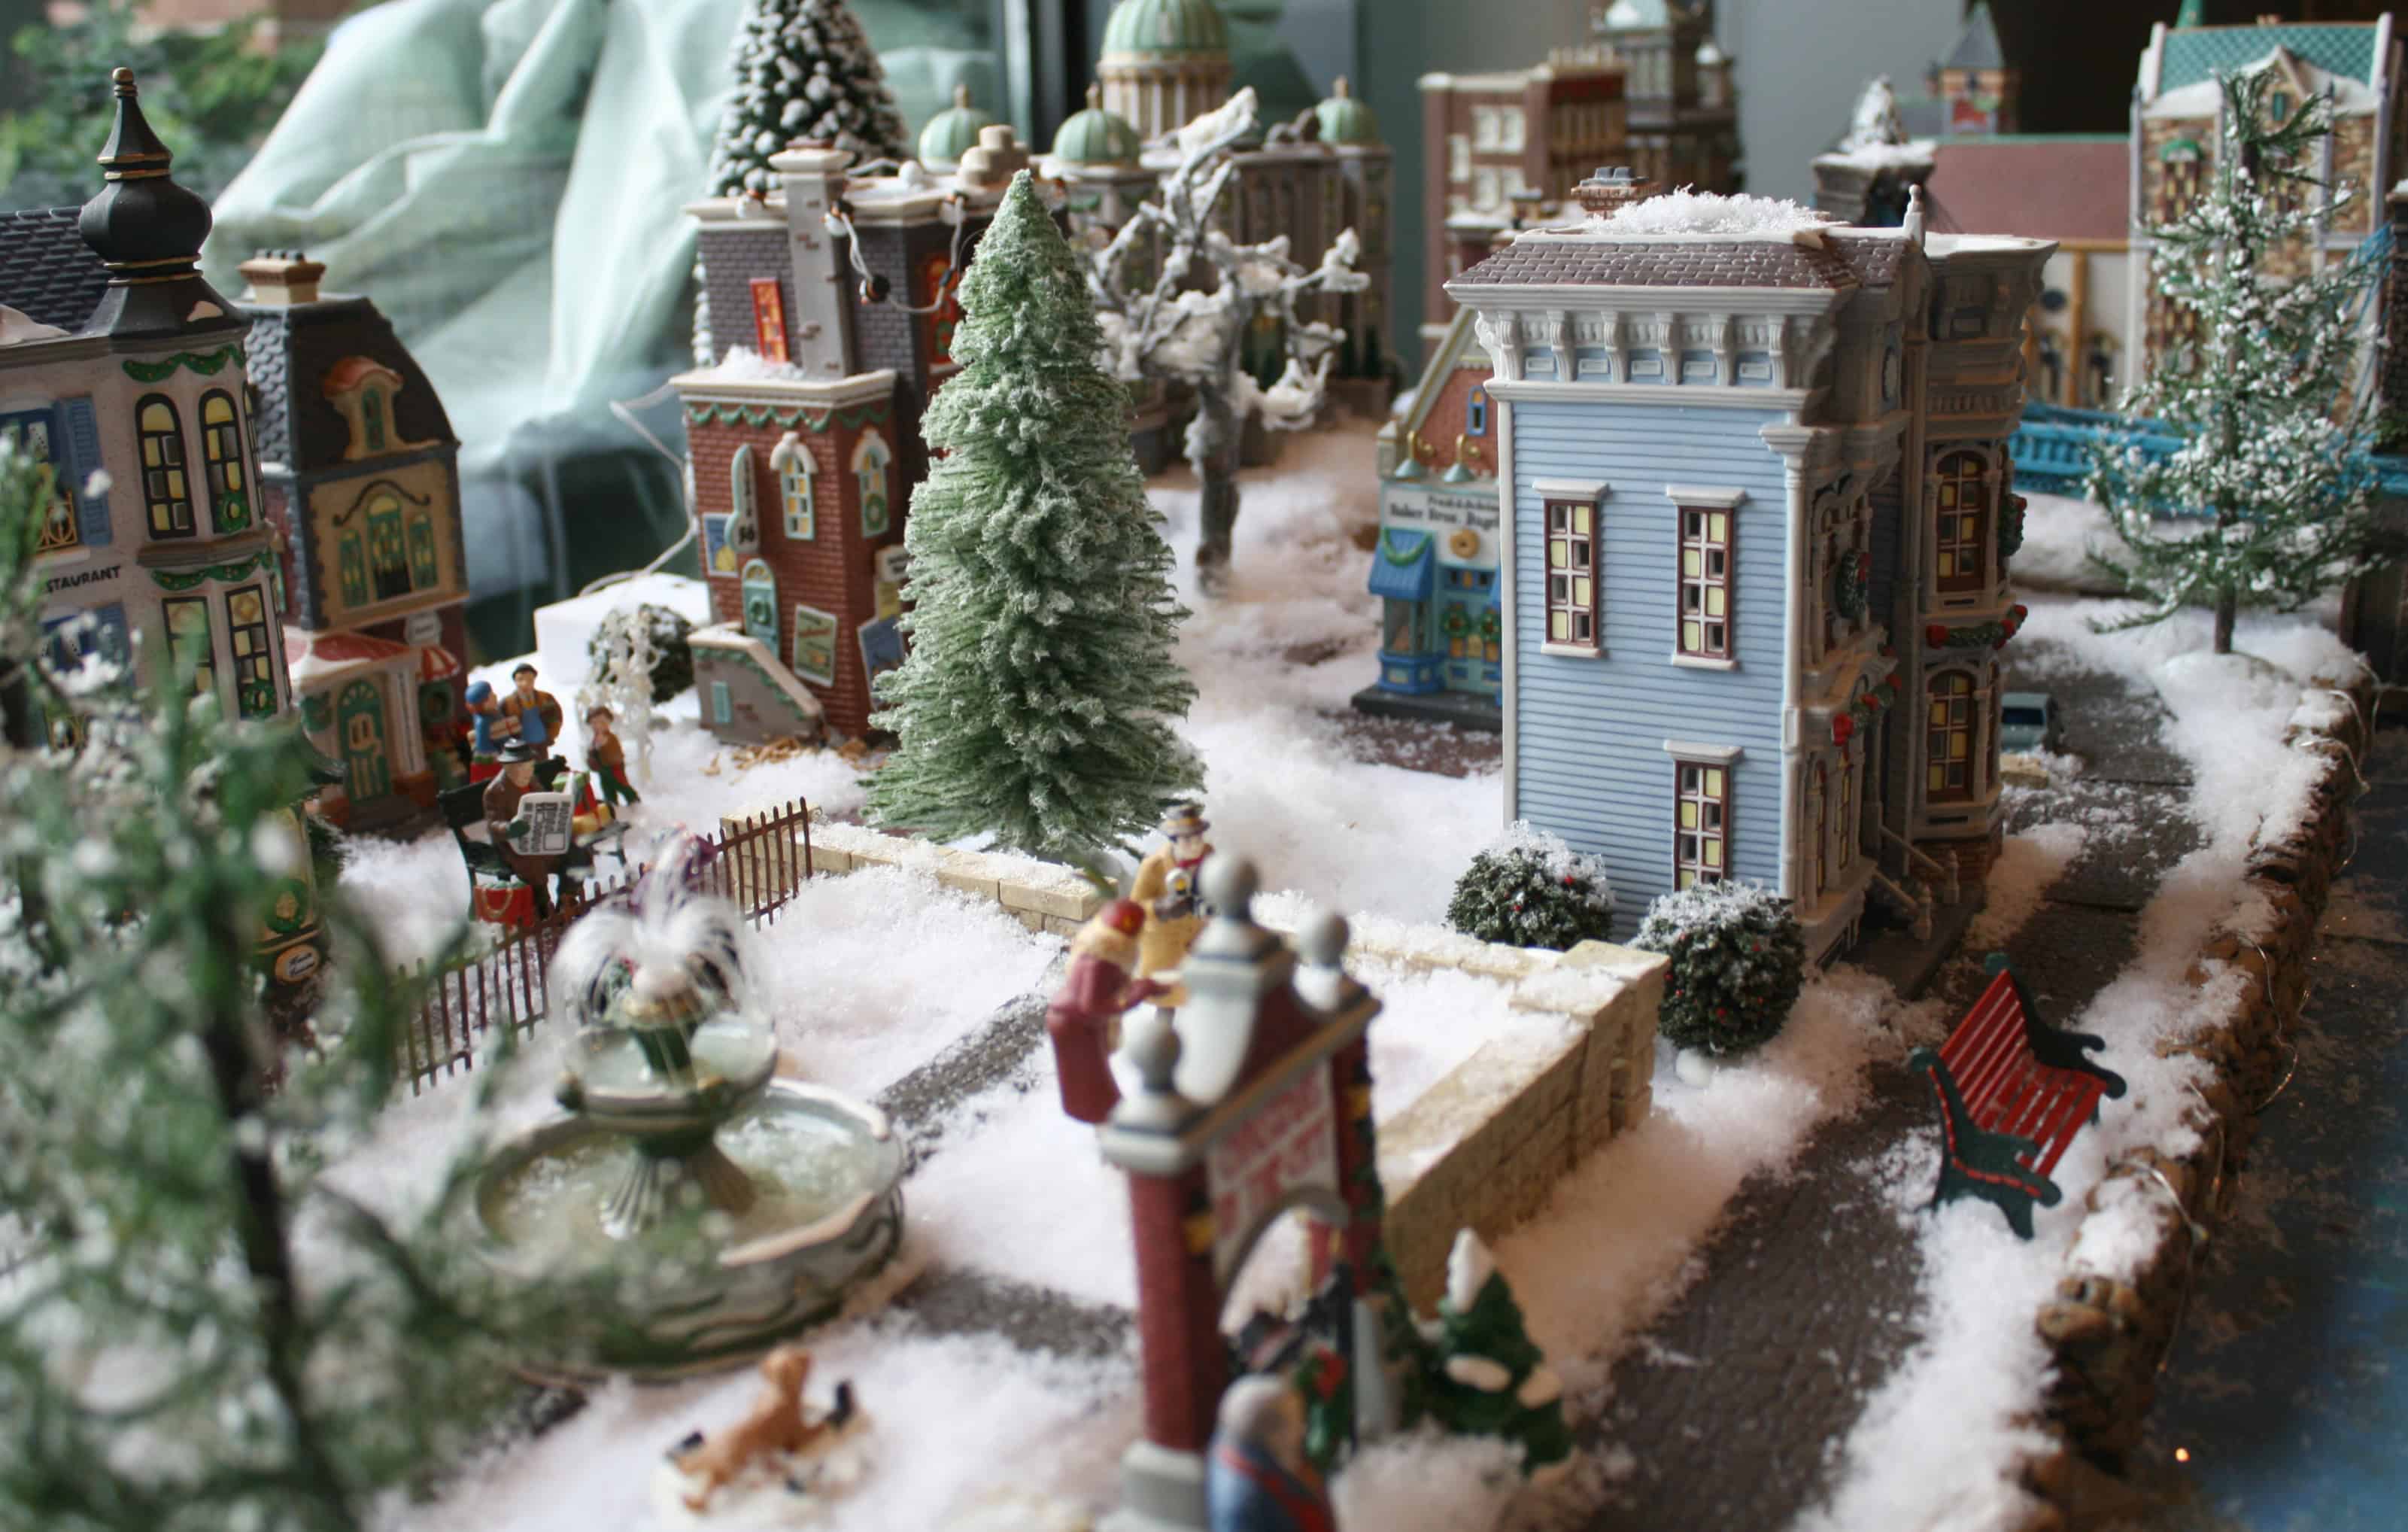
And in case you’re wondering, I constructed the Ohio river with strips of painted cardboard. 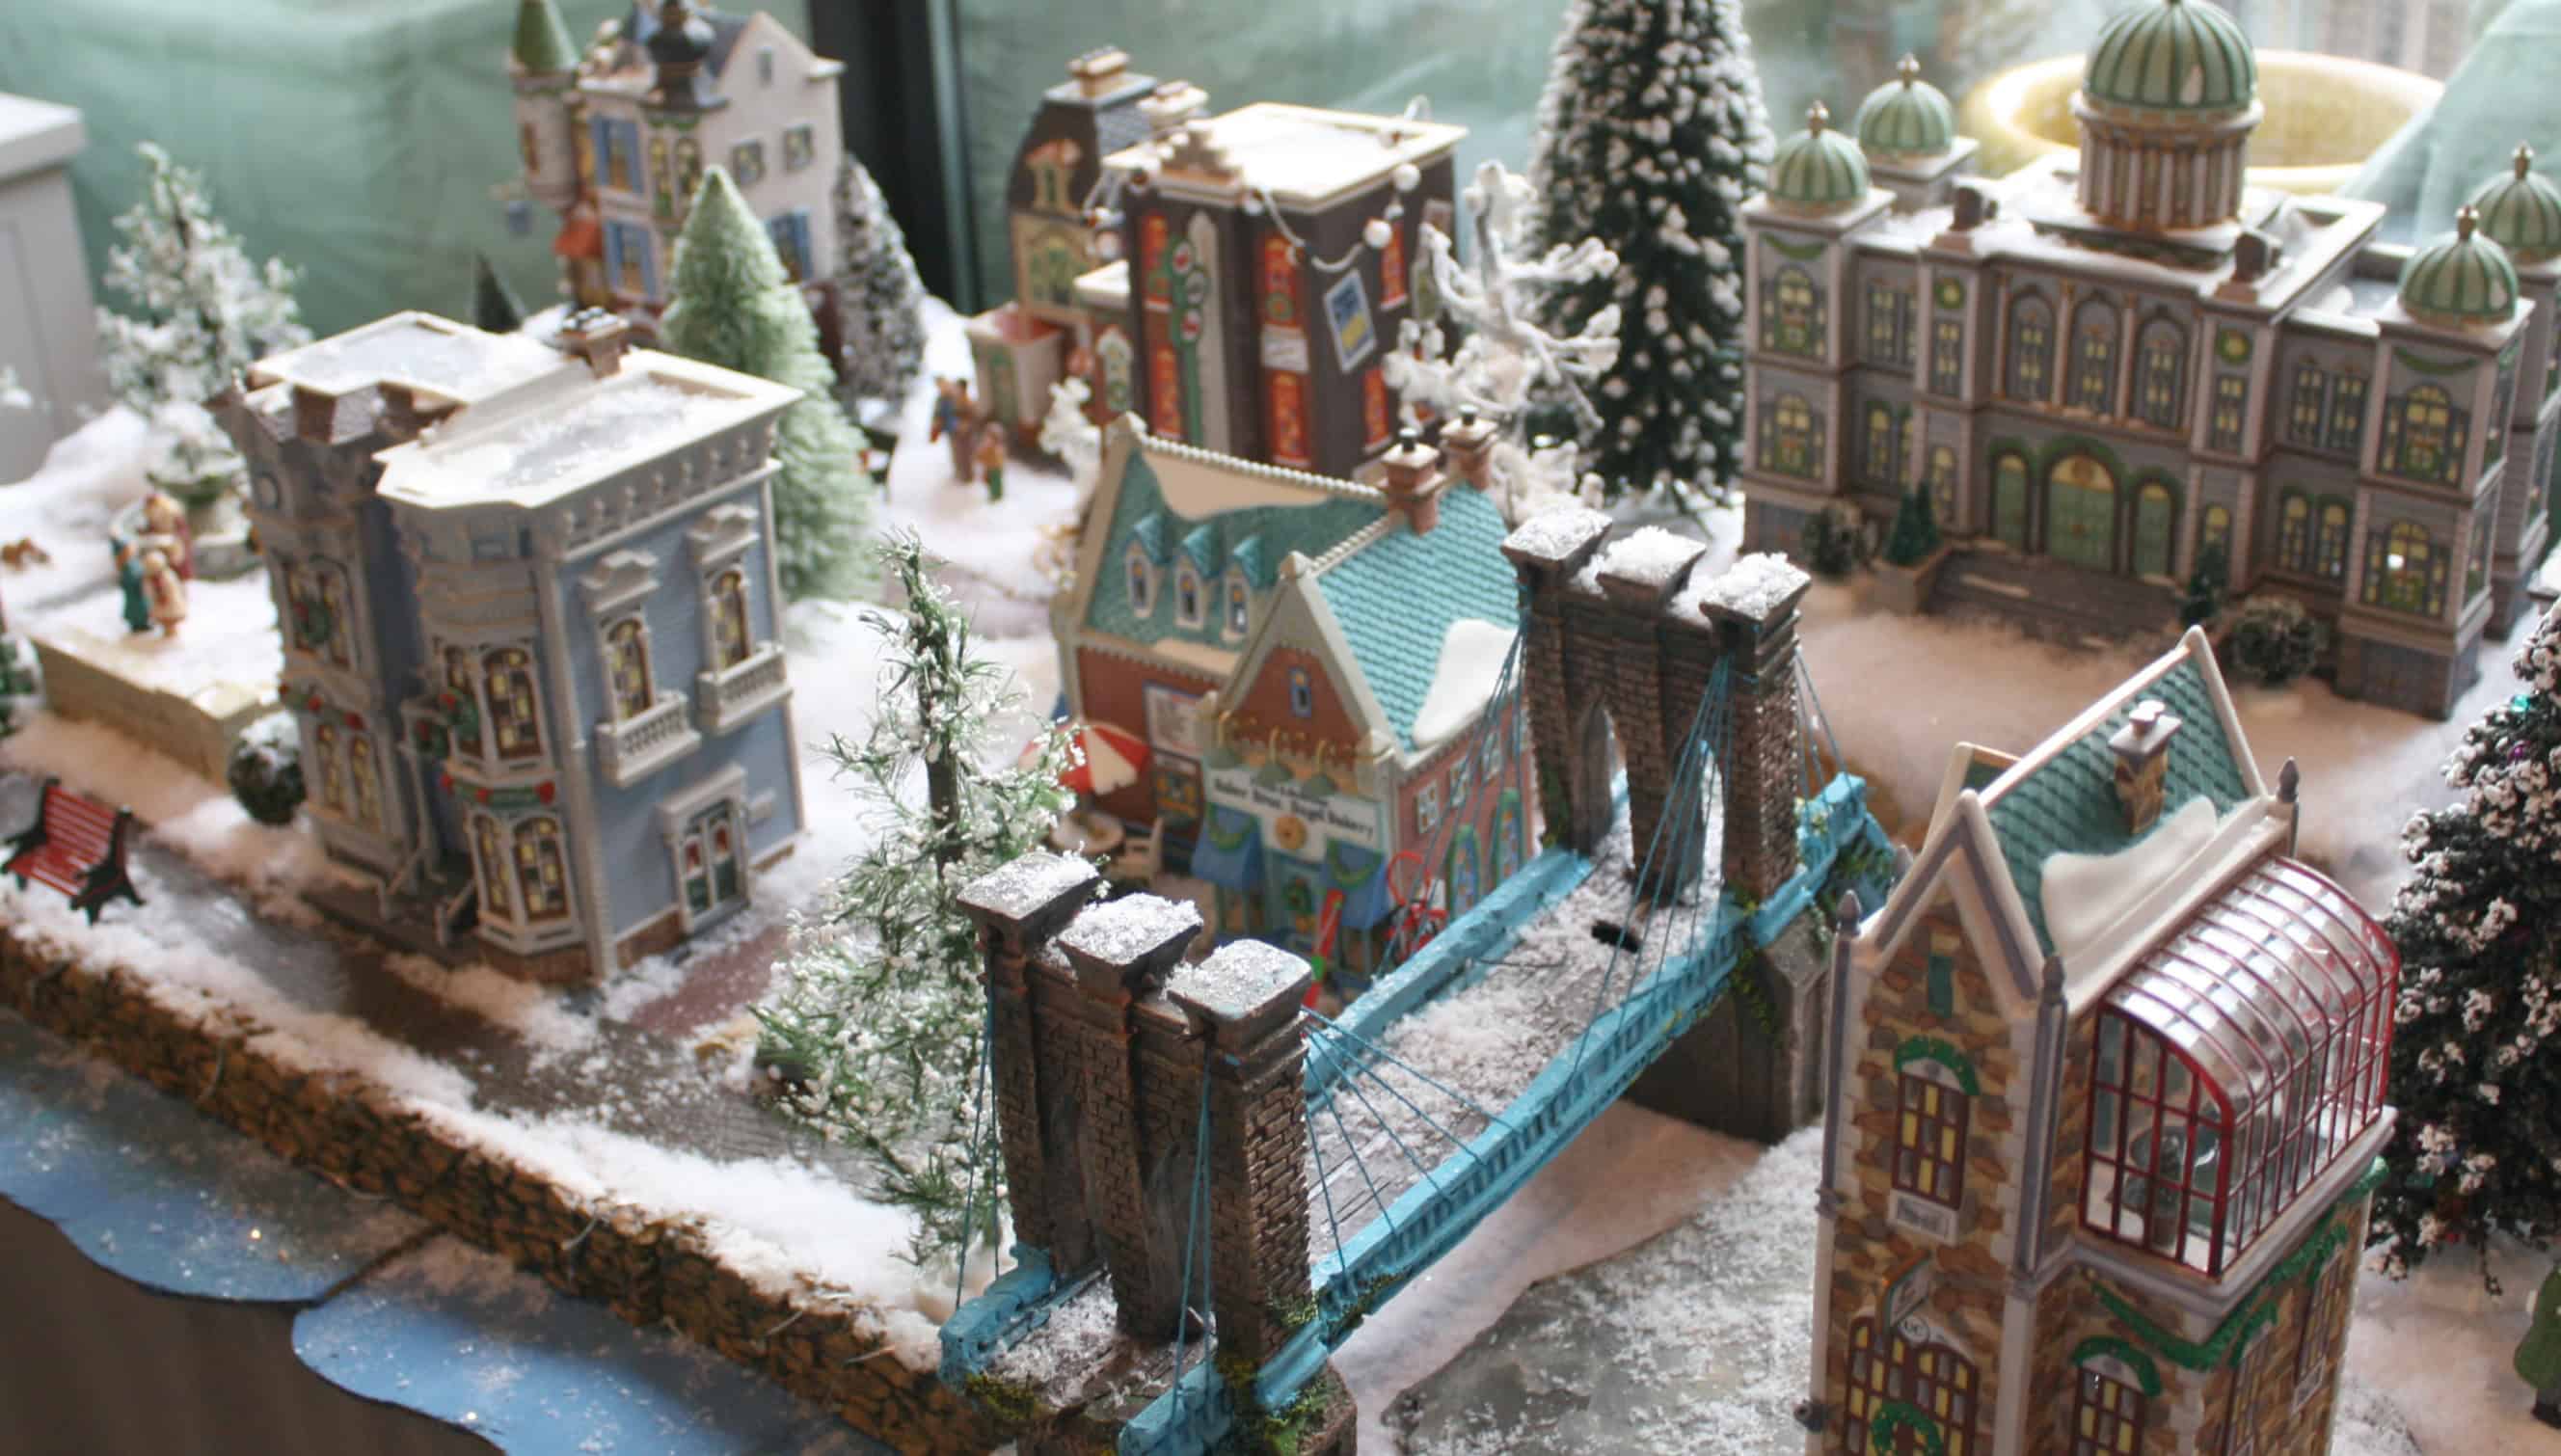
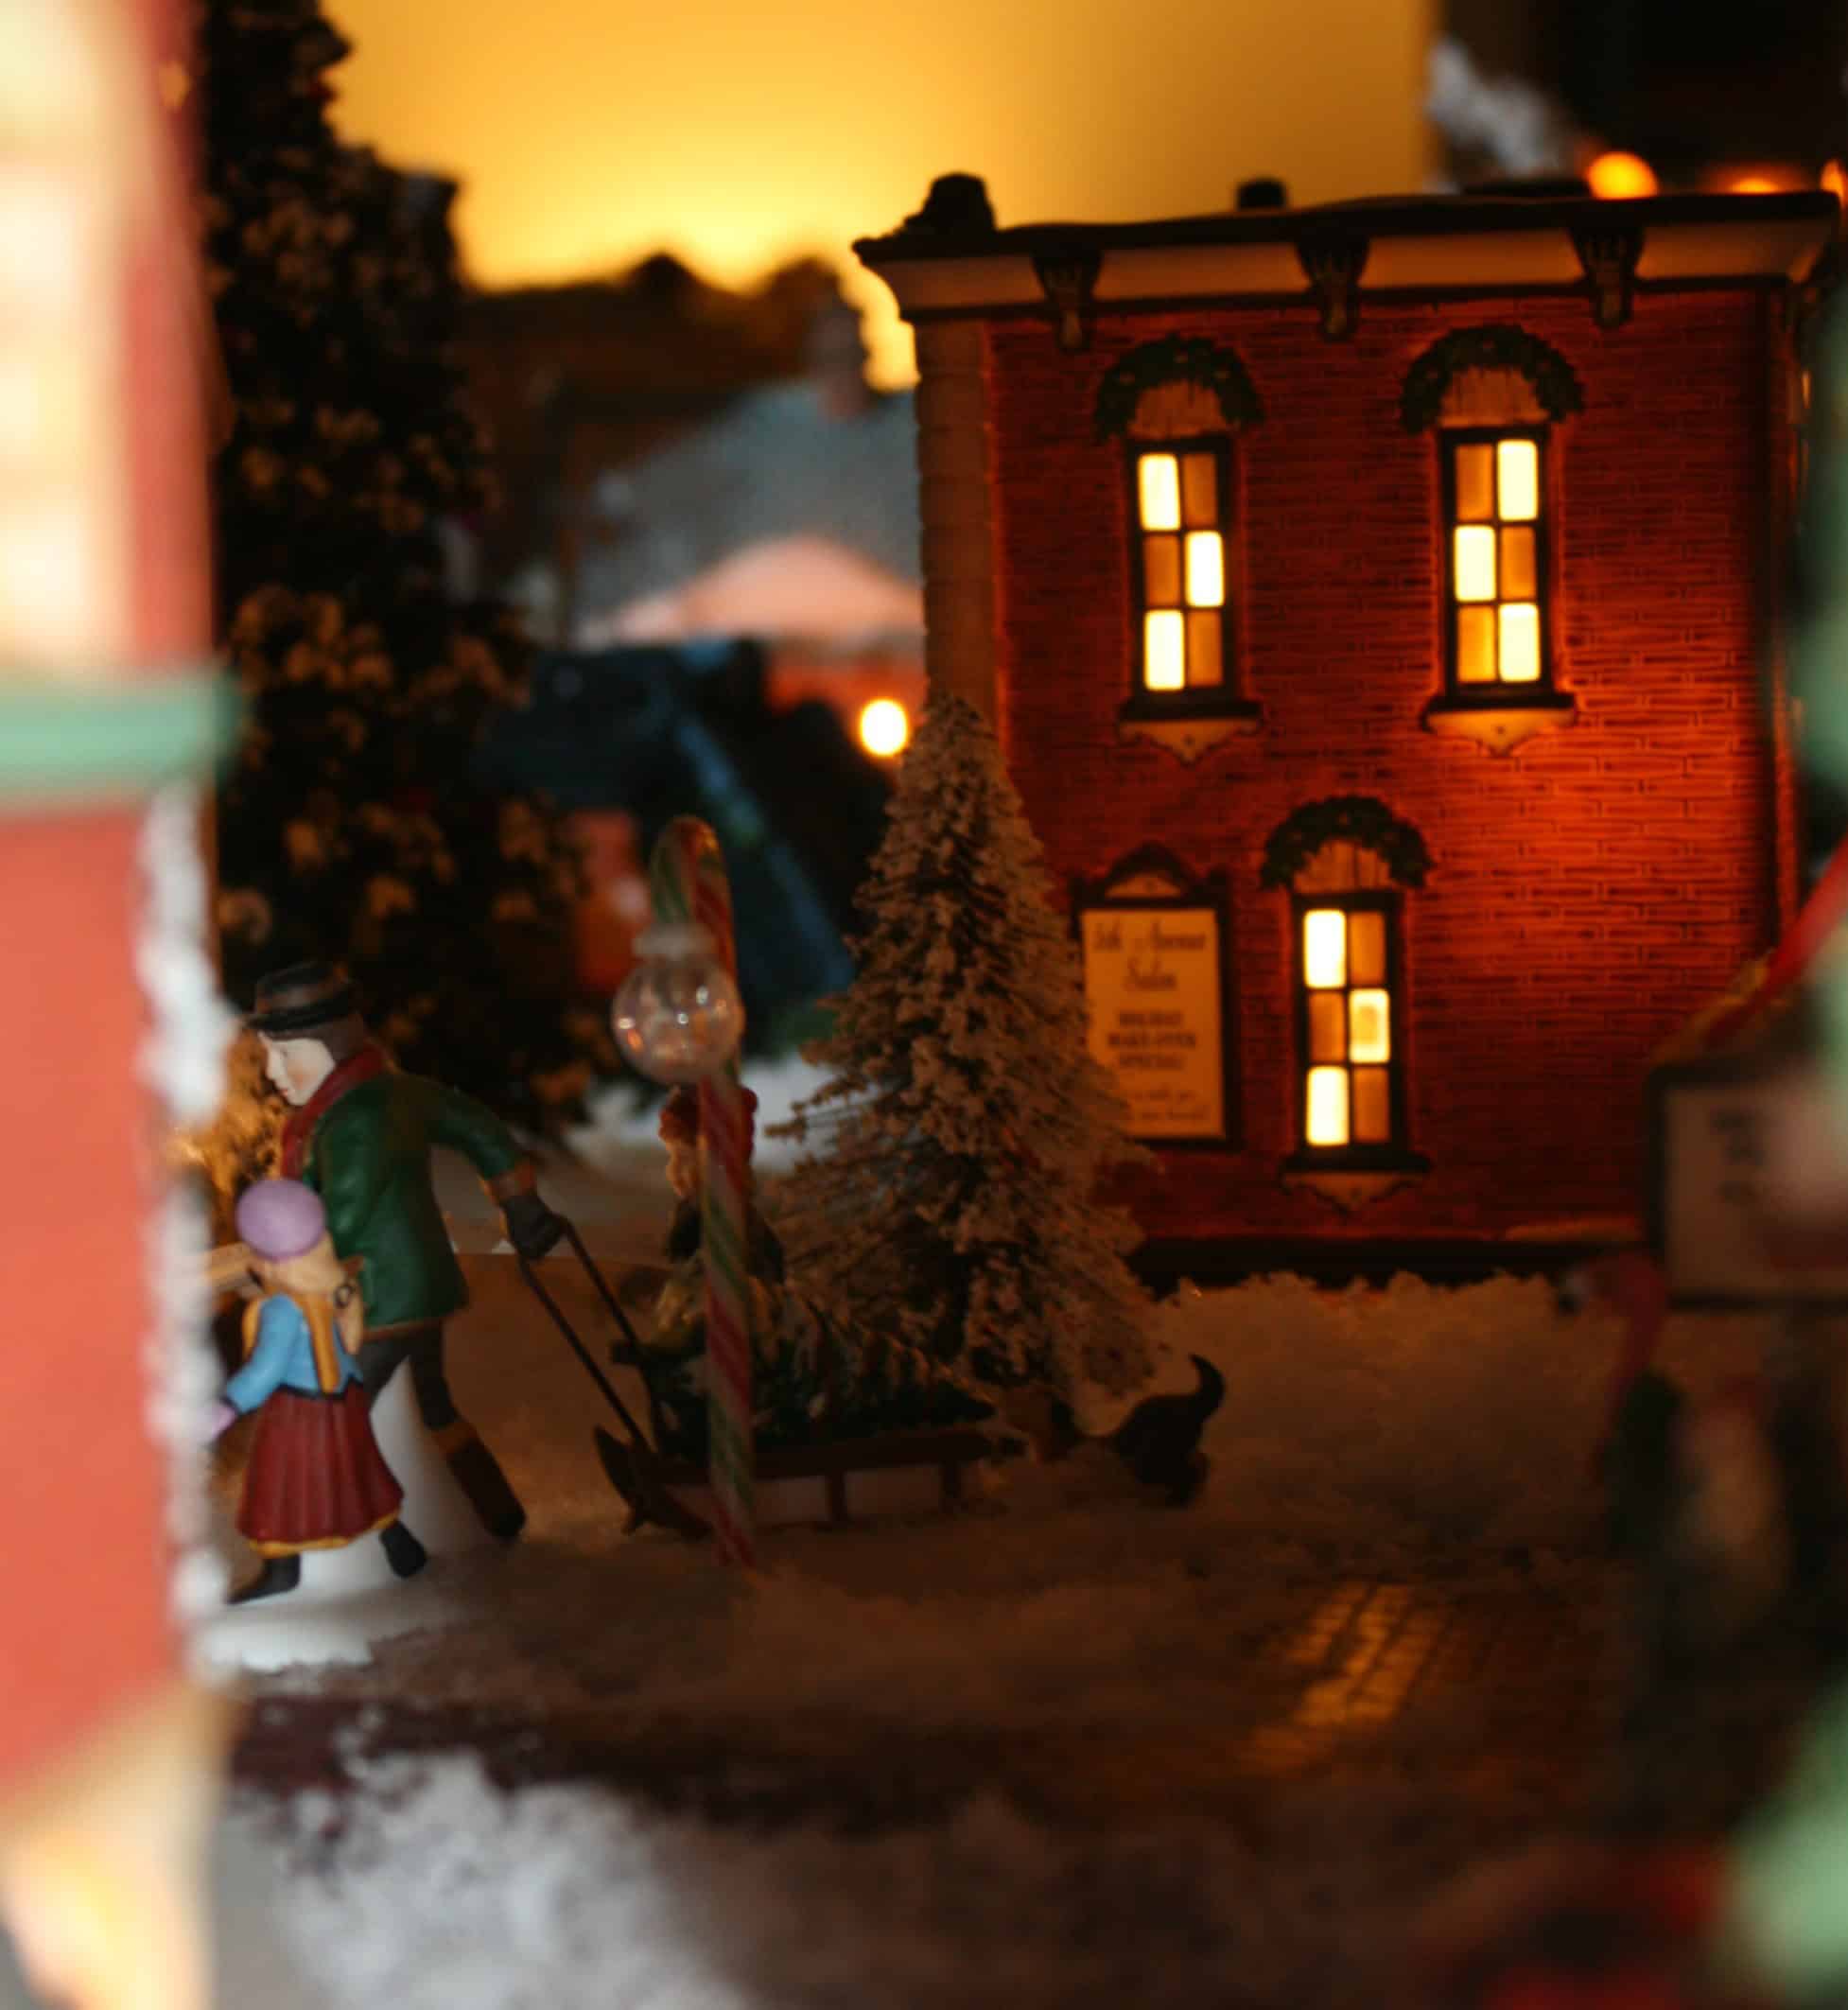
I tried to capture a few night shots of my little town. Something magical happens when the tiny city lights come on.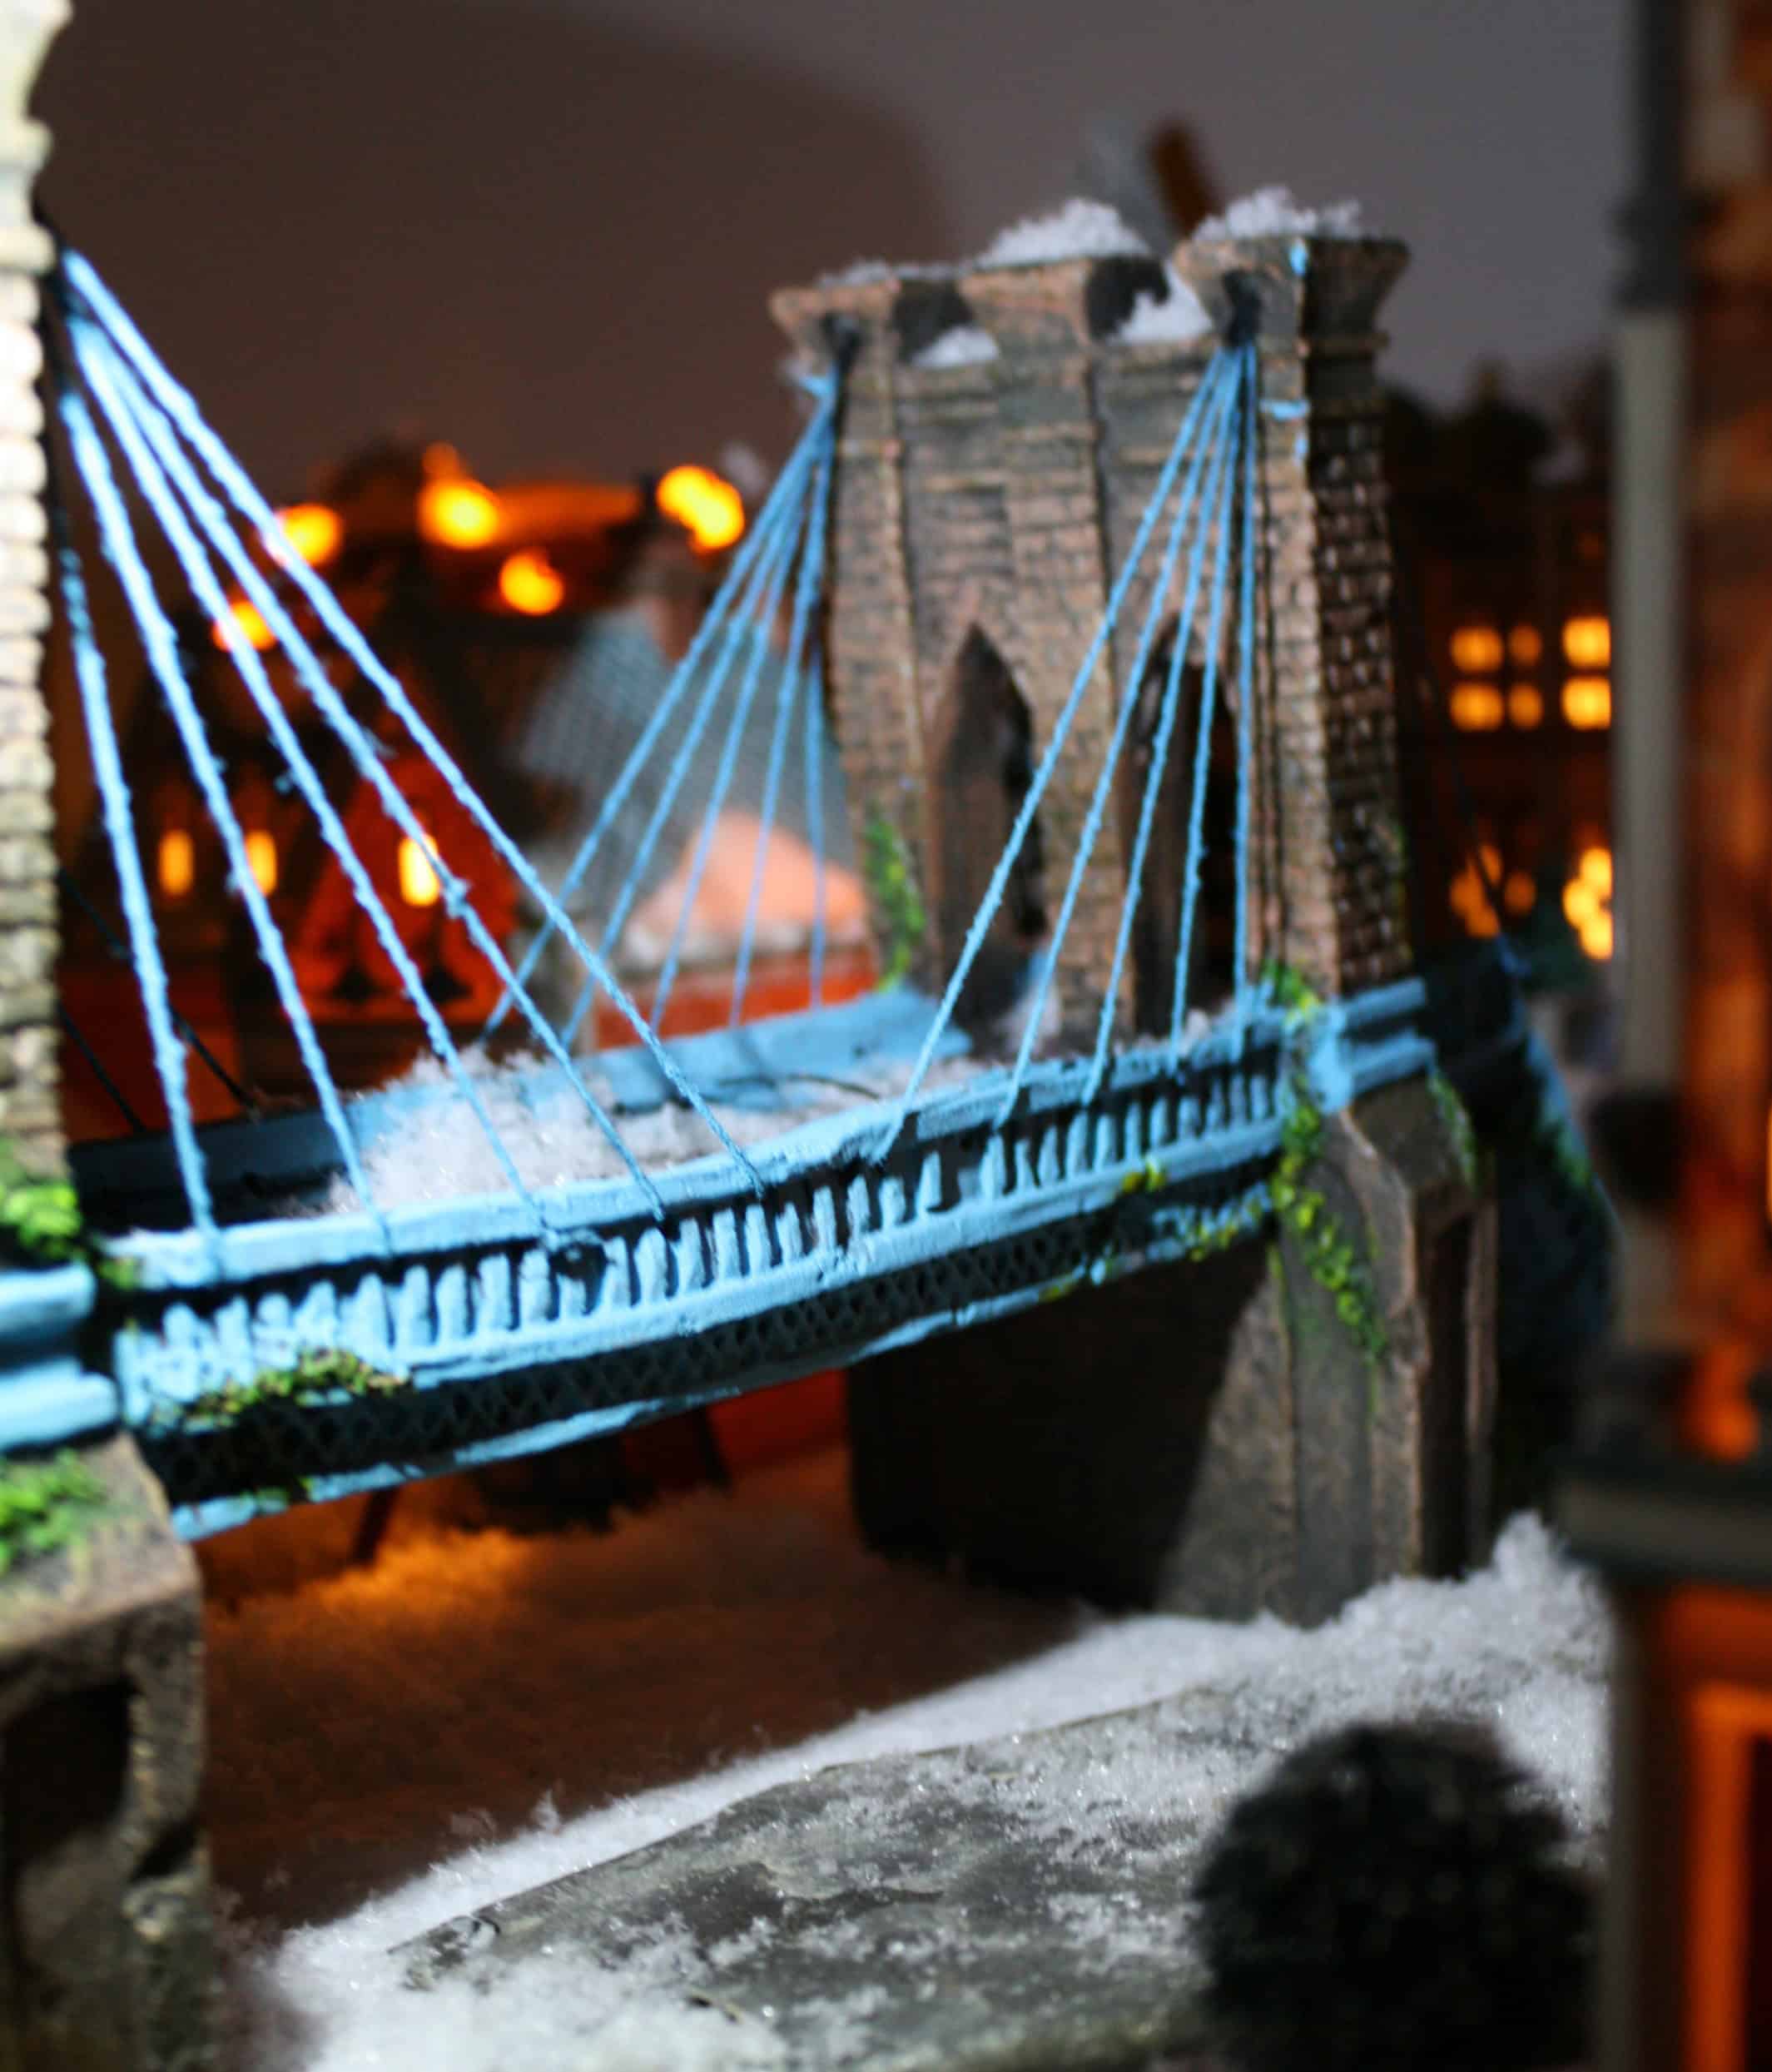
Thanks for humoring me and taking the tour. Maybe it will ignite some ideas of your own. In case you’re new to building villages, here’s the sequence I followed:
- Placed styrofoam sheets onto a tabletop.
- Placed the buildings where I wanted them.
- Covered the entire styrofoam with a large piece of cotton felt, moving the buildings as I went along so they would rest on top of the felt.
- Added the lights to the buildings, and cut holes in the felt so I could tuck the cords underneath the felt and weave them between the foam sheets (if possible.)
- Placed the roads down and then the trees.
- Sprinkled everything with fake snow, carefully camouflaging exposed cords and edges of the roads. The snow helps to “soften” everything.
- Added the people.
- As a final touch, I “sweep” the sidewalks and roads (with my fingertips) to give the city an even more realistic look.
And by the way, my version of Covington collects no taxes.
Merry Christmas!
I absolutely love this! I will definitely be using some of your tips. 🙂 Also, I’m from Cincinnati and am dying to know where you found the Roebling Bridge. I would love to find one for my village since my village is a set up of sentimental pieces of my life memories. 🙂 Thanks so much for sharing this!
thanks Nicole! I actually found the bridge at a pet store. It is a piece to use in an aquarium, and I just painted it. lol
Talk to me about your roads…what did you use? I’m also going for realism, and have a smallish residential area with a sweet little farm out in the “country”. I’m thinking paved but worn roads in town, changing over to a dirt road approaching the farm. Any tips appreciated
So far, I’ve just used the standard rolls of vinyl roads (I think available from Dept 56) but I think your ideas sound wonderful.
How do you get them to lie flat? I have tried ironing, soaking in hot water and they still buckle from being rolled. I am contemplating trying to glue them to something stiff like cardboard or wood. Any advice?
That is absolutely darling! I love it. I have no good place to put my village and after the cat knocked over my people (repeatedly) the first few years and the kids “played” with the characters the next few years I have hardly any non-broken pieces left.
Lol! Now that we’ve downsized to an urban condo I don’t have a great spot for my village either!
This turned out GREAT…love the bridge
Finally found a bridge meant to be used in aquariums and I painted it! I think it works though. Glad you like it!