My French traditional nativity display may have started with only a few santons, but over the years it has grown way beyond a single scene. It has become an entire village… one that is invading our family room. However, because this French creche holds special memories for us, we’re happy to share our space with this little piece of Provence.
My beautiful, French mother-in-law passed this past Spring. The very first Santons de Provence I saw were in her home, arranged artistically in a charming miniature village built with stones and paper bag mountains. I fell in love with this tradition and began collecting my own figurines, a piece or two each year.
I wrote an earlier post on how I display my Christmas creche, but my little village has undergone some major transformations this year. I’ve inherited pieces from Mamine’s creche, and now the population of my village has exploded. So come join me as I build my new Christmas creche!
step 1 – group pieces according to size
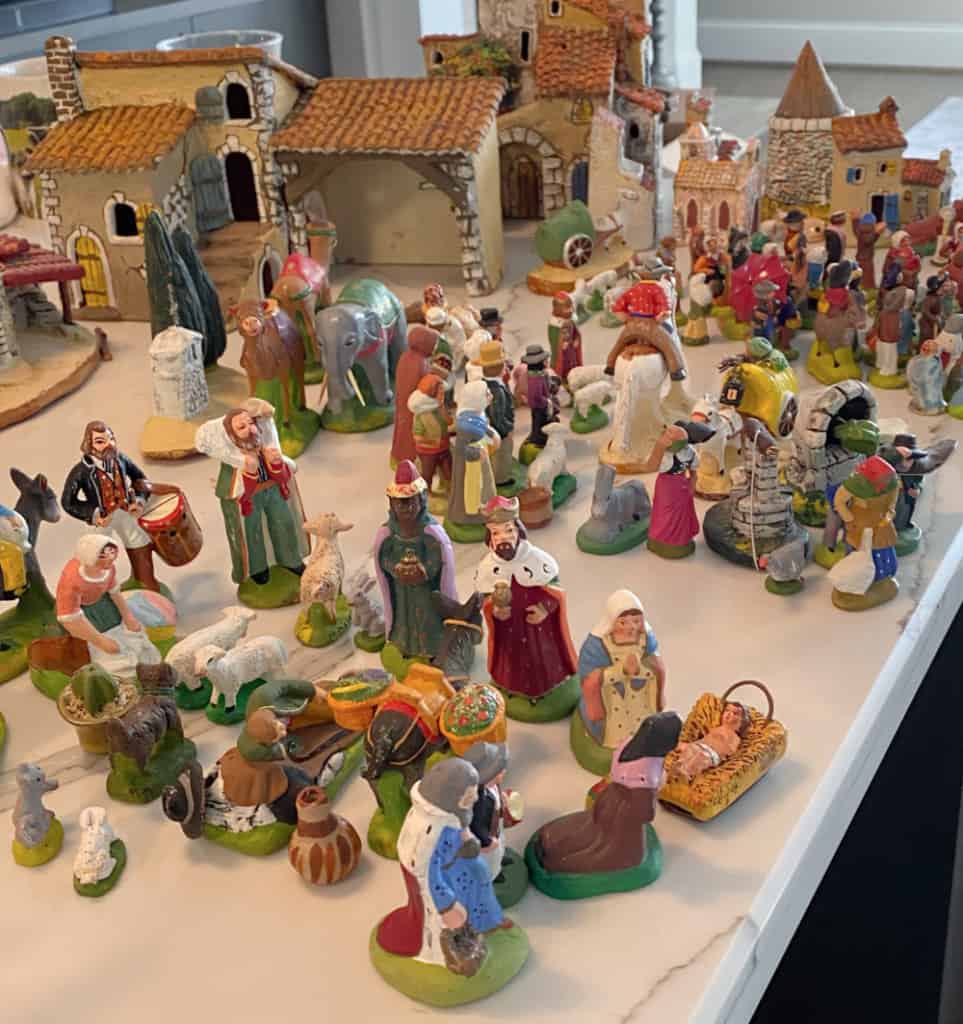
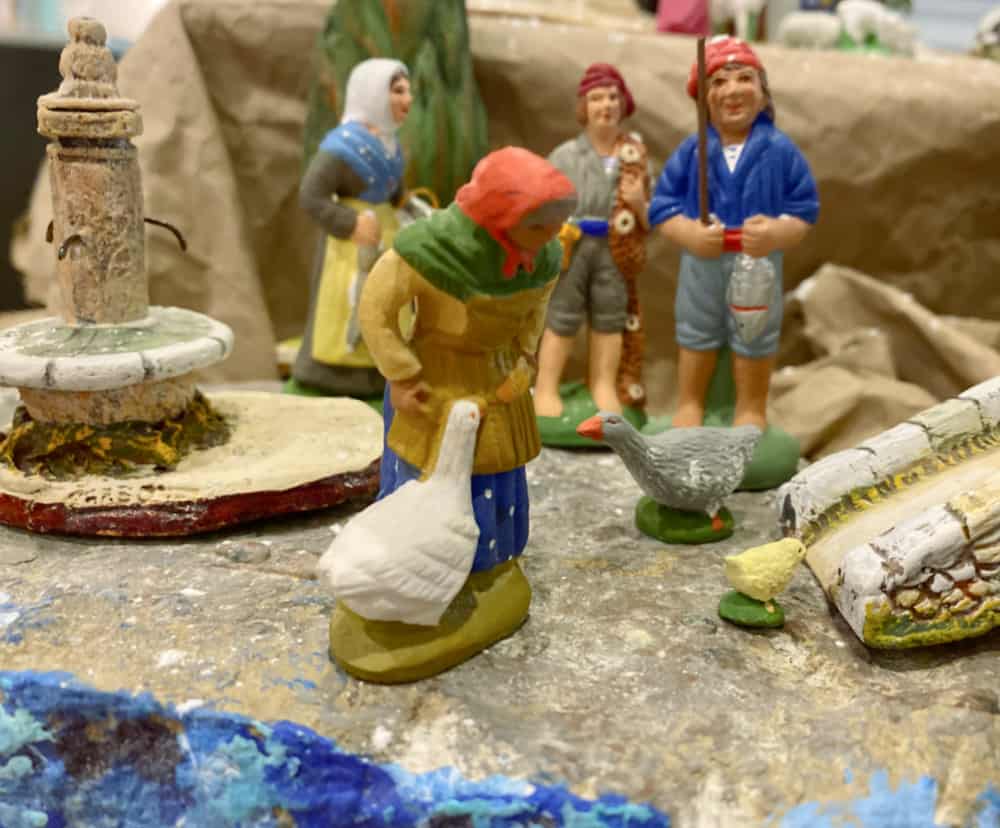
In case you aren’t familiar with Santons, they are tiny clay figurines handmade by artisans in the south of France. A traditional French creche includes the nativity scene as well as characters from Provençale village life. The word santon means saint , and my little saints have aggressively taken over my kitchen counter, as you can see below!
Because they vary in size, the first step is to group them accordingly. Tiny ones for the mountains and larger ones for the village below. You didn’t expect this to be simple, did you?
step 2 – prepare the base
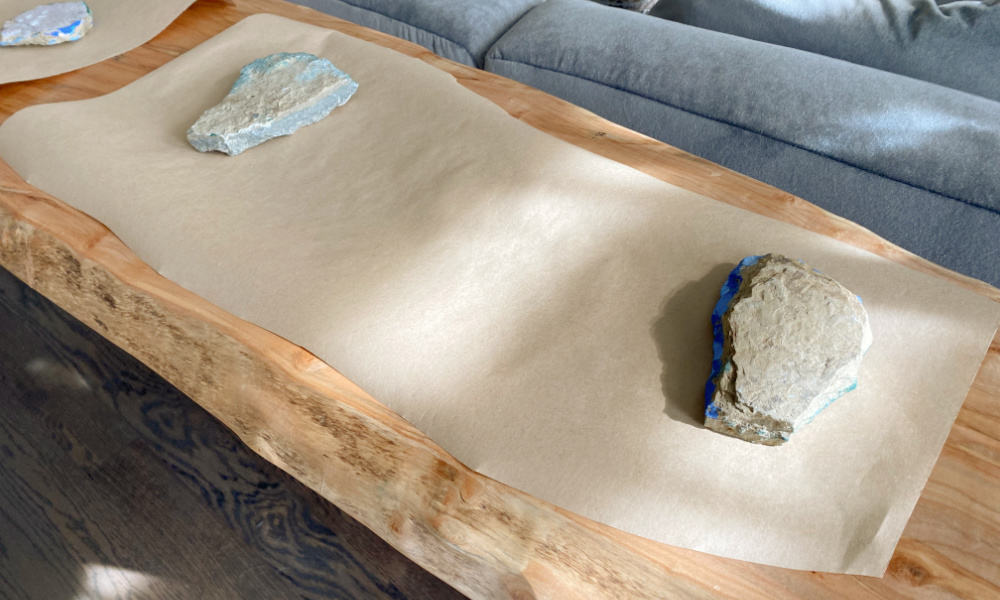
Now, where to put it? This year I’m going to use a the long, wooden side table behind my couch as the base. It has beautiful live edges that will compliment the rustic feel of the village. And, more importantly, I need a big space. To protect the table from scratches, I covered it with pieces of Kraft paper.
Because I separated my figurines into 4 different sizes, I then needed to designate 4 areas to house them. Notice the sticky notes below! Tips: It is best to build the highest (most distant) areas first. And when working on a particular section, build around the largest pieces.

step 3 – build the mountains
Before construction begins, it’s time to share one of Mamine’s trade secrets – building mountains from paper bags. Using a section cut from a paper grocery bag, scrunch it into a ball. Wet it lightly, unfold, then scrunch into a ball again. It should be slightly moist but not saturated.
Place the moist bag over different shaped items (I used empty coffee and oatmeal boxes in the photo below) and mold it around them with your hand into crinkly shapes resembling mountains. Let dry.
step 4 – add stones
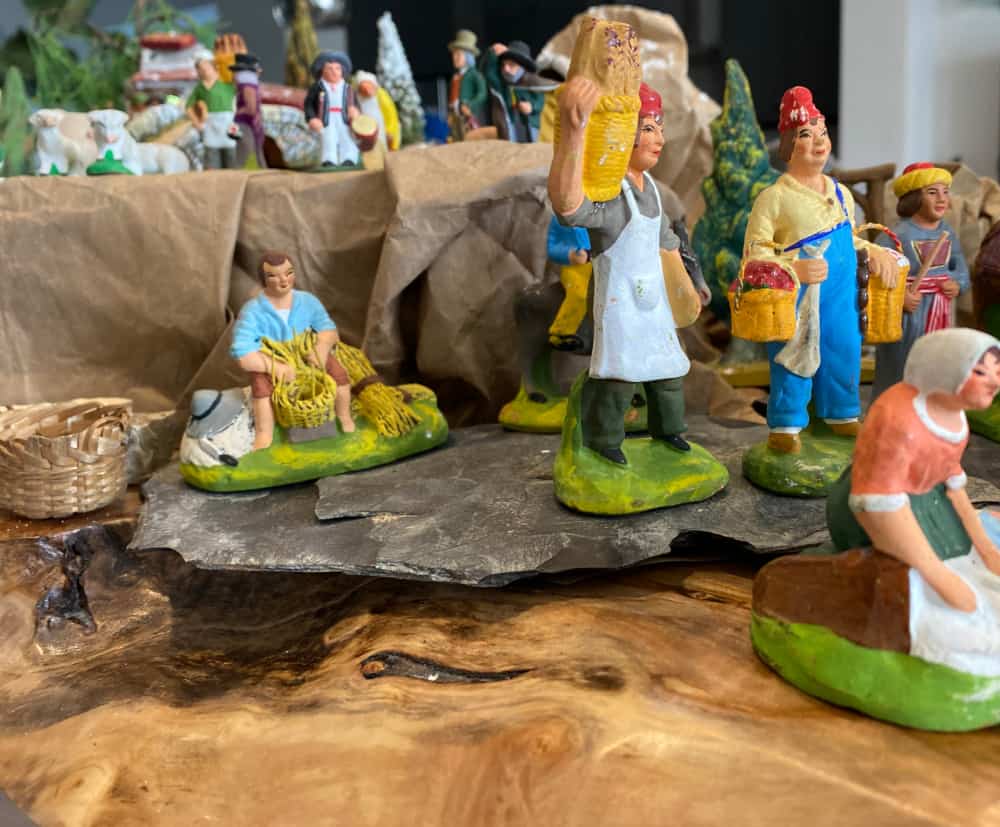
Stones are also an effective addition to a Provençale village. I find myself collecting them whenever I spot a perfect size or shape. I especially love incorporating flat pieces of slate.
You can be as creative as you like with embellishments, but I like to use mostly paper mountains and rocks. It somehow lends a raw, rustic feel to the ancient village.
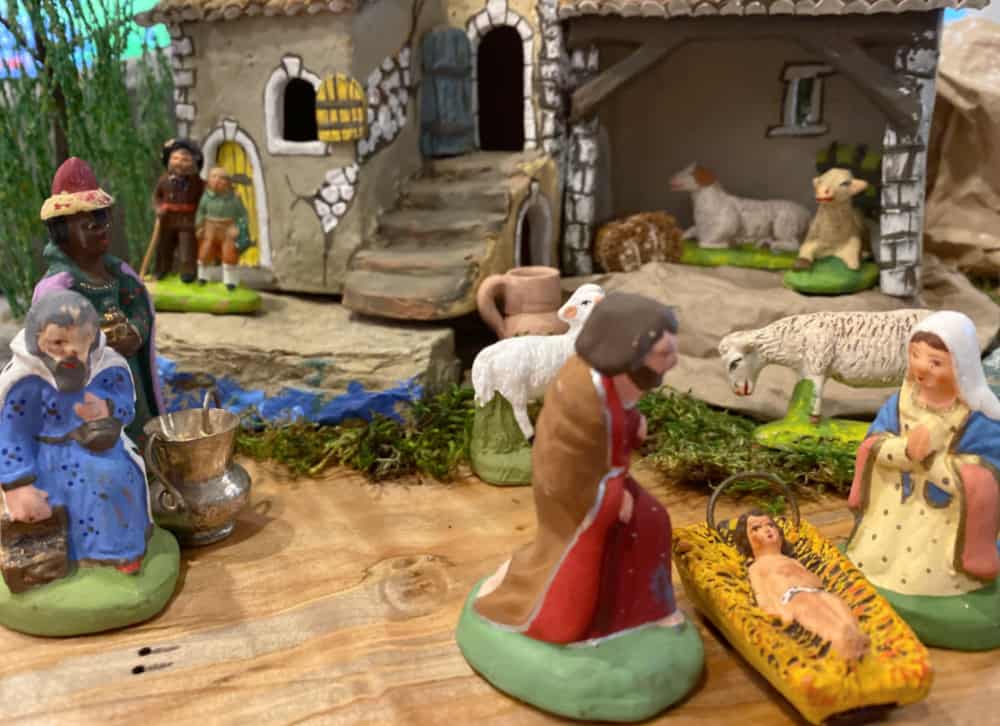
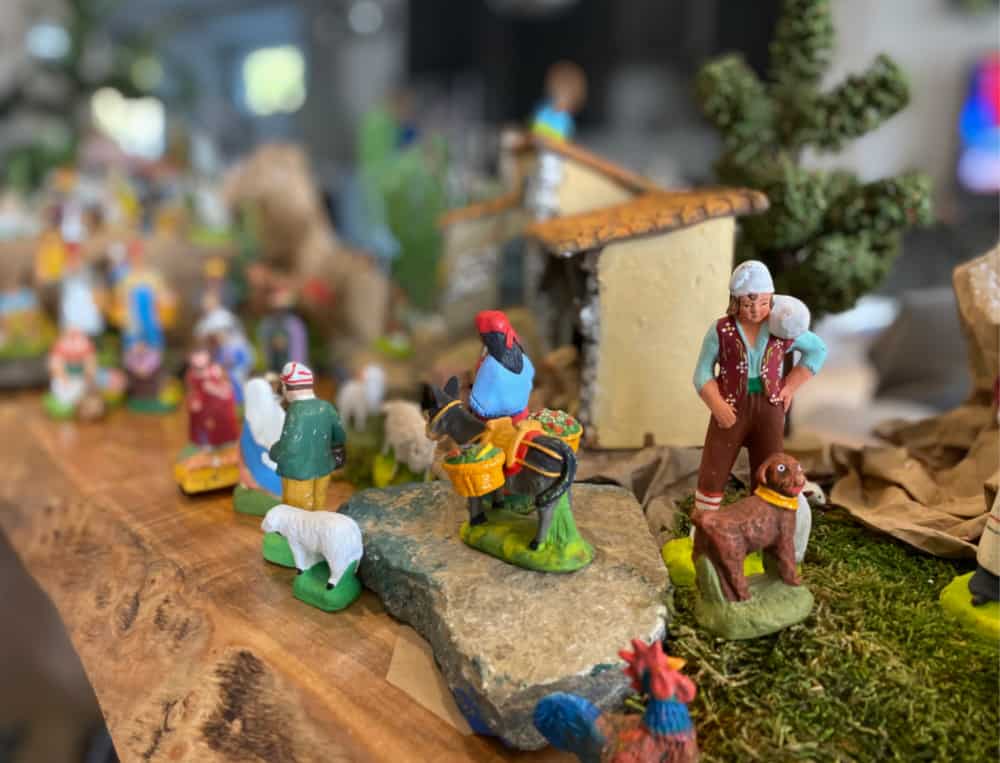
step 5 – arrange the people
Once the sections are mapped out and the basic structures are in place, it’s time to add the inhabitants. I start with the buildings then add the people. This is the fun part – adding all the little saints one by one, admiring their details and imagining their daily lives.
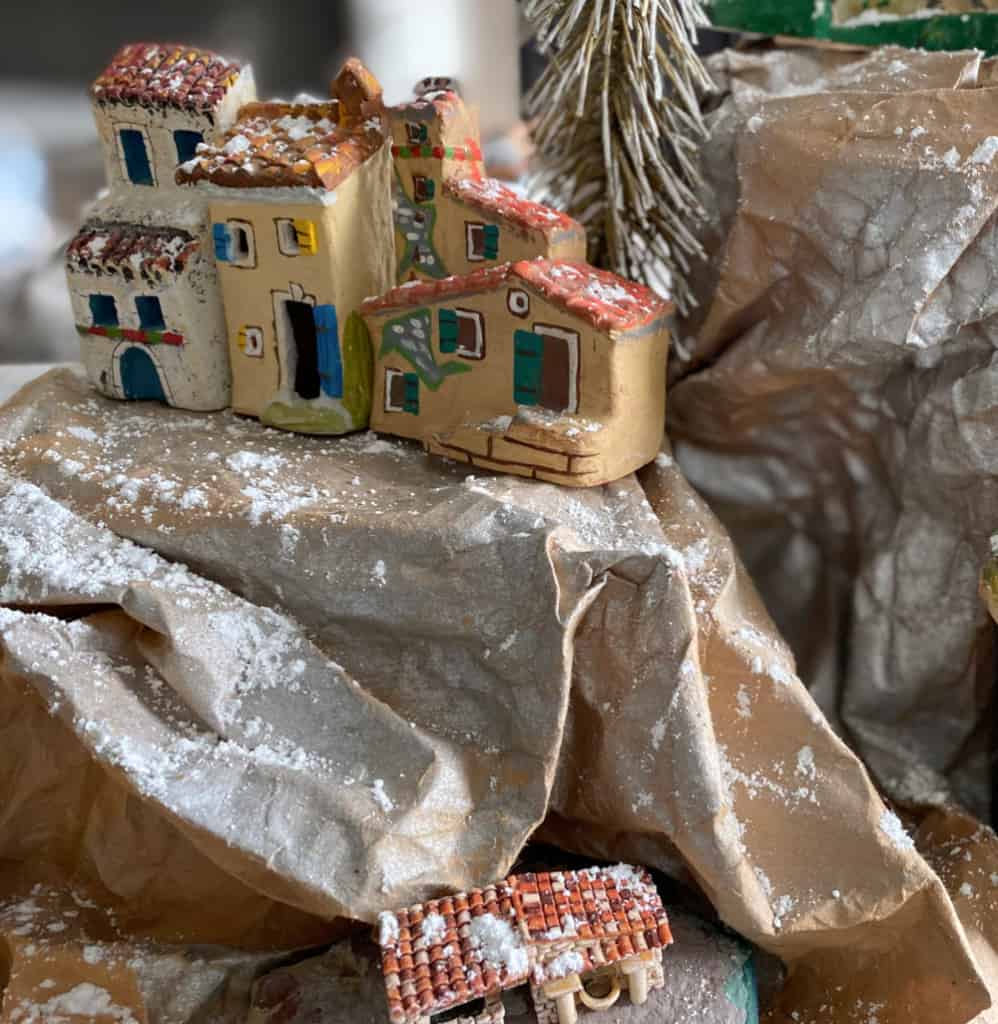
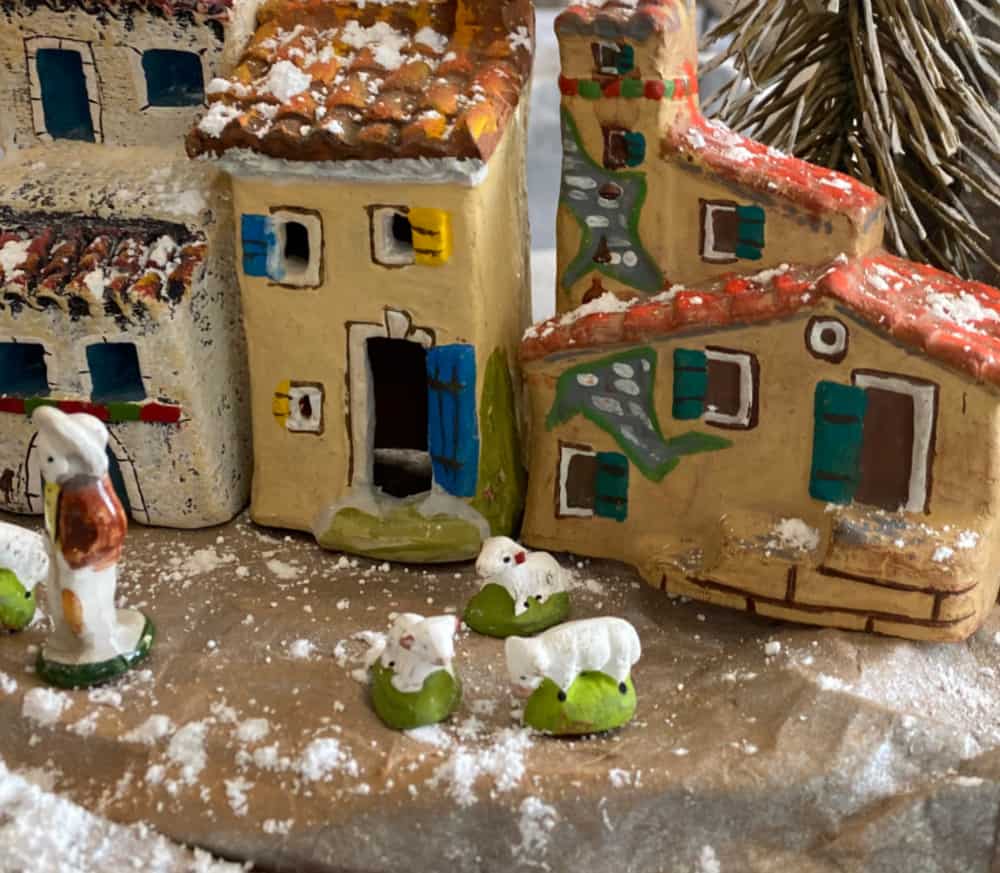
step 6 – sprinkle with snow
Ready for another trade secret? Sprinkle flour over the rooftops to create snow. Sure, I could buy bags of artificial snow flakes from Michaels, but I love sifting the flour as my mother-in-law did every year. A sweet nostalgic nod to Mamine.
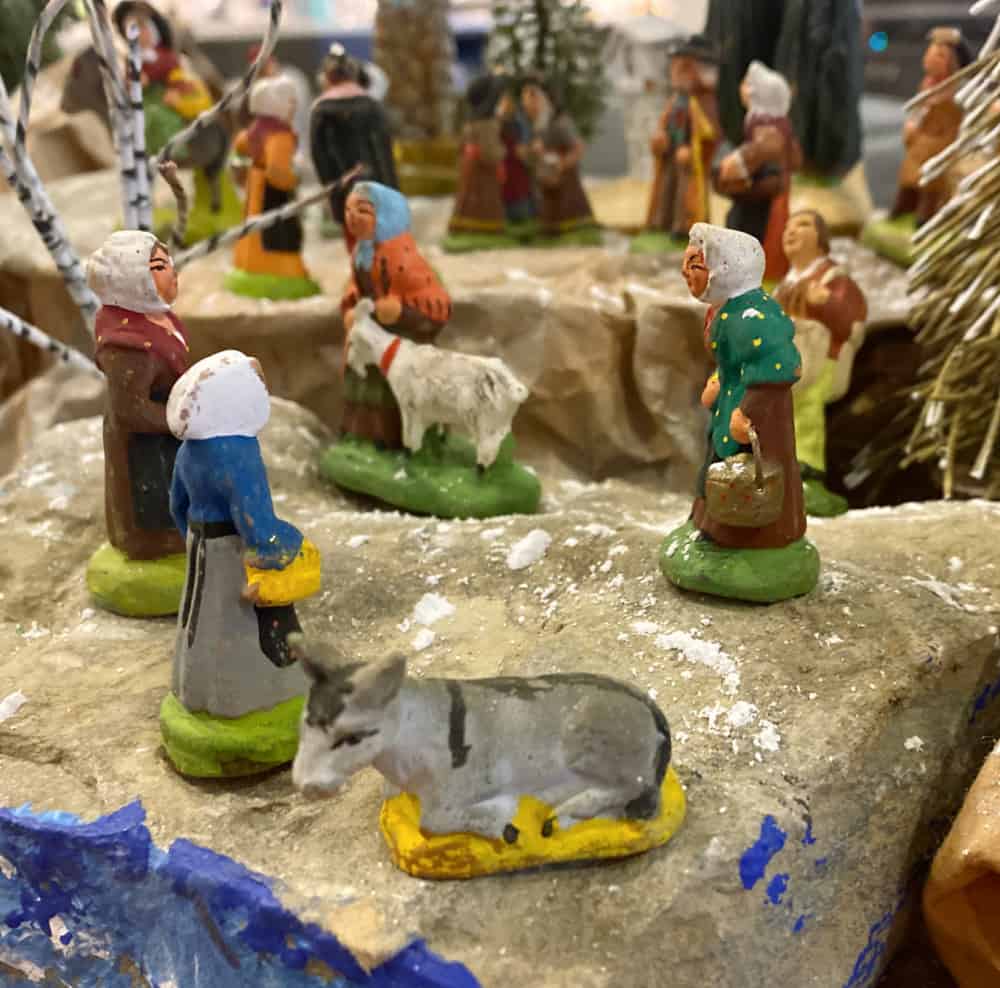
step 7 – finishing touches
Twigs of evergreen for trees, broken sticks, even tiny pebbles can be used as embellishments. They say a picture is worth a thousand words, so scroll through the following photos and enjoy!
The biggest compliment is a little share – pin the photo below!

Beautiful!!! Wendy, I am so happy to be able to share your post at this week’s Christmas Share Your Style #329 for you. I’m sorry to hear about your mother-in-law… She was very special to you, I can see that in the care you’ve taken to share your beautiful gifts with us. <3 Perhaps if I do get to go to Grenoble next year for my niece's wedding (she is a missionary there), I might bring home a few clay figurines, too. They would be a lovely addition to the Nativities I have. My big one fell out of it's box (which disintegrated over the past 35 years of living in garages all year…) and sadly many of the pieces are broken. We collected what pieces we could but I'll have to use a smaller one I found at Hobby Lobby when we lived in our RV.
Bisous ausi,
Barb
p.s Marie from Rêver en Coleur linked up and I shared her Snowflake post. You might enjoy reading her post in French. <3
Thanks Barbara! I’m so glad you shared all this with me.
Turned out great, Wendy! Thanks for sharing at Vintage Charm–pinned!
Your nativity is beautiful! I love it and the way you have it displayed. Hugs,
thank you so much!
Uau!! Yours is very impressive! We have this tradition, in Portugal, also! But mine is very modest and it fits in my fireplace! 😉
Yours sounds lovely, though. Some years my mother in law set hers up in her fireplace, too.