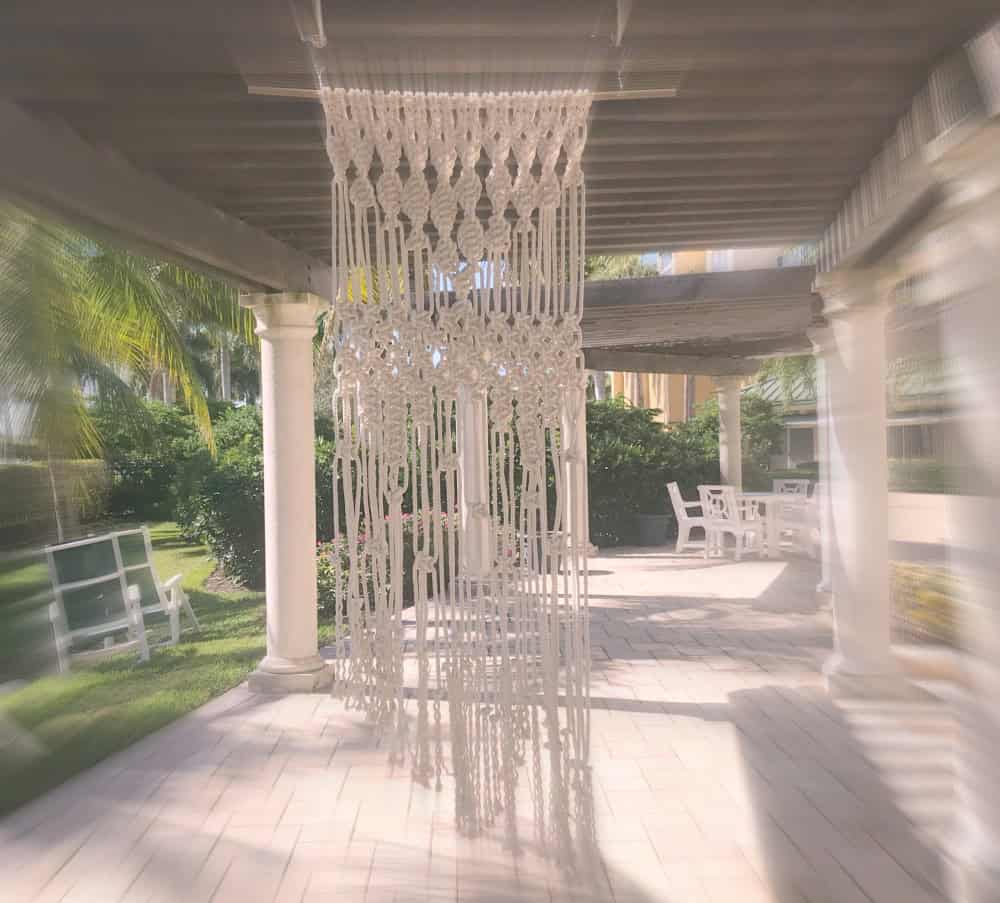
If you’re dying to make a large, impressive macrame wall hanging but haven’t yet conquered all those intricate knots, this project is for you. This wall hanging is comprised of only one knot – the Square Knot plus a few of its variations. But the chunky rope and striking size make this tapestry a focal point of any room.

(This post may contain affiliate links; as an Amazon associate I earn from qualifying purchases. See disclosure here.)
supplies needed:
- 3 ft. wooden dowel rod
- 3/8 inch cotton rope – 600 feet
- scissors & tape
getting started
Cut 20 pieces of rope, each measuring 30 feet long. Wrap a small piece of masking tape around each end of rope to prevent fraying while weaving the design. Next, tie each piece to the wooden pole using a Lark’s Head Knot.

square knot
You now have 20 Lark’s Head Knots tied onto the pole and 40 individual cords hanging. To follow the instructions correctly, you need to understand the following key. While knotting, try to keep each horizontal row even, and always go from left to right. To make a proper Square Knot, see the tutorial here.

Row 1 – start with 1st cord: 10K (starting with 1st individual cord from the left, tie 10 Square Knots)

Row 2 – start with 3rd cord: 9K (starting with 3rd individual cord from the left, tie 9 Square Knots)

half square spiral knot
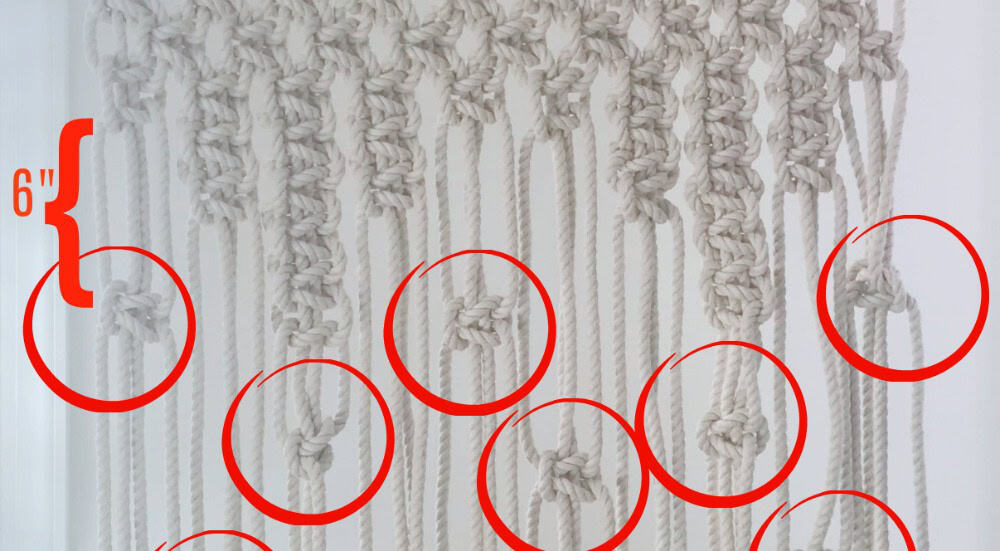
Row 3 – start with 1st cord: 10 Half Square Spiral Knots* (which vary in length to form a downward angle)

*HALF SQUARE SPIRAL KNOTS: To learn to make this knot, see my tutorial video below. The red numbers in the photo above indicate how many ties are made in each knot.
Row 4 – start with 19th cord: 1 HALF SQUARE SPIRAL KNOT (The length of this knot is 6 ties; it creates the “peak” of the downward angle design.)

back to square knots
Row 5 – start with 1st cord: 10K

Row 6 – start with 3rd cord: 9K

Row 7 – start with 1st cord: 10K

Row 8 – start with 3rd cord: 9K

Row 9 – start with 1st cord: 10K

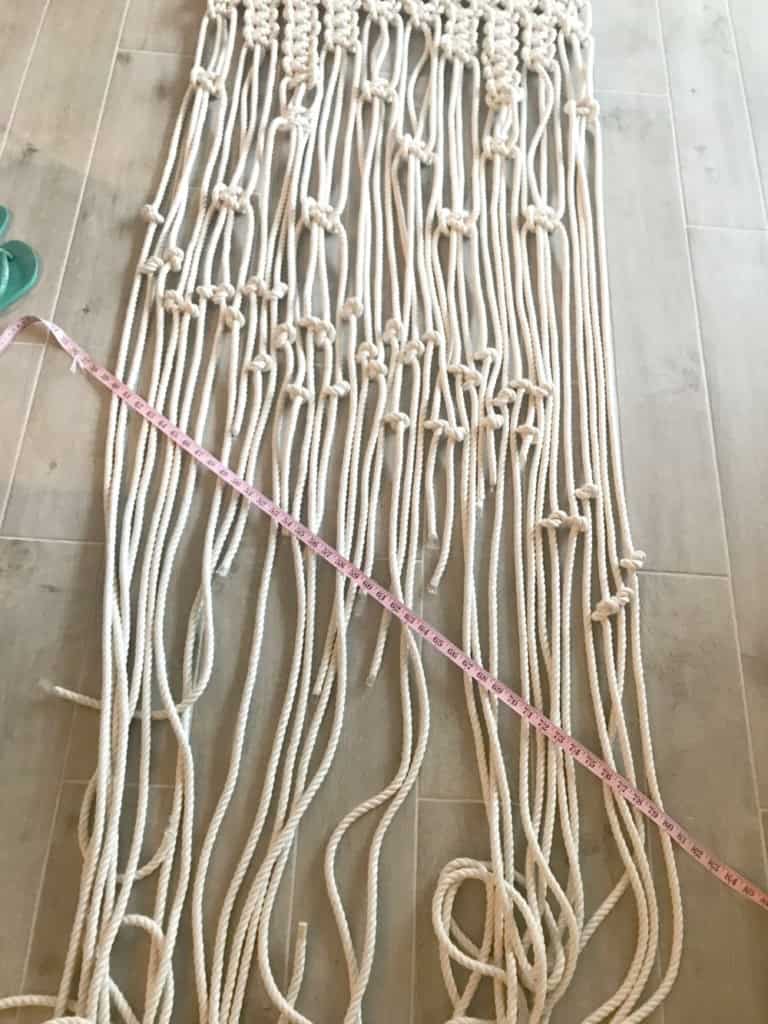
Row 10 – For this next section, refer to the photo below. Starting with the 5th individual cord from the left, add two more vertical Square Knots (as shown in section A). Then add 4 more vertical Square Knots in the next column (section B), and 2 more vertical Square Knots (section C). Now skip 8 individual cords. Continue in this fashion: add 2 more vertical knots to columns D and F, and add 4 vertical knots to column E.

finishing touches
About 6 inches below the last knot in the first column, starting with the first individual cord on the left, make a Square Knot. Continue making a horizontal row of Square Knots, space at varying heights. See photo below.
Lastly, tie random small knots in each individual cord. Then trim the bottom in an angled slant. Fray the ends. The finished size of this simple but stunning macrame wall hanging is 30″ wide x 88″ long.
The biggest compliment is a little share – please pin the photo below!
![]()
Need to save this for later?


Hi Wendy, I wanted to let you know that someone has copied your projects and put them into a book on Amazon. Book is called, Macreme by Catherine Duvall. I actually purchased it and thought something was off about the book it just seemed like all the projects were copied and pasted. I was looking online and every ‘free’ project that I found was compiled in this book. I was so shocked by this.
I have been checking out different sites and I must say, Your site Wins first place! Thank you, DC
Hi! Do you think these ropes would work ok? https://shop.bobbiny.com/en/25-jumbo-9mm Thanks!
I don’t see why not
Hi Wendy, how do I go about making a smaller version of your wall hangings? Would I need to change the size of the cord also. I’m thinking just dividing the pattern by half might not be as simple as that. Any guidance you could help me with is much appreciated. Blessings🍀
Wow! I am a little overwhelmed with the pattern, but your explicit directions and photos that highlight the next section are brilliant. Thank you. You have the best tutorials.
Yes, this wall hanging is a bit large, and the end project is quite heavy, too! But it sure is pretty once it’s done.
Hi Wendy, I have just finished your smaller macrame wall hanging and I love it! I have just seen your tutorial for doubling the width. Would this be possible to do with this large wall hanging? What changes would you need to make to double it? Thank you!
yes, doubling it is just a process. However, the more you feel comfortable with macrame, you’ll be able to do it more “ad lib”… Always remember you have to have enough cords that are divisible by 4. Good luck!
Thank you for showing us how you did it. Your wall hanging is beautiful! Thank you for sharing at Party In Your PJ’s.
you are welcome!
You did a beautiful job, Wendy! Thanks for sharing at Vintage Charm!
you are welcome!