Because I’m always looking for new ways to jam my printer, I decided to try my hand at printing on fabric. And in a sad, baffling way, I was a wee bit disappointed that it was so darn easy. Then I became elated, because the options of what I can do with this technique are endless.
(This post may contain affiliate links; as an Amazon associate I earn from qualifying purchases. See disclosure here.)
supplies needed:
- fabric
- wax paper
- iron
- printer
step 1 – preparation
Select a remnant of fabric that you want to use. I wanted a homespun feel to this project, so I used a lightweight piece of muslin. Then cut a piece of wax paper and place it shiny side down to the wrong side of the fabric; iron. The wax paper acts as a stabilizer for the fabric during the printing process.
![]()
Using a standard piece of computer paper as a guide, cut the fabric the same size so it will fit in your printer.
![]()
step 2 – print
Before printing, design your words or image and print a test page using computer paper to make sure the placement is correct. Then load your fabric sheet into the printer and press print. Let dry, then peel the wax paper away from fabric.
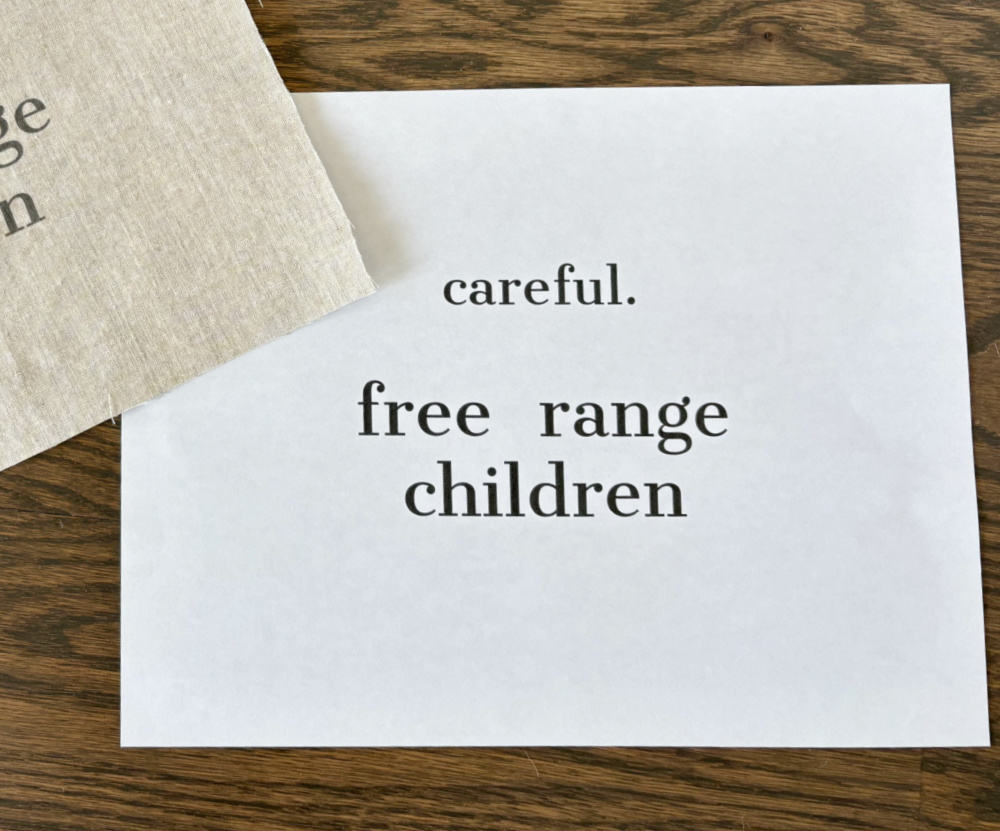
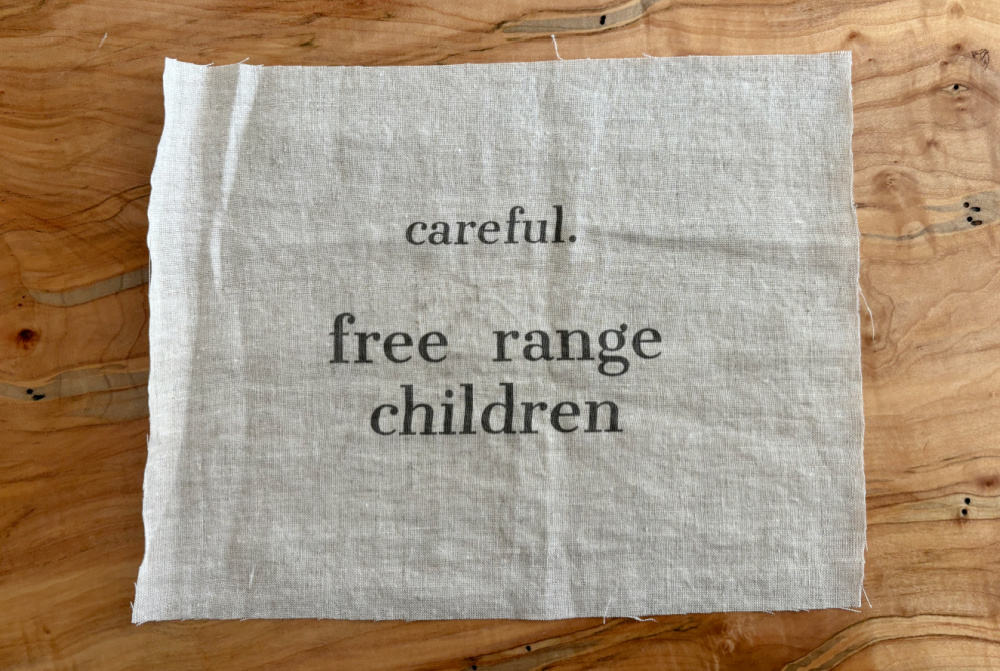
It’s that easy to print on fabric. Kind of a craft challenge let-down, right? But honey, think of all the cool things you can make with this simple technique. And check back next week to see what I do with this printed fabric. Hint: it’s going to be an awesome Mother’s Day gift for a very special friend.
The biggest compliment is a little share – pin the photo below!
![]()

Should we use freezer paper or wax paper?
Is this washing machine safe? Can I print on clothing and then wash it, or will it all run/bleed away?
Is this washing machine safe? Can I print on clothing and then wash it, or will it all run/bleed away?
This looks like such a simple way to print on fabric, thanks for sharing with us at Handmade Monday 🙂
Love this. The tutorial and the sentiment 😂. Featuring when my link party opens.
Thank you!
Wow, can it really be this easy? I have been avoiding printing on fabric for so long, now I really need to give it a try! I will be featuring your post this week! #HomeMattersParty xx
Yes, lol, it is pretty easy! Glad you liked it.
Wendy,
This is a great idea. I can’t wait to try it myself. Congratulations, you are being featured on TFT. I hope you stop by. https://www.eclecticredbarn.com/2024/04/how-to-projects-n-tft.html
Hugs,
Bev
Thanks so much!