Shower curtains don’t get enough credit. They’re often grabbed off the shelf of the closest retail store and hung up in a hurry. But let’s face it. They’re necessary. They’re used almost daily. And they take up premium real estate in a small bathroom. Yet we don’t give them the importance they deserve. With just a few simple strategies, you can transform your shower curtain from an after-thought to a statement piece.
(This post may contain affiliate links; as an Amazon associate I earn from qualifying purchases. See disclosure here.)
supplies needed:
- fabric
- sewing machine
step 1 – fabric selection
This is the fun part, folks! There are so many unique options. Just think outside of the box. Use a vintage tablecloth or chenille bedspread for a shabby chic effect. Piece together funky fabric remnants for a boho vibe. Select sweet calico fabric for a child’s bath or linen for a more tailored look. And of course, there’s always the option of using Spoonflower to find the perfect fabric for a very specific design niche.
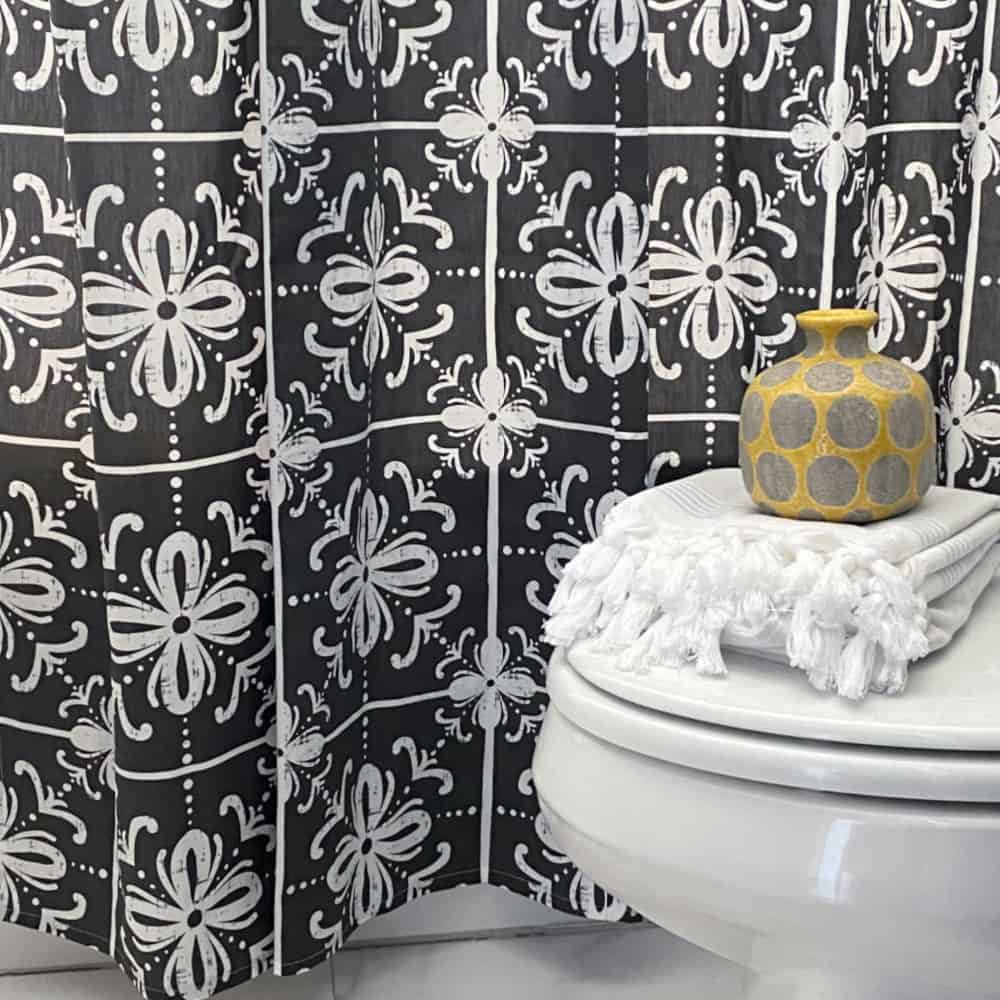
Spoonflower is the route I took. (This is not a sponsored post. I just truly believe Spoonflower is one of the best kept design secrets around!) We recently purchased a weekend home near a quiet Kentucky lake. The exposed wooden ceiling beams inspired me to decorate with a modern Spanish Revival aesthetic. However, the guest bathroom is quite nondescript. Just basic appliances and a white tiled floor. So a dramatic shower curtain is important. I headed over to Spoonflower to browse through hundreds of designs to find just the right fabric with a modern Spanish vibe.
step 2 – sewing tutorial
PREWASH FABRIC – My impulsive nature encourages me to skip this step, but I’ve learned it is best not to. Take the time to prewash the fabric in warm water and dry on a low setting.
CUT FABRIC – A standard sized shower curtain is 72″ x 72″. The fabric from Spoonflower is 42″ wide, so I ordered 5 yards. Cut the fabric in half to create 2 pieces, each measuring 42″ x 90″. Stitch the pieces together, making sure to match the patterns. Trim any excess yardage from the top and bottom.
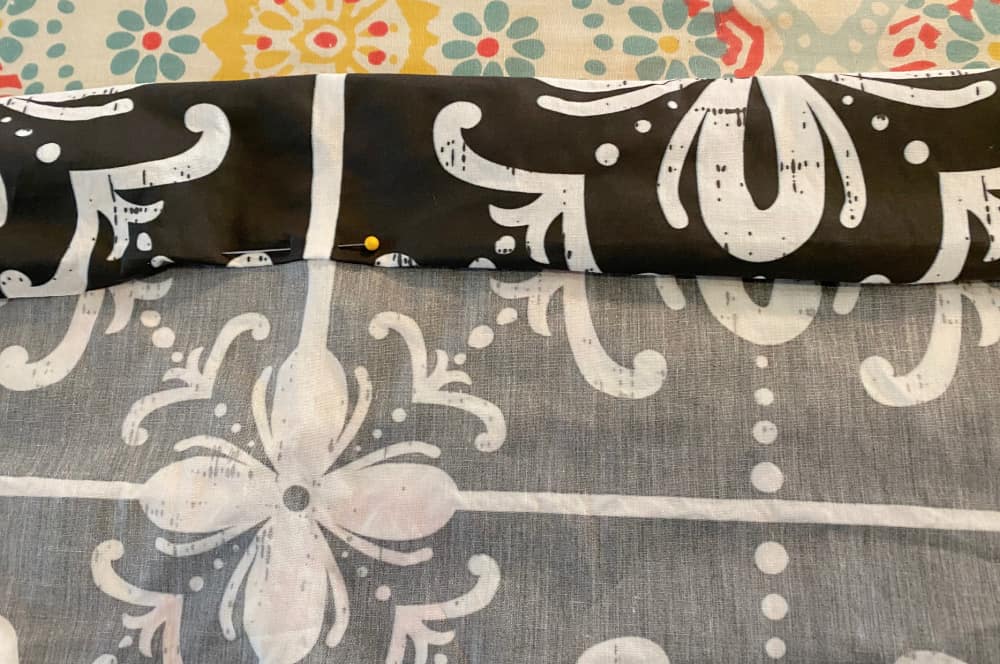
REINFORCE TOP – To reinforce the top edge of the curtain, turn the fabric down about 2 to 2 1/2 “, then turn the bottom edge under and stitch down. This provides a strong base for the buttonholes.
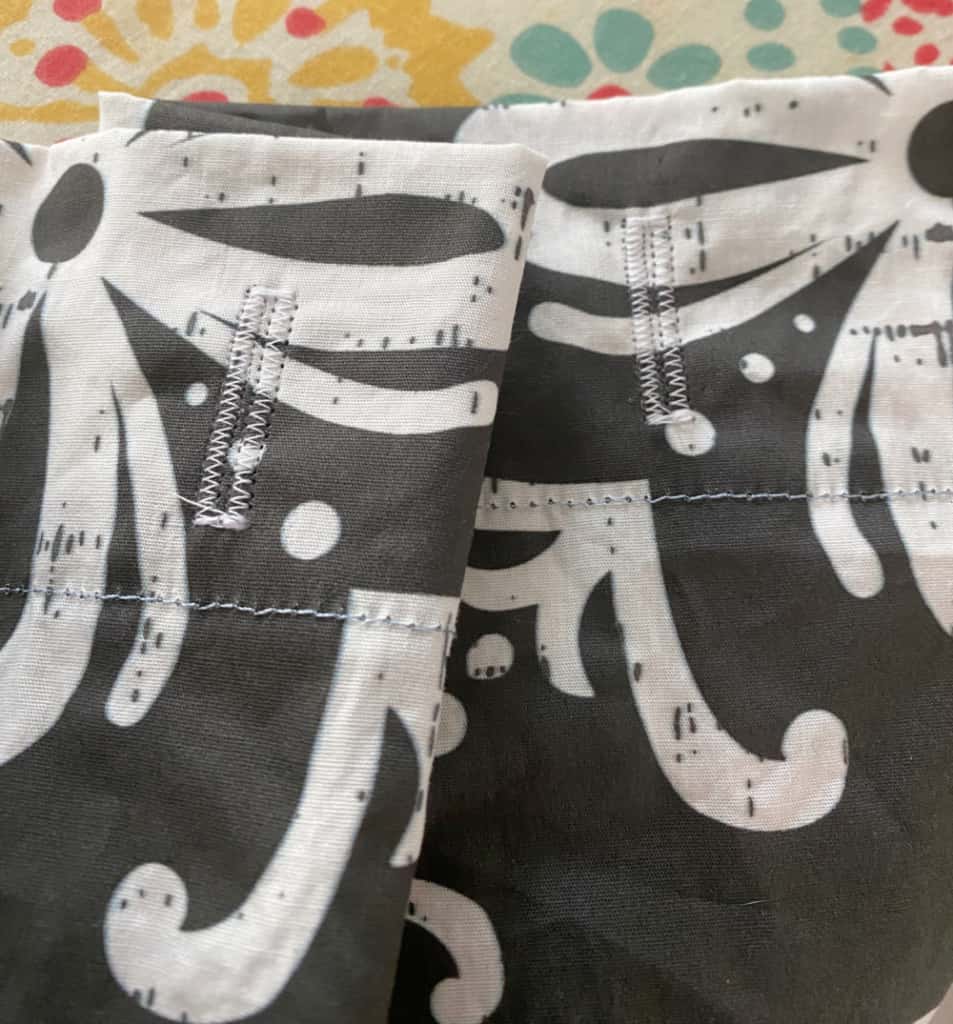
BUTTONHOLES – I used an old store-bought shower curtain as a guide to mark the buttonhole placements. This ensures the curtain will line up perfectly with a shower liner.
**A note about buttonhole making: I received my first sewing machine as a teenager in 1973. It was an inexpensive Singer with only basic functions. This is the machine I used to make many of my own clothes in high school, so I learned how to make buttonholes with no fancy gadgets or automation. I adjusted the length and width of the stitches as I went along and had to estimate the size of each buttonhole individually. I used that machine for nearly 30 years, but it’s been a very long time since I’ve made garments. And when I did, I usually opted for zippers or snaps, as buttonholes were such a tedious task.
That’s the background. Now here’s what happened the other day…
I now own a different machine, a heavy duty Singer without many bells and whistles. But as I was making this curtain, I decided to glance through the instruction manual just to see if this machine had a fancy buttonhole making feature. I discovered it did have a special buttonhole foot. I read the instructions, watched a Youtube video, then gave it a try. I adjusted a few dials, placed a button into the foot (an actual button – can you believe it?), and booyah! It made a beautiful straight buttonhole just the right size all on its own! I decided to live dangerously and make a second one. And damn! It was exactly the same size! I’ve since discovered from my sewing friends that this feature is nothing new, but nonetheless that day I felt like I had awoken from a decade-long coma to discover mind-blowing advancements in modern technology. So humor me, will you? Just take a look at these beautiful buttonholes…
HEM BOTTON – Press the curtain before hemming. Measure approximately 76″ down from the top edge of the curtain and pin. Trim the bottom of the curtain just below the pin line. Now turn the bottom edge under to create about a 2″ hem and stitch. The curtain should now measure approximately 74″ in length. (I prefer this length to the standard 72″.)
HEM SIDES – Trim excess fabric off both sides of the curtain, making sure the first and last buttonholes are about 2″ from the ends. Then turn under a narrow hem along the sides and stitch.
It’s really quite easy to make a basic shower curtain, and with so many lovely fabric options available, why not go custom. Once you see it pressed and hanging (with mind-blowing buttonholes all uniform in size) you’ll see the difference a custom shower curtain makes in a simple bathroom.
The biggest compliment is a little share – please pin the photo below!

Great tutorial! I’m thinking about doing this myself! One question: What kind of Spoonflower fabric would you recommend? The site offers 30 different kinds — quilting cotton (they call it “petal signature cotton”), chiffon, poplin, knit fabrics, canvases and linens in various weights, etc. I feel comfortable guessing I shouldn’t use velvet! Beyond that, I’m confused. I’d appreciate any insight.
I used wide cotton sateen 3.5 oz and 6.5 oz.
What type of fabric did you use from Spoonflower? The Petal Signature Cotton?
The fabric name is Sevilla Blanco Spanish Tile.
I think I’m gonna go for it. I loved your post and I didn’t feel like I was reading someone’s life story to get the information I came for. I chuckled along with your anecdotes – I, too, would’ve been pleasantly surprised at the button feature!
Hopefully I’m not too late to the party; I’m curious what type of fabric from Spoonflower you chose?
What type of fabric did you use from Spoonflower? The Petal Signature Cotton?
This is exactly what I needed. Our shower is extra tall and I haven’t been able to find a single curtain the right length.
Glad this post helped!
Your shower curtain is awesome. How is it holding up without grommets at the top? I’m just curious. Thought all curtains have grommets.
Thanks! Actually, it’s holding up great. I couldn’t be more pleased.
This shower curtain has button holes instead of grommets. You insert the shower curtain ring into the buttonhole. I always use buttonholes for my shower curtains as they aren’t as noticeable as grommets. I have some shower curtains that are in use for 15-20 years with no show of wear.
I agree. I prefer buttonholes!
Thanks for the inspiration! Just pushed me over the edge to go for it. Want a shower curtain that doesn’t look like a shower curtain!
So glad you liked the post! Go for it!
Love, love this tutorial! I’m in the process of changing out one of my shower curtains but couldn’t decide if I should just go check Target out or sew my own. You’ve convinced me to make my own. I can’t wait. Thank you so much for giving me the confidence.
So glad this post inspired you!
What a great way to change out curtain in the bath. Thanks for the pattern idea.
You are welcome!