The older I become, the more I fall in love with DIY shortcuts. Case in point: this gorgeous yet easy DIY wedding sign took me less than an hour to assemble. Did I take shortcuts? You bet. And I’m not ashamed. I’m also sharing my tricks and tips with you in this easy tutorial.
(Affiliate links included for your convenience. As an Amazon associate I earn from qualifying purchases. See disclosure here.)
supplies needed:
- large picture frame with glass
- easel
- custom decals
- spray paint
step 1 – paint easel
Actually the first step should be to rummage through your basement or craft room and see if you have an easel or old frame you are no longer using. I found an old metal floor easel and decided to give it a facelift with a can of gold spray paint.

step 2 – prepare frame
I found a very large frame stored in my craft room and knew it would be perfect for this project. I gave it a light sanding to age it a bit, but to my surprise it uncovered more of the gold. And I loved it!

![]()
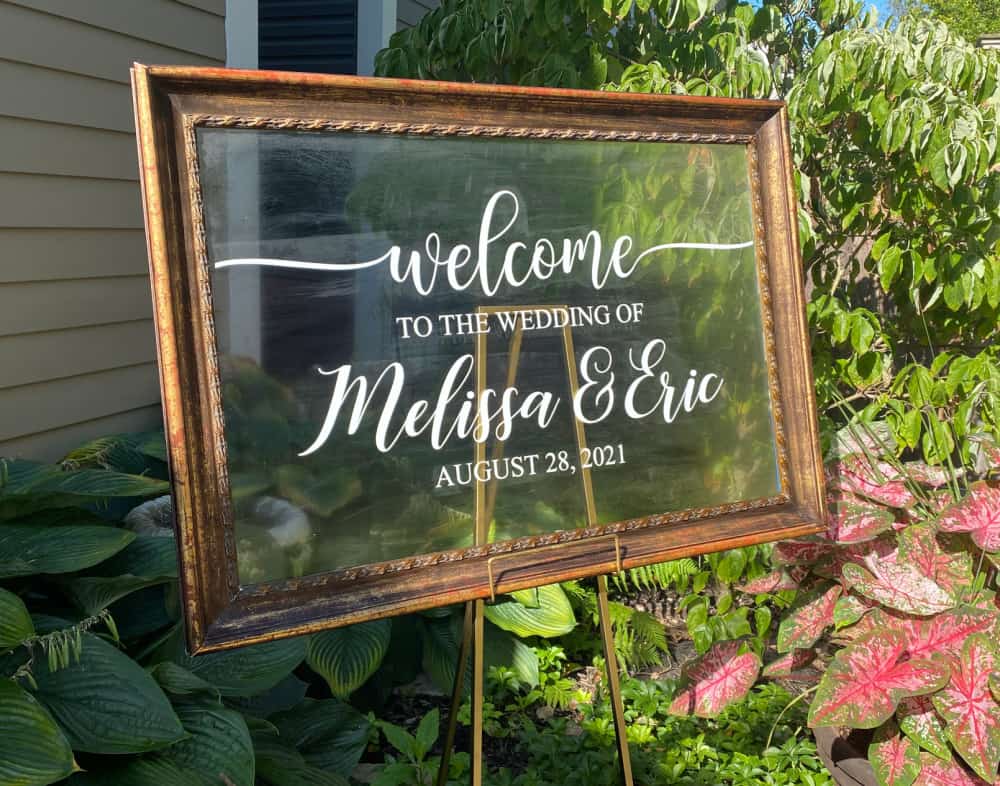
step 3 – apply decals
Let’s talk about the decals. If you have the special equipment to create your own decals, go for it. But for those of you who are Cricut-deprived and, more importantly, short on time, check out this Etsy shop that not only makes beautiful decals but provides easy instructions on how to order them and how to apply them to a mirror or glass. And their turn-around time is quick!
Very clear instructions came with the decals on how to apply them to a piece of glass or mirror. After reading them thoroughly, I found a flat working surface. I used the cardboard backing that came with the frame to arrange placement of the decals. Using a ruler, straight edge, and marker, I made lines to mark the correct placement of the decals. This served as a convenient guide when placed under the piece of glass.

Once the decals were applied, I gently cleaned the glass with Windex, front and back.

step 4 – assemble glass & frame
This was a tricky step for me, because this old frame did not have any metal tabs or nails to hold the glass securely in the frame. The solution? I found another shortcut! I simply glued the glass into the frame with by applying a small amount of Liquid Nails to the inside of the back of the frame. I then let it dry overnight. And voila! This easy DIY wedding sign is not only simple but stunning!
The biggest compliment is a little share – pin the photo below!
![]()

Wonderful project! It doesn’t have to be expensive or labor intensive to be perfect for the big day. #HomeMattersParty
thanks!
Oh wow!! I’ve never thought of DIY-ing with glass/transparent materials as the joins/adhesive is hard to hide. This is really great!!
I wouldn’t be the least bit ashamed, Wendy, the wedding sign is very elegant! I pinned it to my wedding board and wish I had thought of this idea for my daughter’s wedding. Great idea!
so glad you like it!