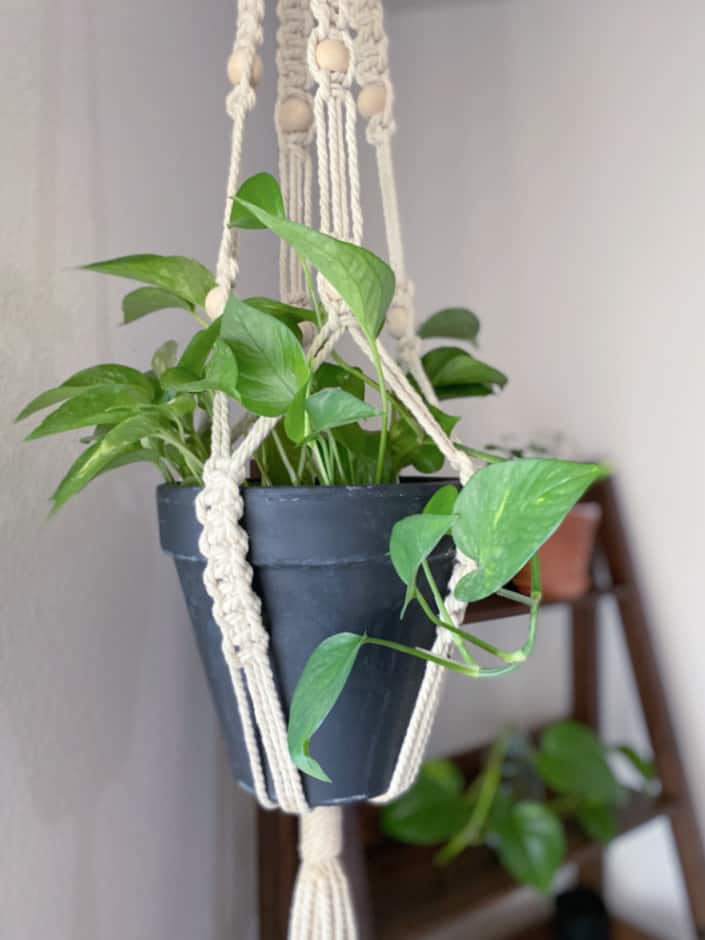
After making a few plant hangers, I quickly turned my focus to wall hangings, thinking they were more impressive and sophisticated. I’ve since learned not to underestimate just how cool a macramé plant hanger can be, especially with all the fun embellishments available. Don’t believe me? Just take a look at this whimsical plant hanger with added wooden beads.
(Affiliate links included for your convenience. As an Amazon associate I earn from qualifying purchases. See disclosure here.)
supplies needed:
- 5mm cotton rope – 132 feet
- 85mm wooden ring
- (12) 25mm wooden spacer beads
- scissors
- painters’ tape
step 1 – wrapped knot
First, cut 8 pieces of rope, each measuring 16 feet in length. Tape all the rope ends to prevent fraying while working. Drape the center of the rope bundle onto a wooden ring, making sure the ends fall evenly onto each side. Next, with a piece of rope approximately 30 inches long, make a Wrapped Knot around the bundle, as shown in the photo below.

step 2 – square knot sennits
There should now be 16 cords hanging from the wooden ring. Using 4 adjacent cords, make a Square Knot. Then continuing making a vertical chain of Square Knots, one right after the other, until you have a total of 6 Square Knots. This is called a Square Knot Sennit, as shown below. Next, make a second sennit with 4 new strands. Continue in this fashion until you have 4 sennits, each consisting of a chain of 6 Square Knots.

For textural interest, at the bottom of each sennit, make a final Square Knot with an added wooden bead. To do this, tie the first step of a Square Knot, run the 2 middle cords through the spacer bead, then tie the last step of the Square Knot to keep the bead in place. Do this at the bottom of each of the 4 sennits.


About 4 inches down, repeat the entire process, making another sennit of 6 Square Knots, then adding a 7th Square Knot with a wooden bead.
![]()
Now skip down another 4″ and make one complete Square Knot. Turn the middle 2 cords through a wooden space bead, then make a second complete Square Knot. See the photo below.

step 3 – creating the basket
Now that most of the decorative steps are complete, it’s time to form the basket that will hold the flower pot. Take 2 individual cords from just below the last Square Knot you made and 2 cords from just below an adjacent Square Knot, and connect them to form a Square Knot Sennit, as shown in photo below. Do this around the circumference of the pot, making a total of 4 sennits.

About 6″ – 8″ below the sennits, gather the ropes together and create a Wrapped Knot. You can trim the tassel to any desired length.

You are now finished with this macramé plant hanger, but there are so many options for more. Imagine how cute it would be with brightly colored beads and a matching flower pot! Just be sure to send me photos; I’d love to see your creations.
The biggest compliment is a little share – please pin the photo below!


Loved the tutorial, clear instructions and pictures, many thanks Nancy
Easy to follow instructions! Thanks!
Awesome tutorial! I loved making this!
Hi Rebecca, I’m glad to hear that!
Great instructions so good to follow thankyou
I used to make all manner of macrame years ago. This post is perfect as my son informed my granddaughter that “Gramma” would have no problem making her one, My only question is how long did it end up being? She is very specific about 3 1/2′.
Straight out of the ‘70s!