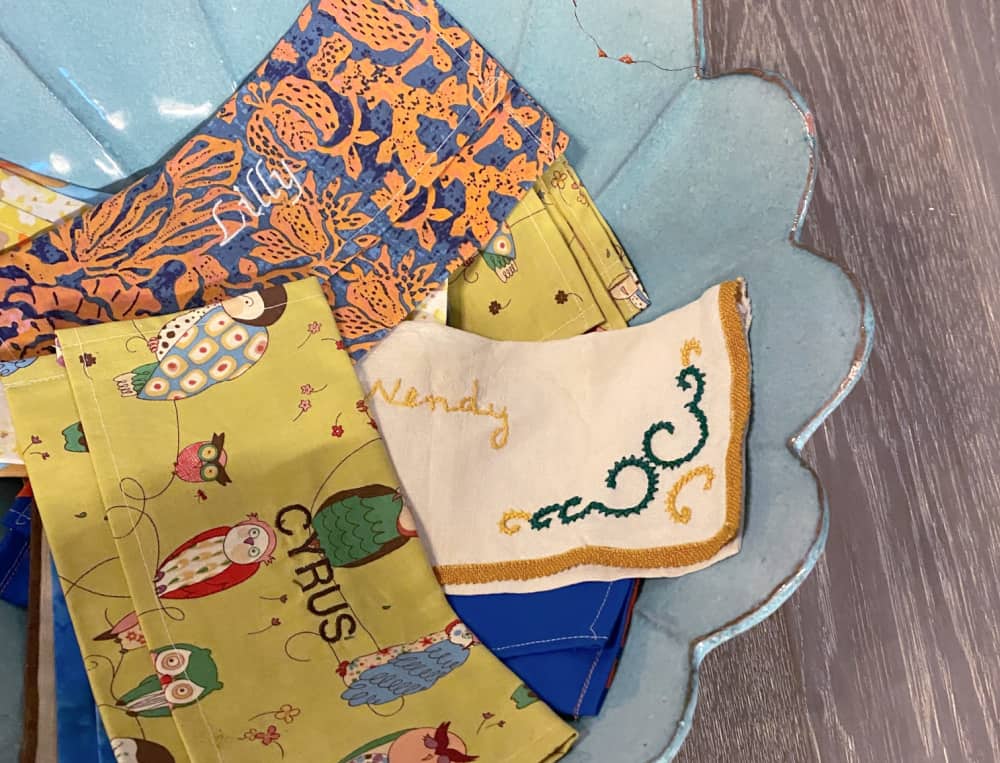
I love this tradition, and I encourage all of you who use cloth napkins to give it a try. I posted a tutorial about these personalized French napkin holders earlier but decided to simplify it a bit. This is a sweet tradition I learned from my husband’s relatives years ago when visiting one of his aunts in France. She had the sweetest little cloth envelopes, customized with everyone’s names, for holding their dinner napkins (if their napkins were not too soiled to use for the next meal.) And she even made them for all her overnight guests. Recently, she sent us our personal holders from our visit over 30 years ago. My husband also has memories of his French grandmother using napkin holders as well.
This is now a tradition in our lake house, where we receive a lot of visitors. I love greeting each of them with this sweet French tradition of hospitality.
supplies needed:
- fabric remnants
- sewing machine
- embroidery machine (optional if you prefer hand embroidery)
step 1 – cutting
Cut one piece of fabric measuring 11″ x 15″. You can adjust the size if you prefer to make it larger or smaller.
![]()
step 2 – sewing
First, turn the long side edges over twice to create a narrow hem and stitch (A). Next, stitch similar narrow hems along the top and bottom (B). Press.
![]()
Once all edges are hemmed, with wrong side facing up, fold the bottom third of the peice up. Stitch each side, as shown below.
![]()
Now, fold the top third over, creating a front flap. Press.
![]()
![]()
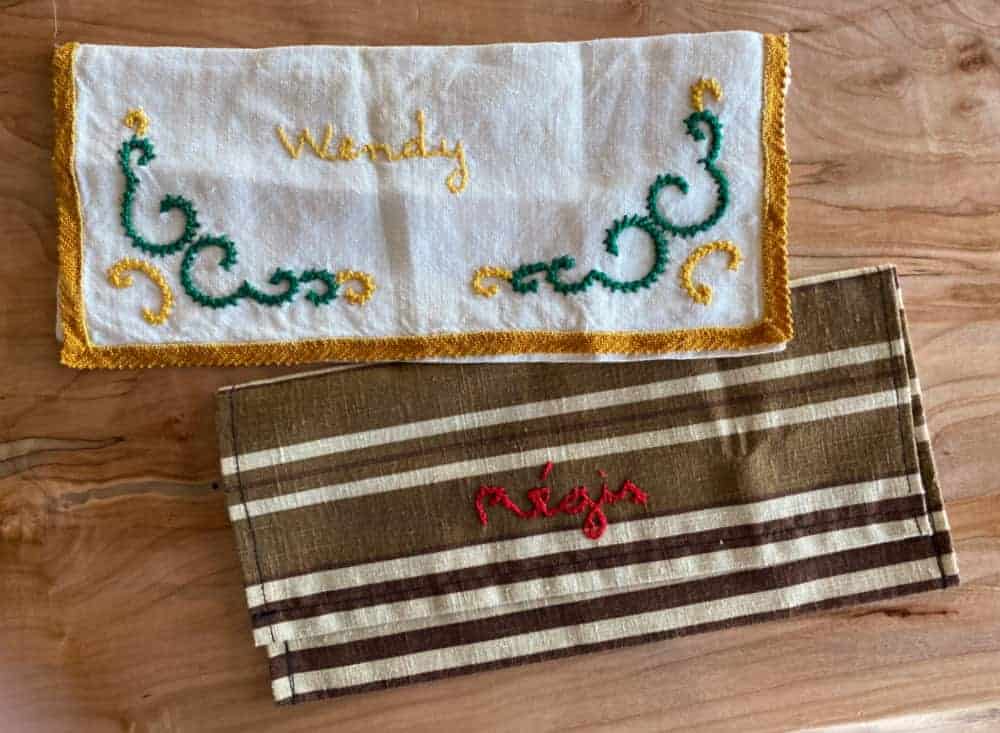
step 3 – embroidering
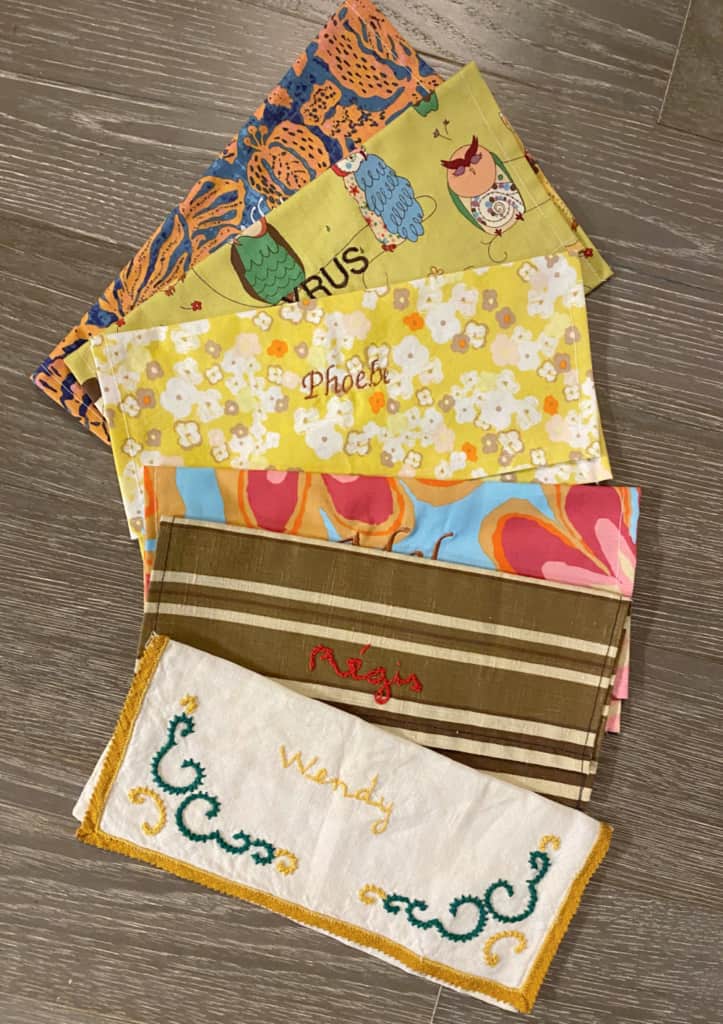
The pocket is complete except for the personalization. You can either hand or machine embroider the name onto the center of the front flap. I use my home embroidery machine to save time. I also have fun selecting fabrics that fit the personalities of my guests… unless they are Steelers or Chiefs fans; then they receive a random print. No team colors other than orange & black shall be welcomed at our Cincinnati table.
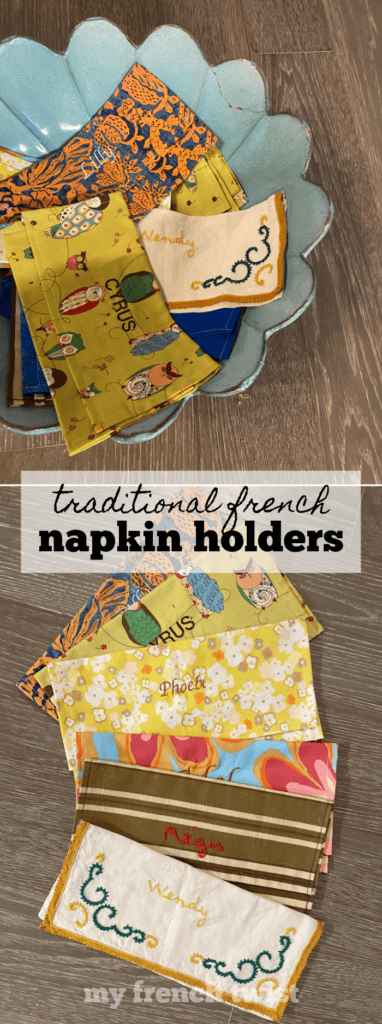
The biggest compliment is a little share – pin the photo below!
I love cloth napkins and use them everyday.. but these are so gorgeous! I need to make some and personalize them! Great post! I would love to have you link up to my party https://karinskottage.com/2024/01/4-sweet-valentine-ideas-on-karins-kottage-linky-party.html
Hugs,
Karin
Glad you liked the post! I’ll definitely check out your link party.
wow, this is such an amazing tradition. My MIL still uses a similar one but for her handkerchiefs. Thanks for sharing the tutorial!
Thanks for stopping by!
These are so adorable and can be used for many many years
I visited you via Keeping It Real: The Really Crafty Link Party #397
My links: 26+27+28. It would be awesome if you care to share this with your own links at M-S SeniorSalonPitStop. You will find it under BLOGGING.