Four years ago I wrote a post entitled I Think I’m Turning Japanese, because I was so enamored with Japanese sewing patterns. It seems I’m still digging the artistic styles, trends & techniques that originated in this beautiful island country. I’ve recently been intrigued with sashiko embroidery. So what’s the problem? All the tutorials I’ve come across make it seem complicated. Well, let’s put that myth to rest right now. Sashiko is NOT complicated. In fact, if you can sew a simple running stitch, you can learn sashiko.
But first things first. Being an English major, I have to tell you that what will impress your friends even more than your mastery of this lovely technique is your polished pronunciation of the word. [sash’-i-ko] or [sash’-ko]. The emphasis is on the first syllable, with the “i” kept almost silent. There, now you’ll sound like an expert, even if your stitches need a little practice.
Let’s get started, shall we? (Disclaimer: this is my first attempt at sashiko, so my stitches aren’t perfect. I wanted to show you that it’s okay to just jump right in and learn by doing!)
history
If I believed in reincarnation, I’d bet money that I was a peasant in my previous life. So many crafts that I’m drawn to are techniques born from necessity by the poor. Boucherite rugs (rag rugs made by Moroccan berber tribes), boro (tattered fabrics patchworked together by Japanese rural workers), and now sashiko. As early as 1615, peasant women from Japanese coastal towns used this decorative stitch to mend garments. And yes, these enterprising women turned this tedious task into a lovely embroidery technique, using little white stitches in intriguing geometrical patterns. Traditionally, sashiko was sewn with white stitches onto indigo dyed fabric.
(Affiliate links included for your convenience. As an Amazon associate I earn from qualifying purchases. See disclosure here.)
supplies
- medium weight fabric with a loose weave (think broadcloth and linen, and be sure to prewash it)
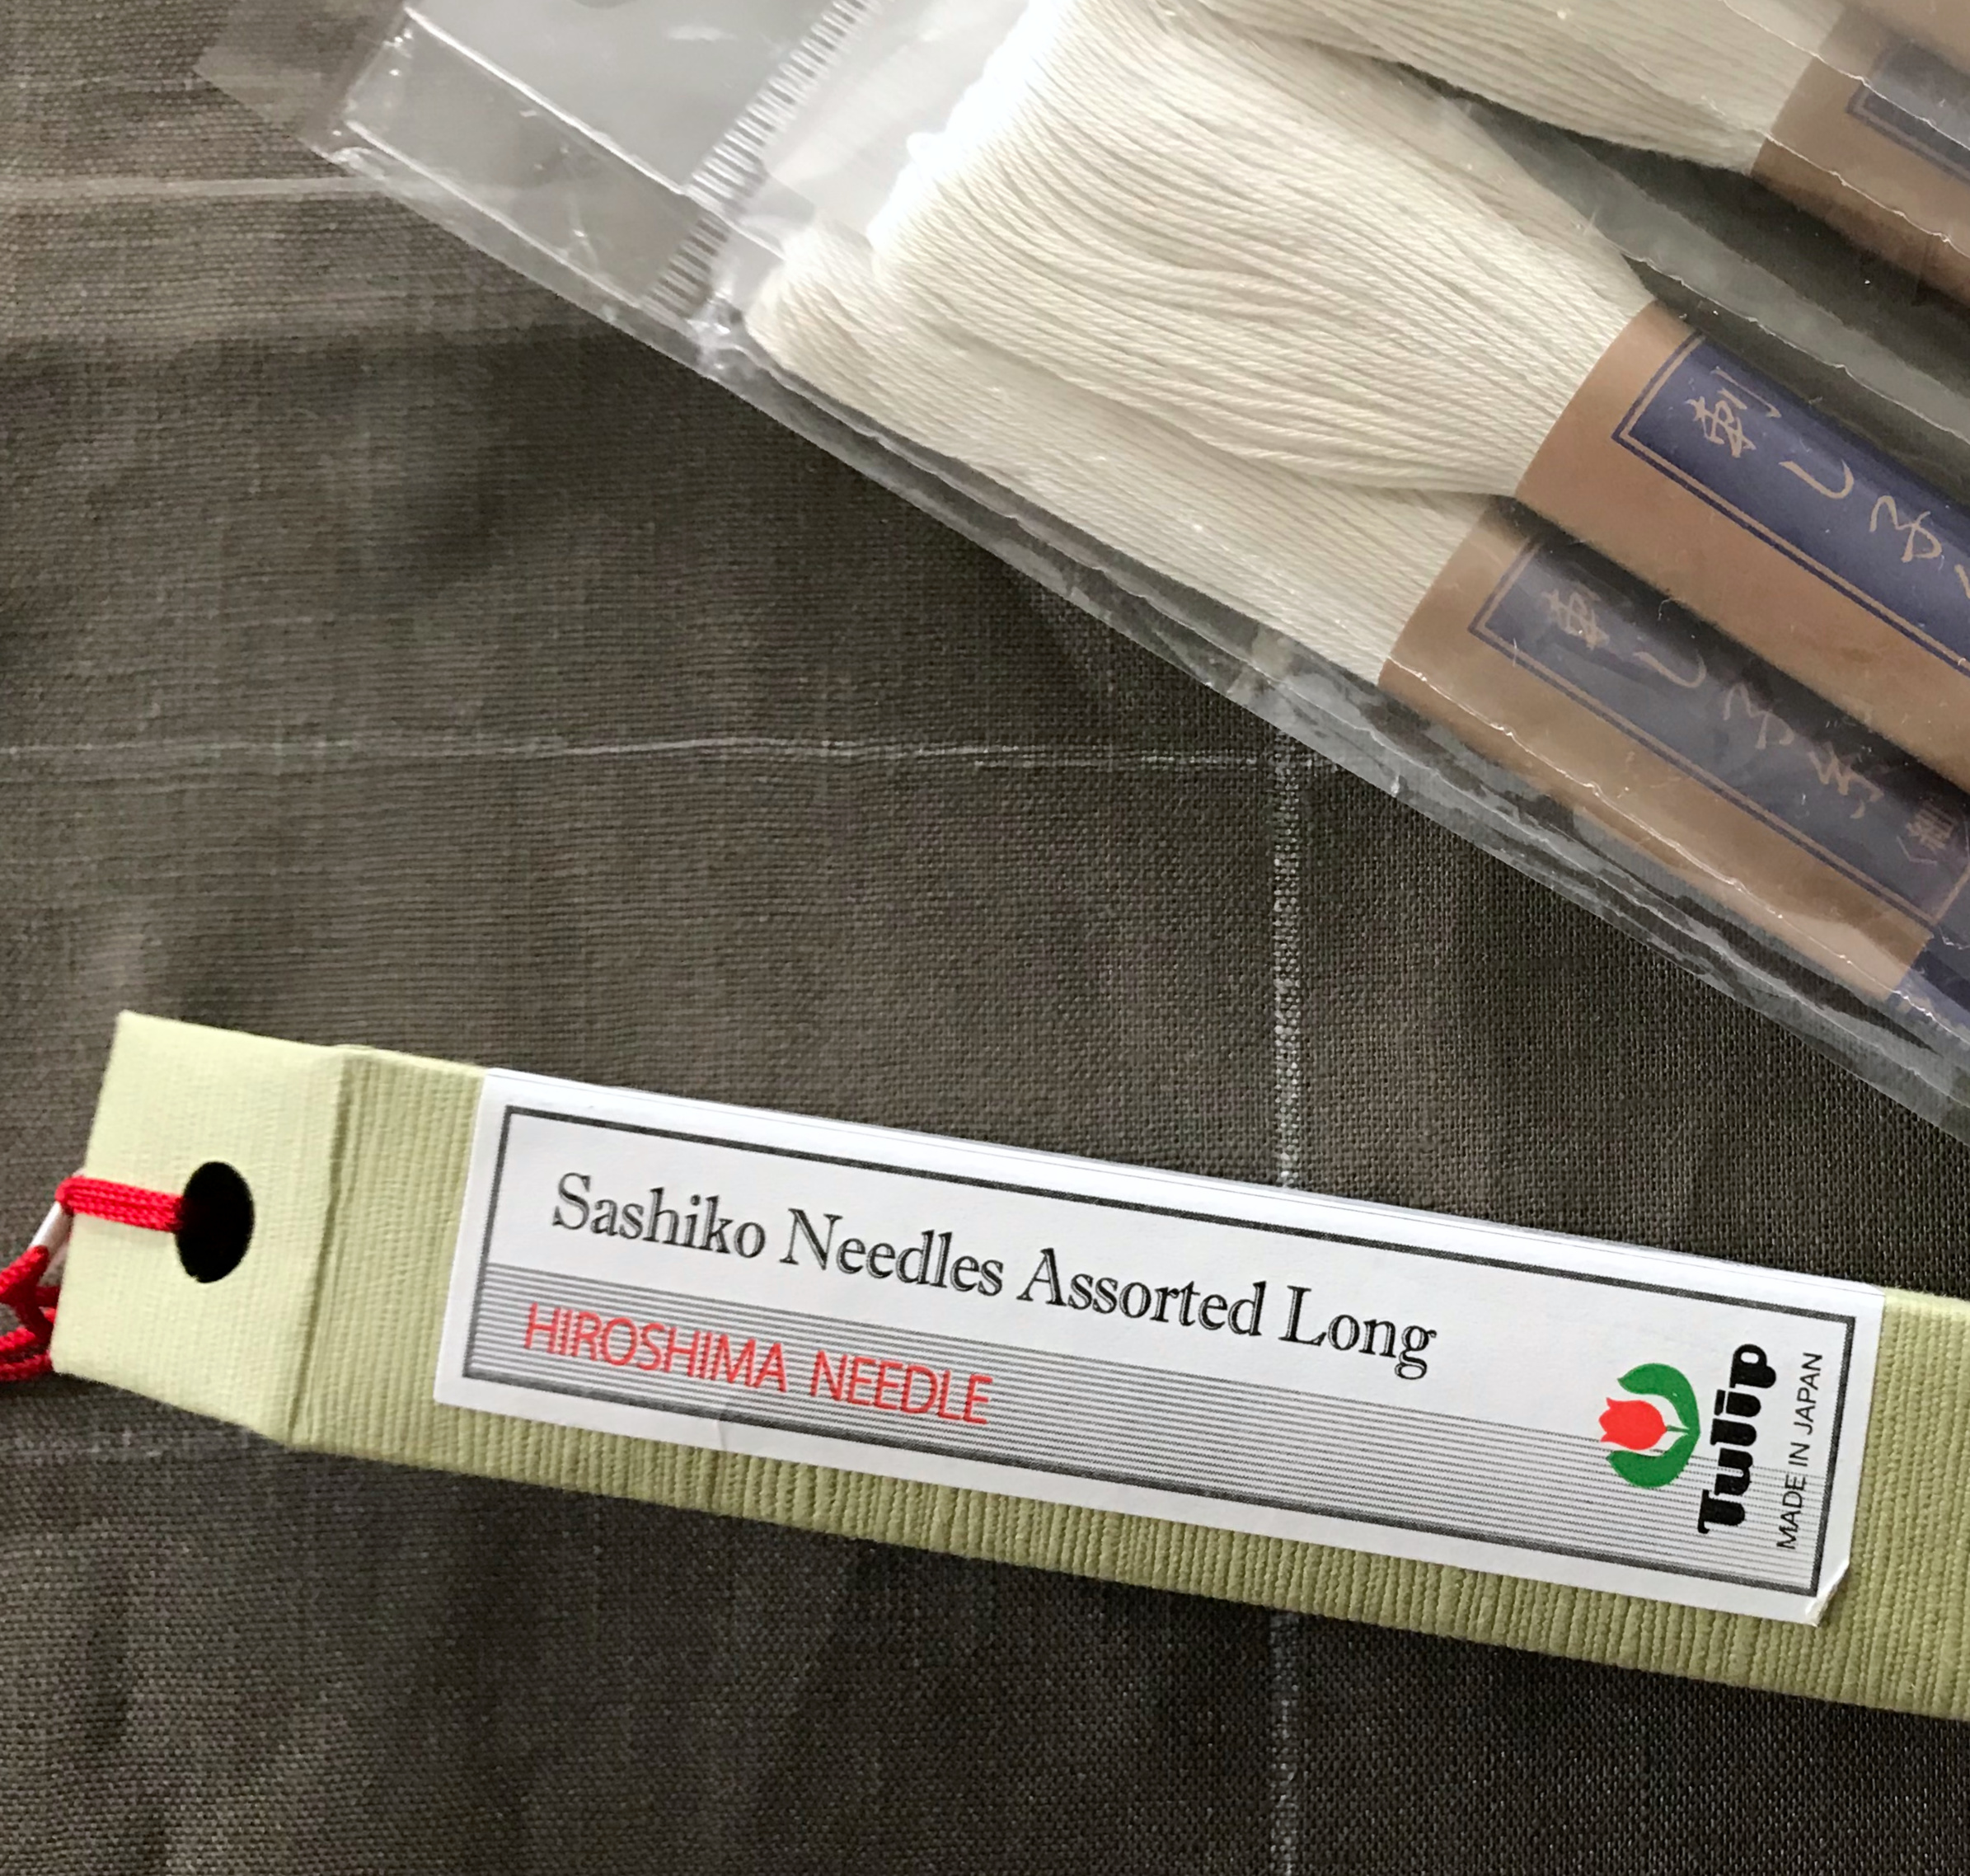
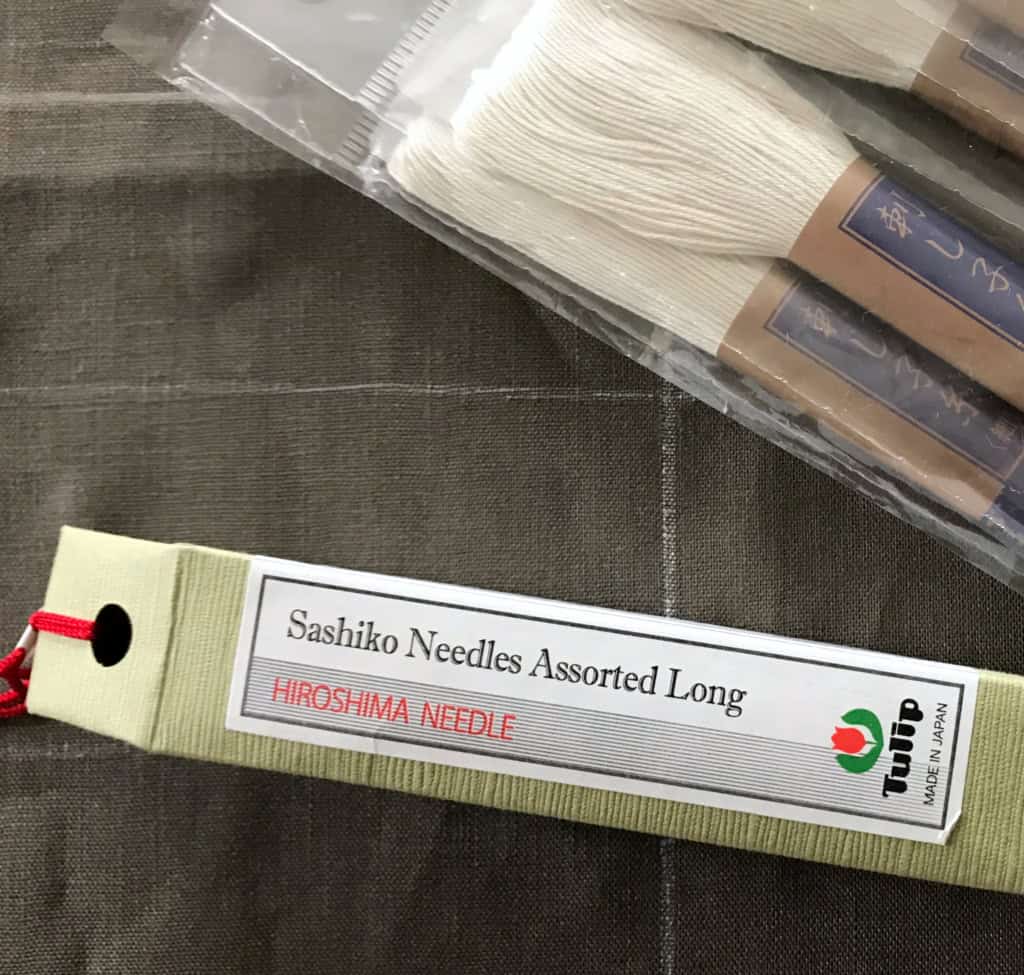
- sashiko needles (a thimble is optional)
- sashiko embroidery thread
- acrylic ruler
- cutting mat
- tailor’s chalk pencil
prep your pattern
Before prepping your pattern, you should take a few minutes to watch this short YouTube video just to give you an overview of the sashiko process.
You can find lots of patterns online and in instructional books, or you can create your own. For this project, I was inspired by a pattern I found in the book Simple Sashiko.
 photo via Simple Sashiko
draw a grid
This is probably the most crucial step in sashiko. Patience, young grasshopper. Using the chalk pencil and ruler, take time to draw a grid onto the back of your fabric. Once the basic grid is drawn, you can “eyeball” your stitching lines for the design or you can even draw out the entire design before starting. *Helpful hint: if your design includes circular shapes, use a kitchen glass to trace the shape onto the fabric.


start sewing
Sashiko is not sewed one stitch at a time; rather, you should “load’ the needle with stitches in a pleating motion. Several stitches are loaded onto the needle before the thread is pulled through. This helps to keep all stitches a consistent length.
 photo via fabrics-store.com
In traditional sashiko, there are specific methods for ending your stitches. But the title of this post is Sashiko Embroidery Demystified, so I’m here to tell you to keep it simple. I’m demystifying. You can just use basic knots, as seen below, to secure your threads. The beauty happens when you turn the cloth over to view the finished design.
 back view
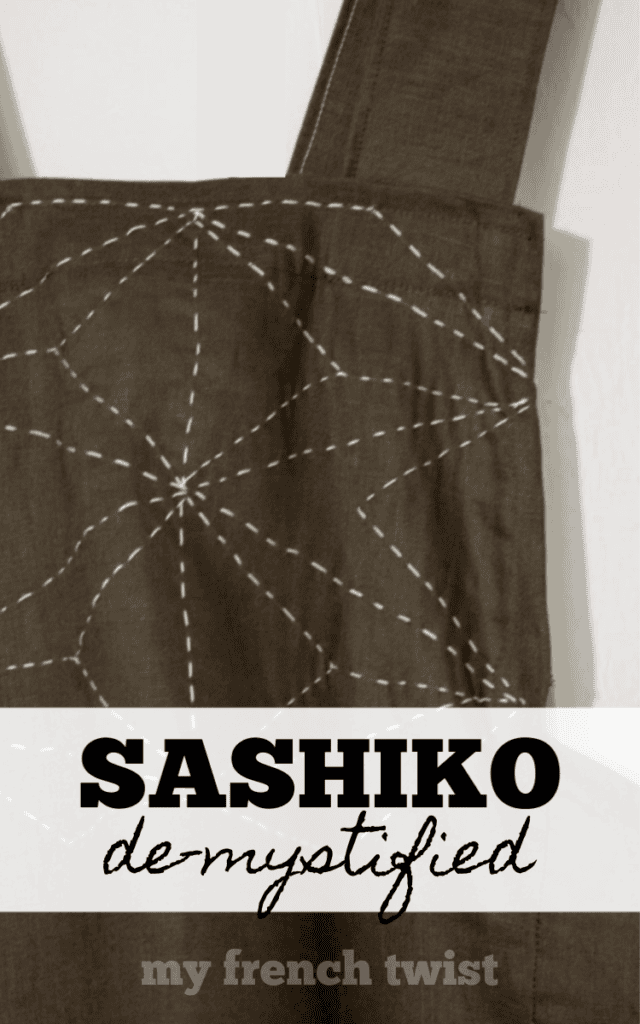
 front view
And that’s it in a nutshell! Just in case you’re wondering, I used this “practice piece” as the front of a Japanese style apron. See, I think I’m turning Japanese. I really think so.
The biggest compliment is a little share – pin the image below!

Really Awesome!! I had no idea about this embroidery pattern before. But today I learned many things about this.