So every now and then I see an idea floating around on the internet and decide to try it for myself. Decoupaging sea shells. Simple, right? But they are relaxing to make and they turn out quite beautifully. After collecting a few this past winter in Florida, I thought I’d have some fun with them.
(Affiliate links included for your convenience. As an Amazon associate I earn from qualifying purchases. See disclosure here.)
supplies needed:
- sea shells
- tissue paper or decorative napkins
- Mod Podge
- metallic gold craft paint
- clear spray varnish
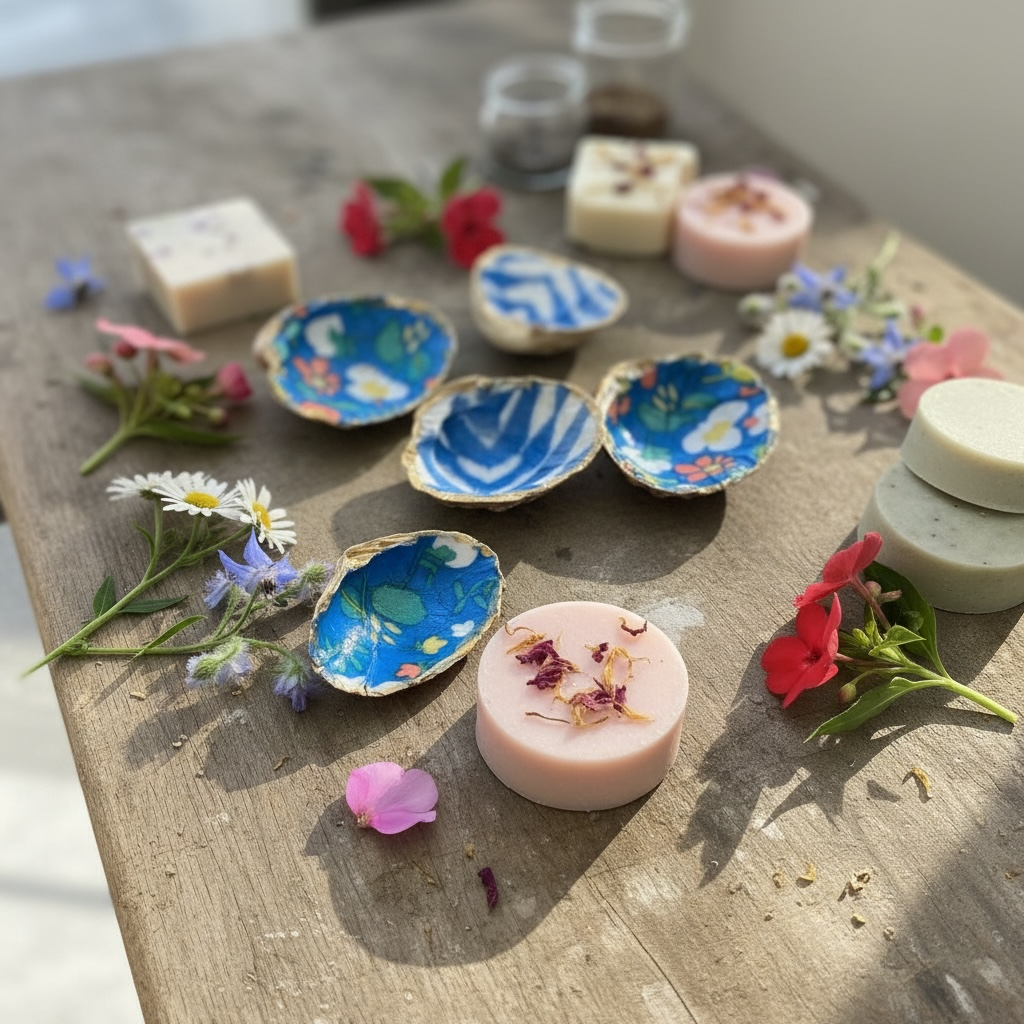
step 1 – decoupage
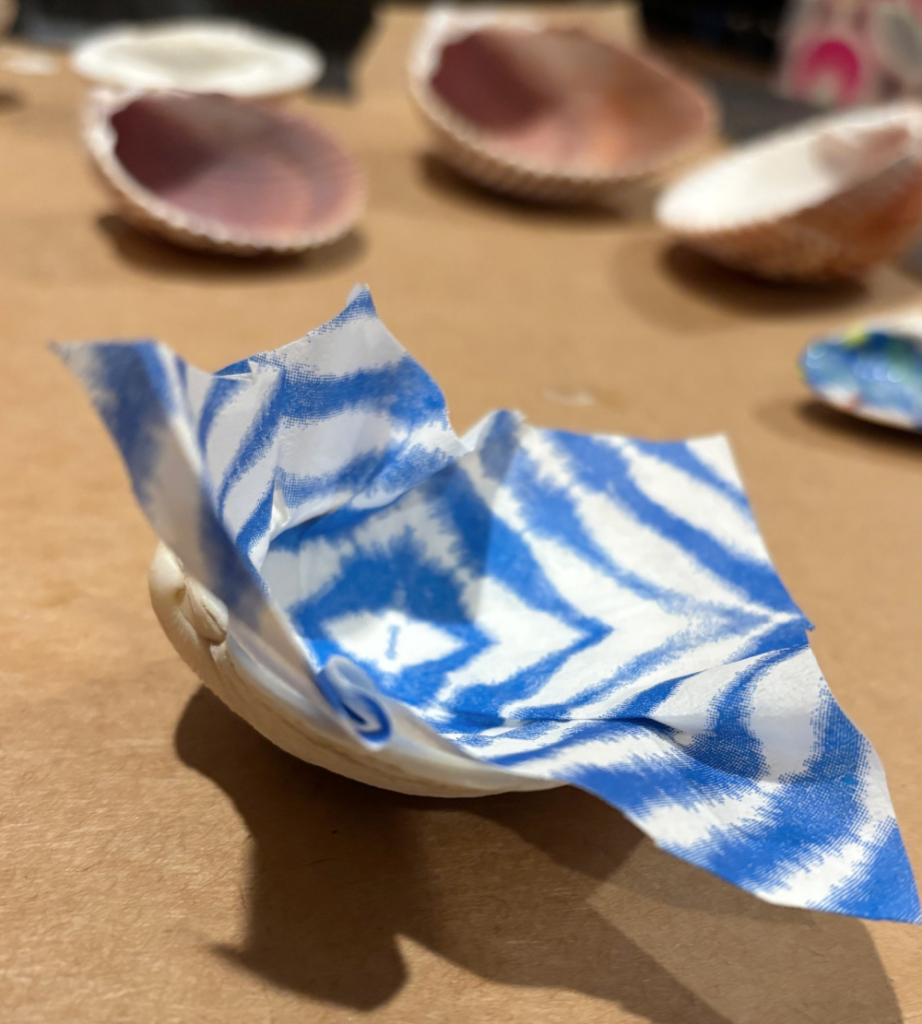
Make sure all shells are washed and dried. Next, coat the inside of the shell with Mod Podge.

Next cut a small piece of tissue paper or decorative napkin. (If you are using a napkin, pull it apart so you are only using a 1 ply piece.) Then gently push the paper down into the shell and mold it to fit.
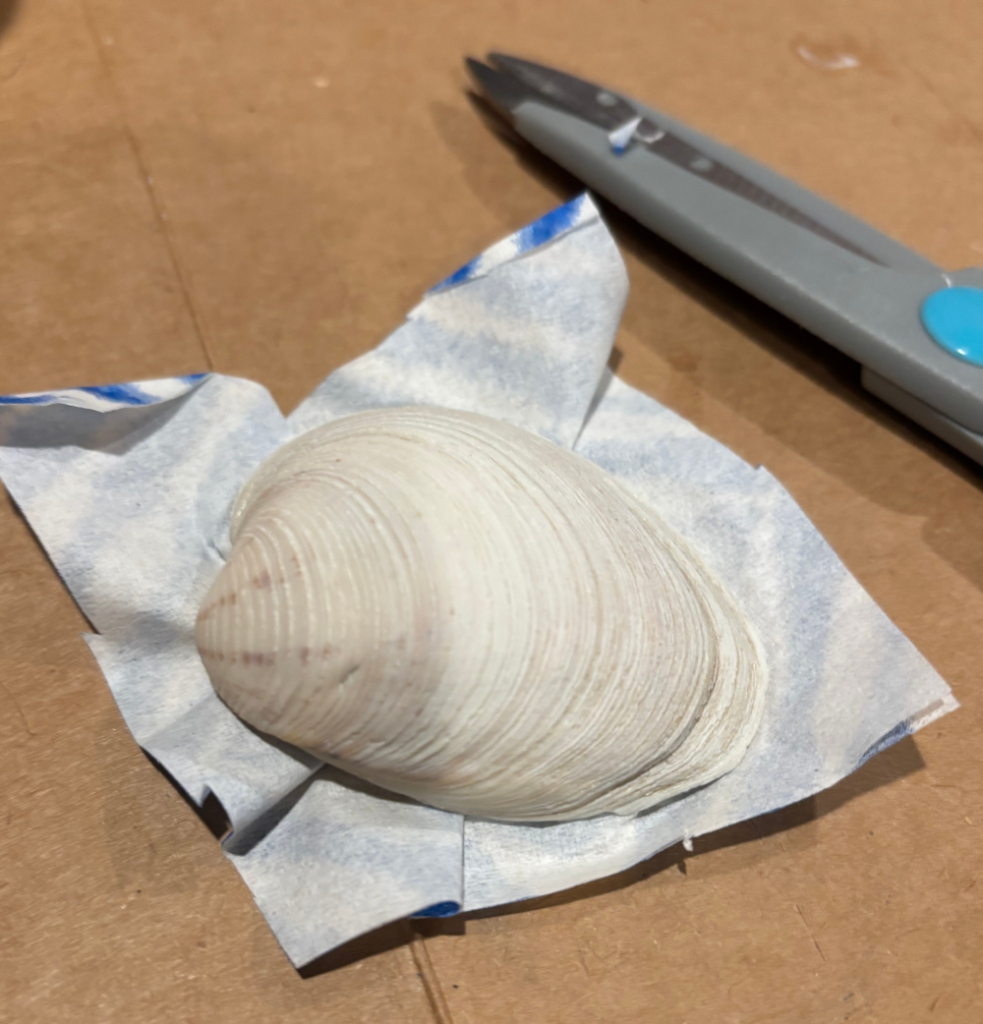
Turn it upside down and cut away the excess.
Turn back over and apply a second coat of Mod Podge thoroughly over the inside of the shell. Let dry.
step 2 – paint the trim
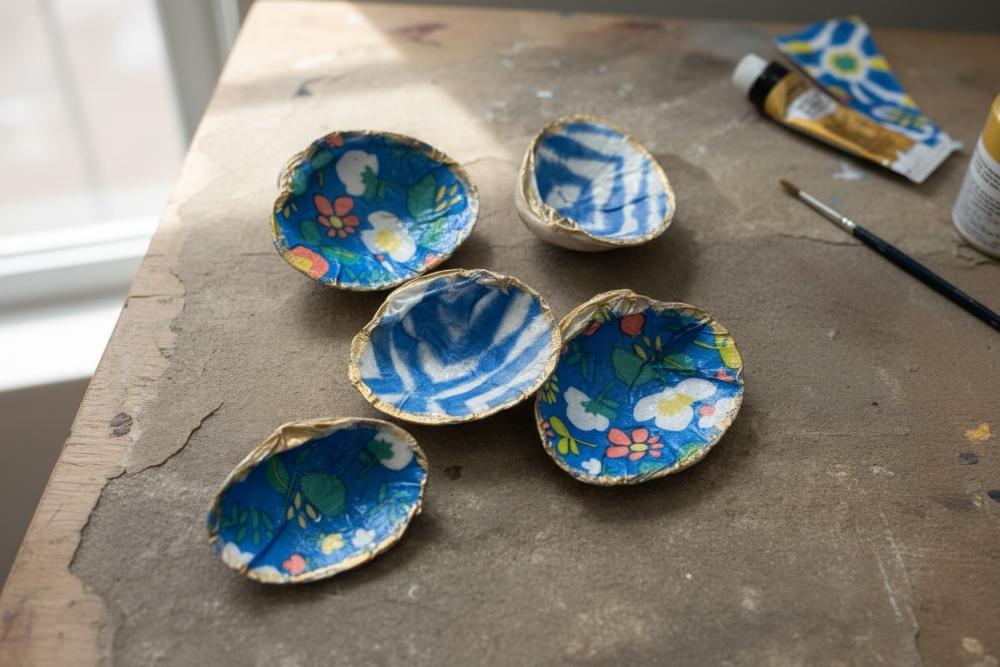
Once the shell is dry, paint a narrow line of metallic gold paint around the rim. Let dry.
step 3 – seal
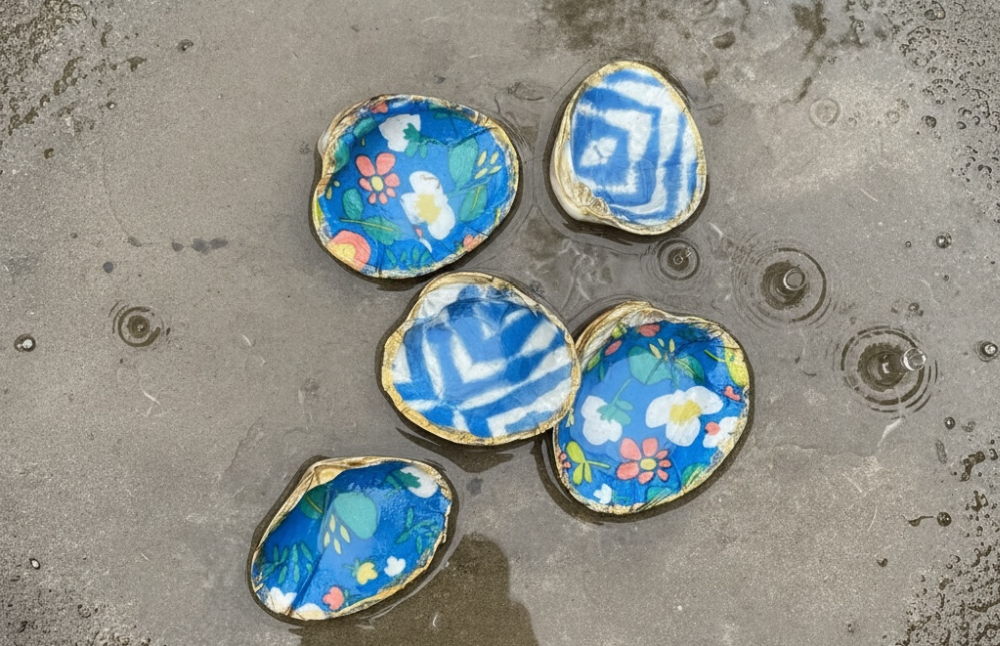
Once the trim is completely dry, spray the shell with a clear glaze to seal and protect. Once it is dry, begin thinking of the different ways you can display or use these little gems! They also make sweet gifts.
The biggest compliment is a little share – pin the photo below!
![]()

I recently decoupaged some prawn shells and crab claws leftover from dinner, so there’s that.
I have been wanting to try this crafting project! And you explained it so easily that I may just do that. I purchased a couple of decoupage oyster shells in Charleston and they were quite spendy, but I love them so much. And I want to use them for a small Christmas tree in my home office. So I am definitely pinning this one!