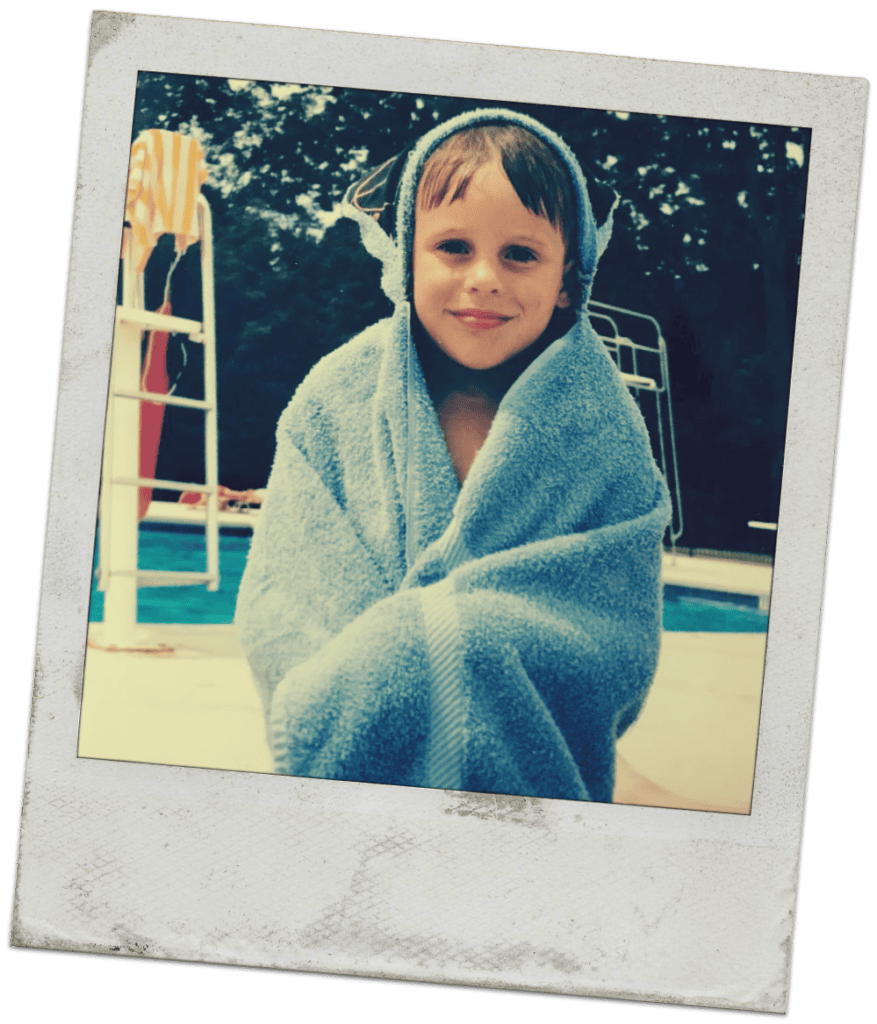
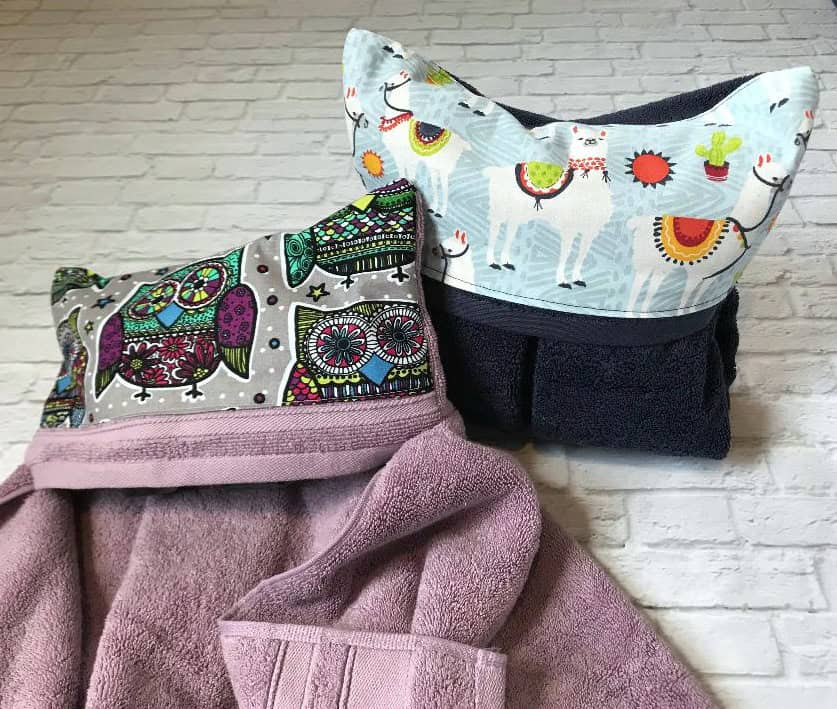
I’ve been wanting to showcase this project for a long time – a hooded towel for kids – and the reason is clear. These hooded terry towels are not only too darn cute but heartily endorsed by the best testers ever – my own children. I first made these hooded towels for my boys when they were three & five, and I kid you not – they used them for over five years! I still remember those red and blue towels, with a cowboy print fabric on the hoods. They used them at bath-time, carried them to the neighborhood pool, and wore them as super hero capes. Okay, just humor me for a minute and ooh and aah over this photo from years ago…
Because sometimes the best ideas are not new at all, here’s a tutorial on how to make this hooded towel for kids.
(This post may contain affiliate links; as an Amazon associate I earn from qualifying purchases. See disclosure here.)
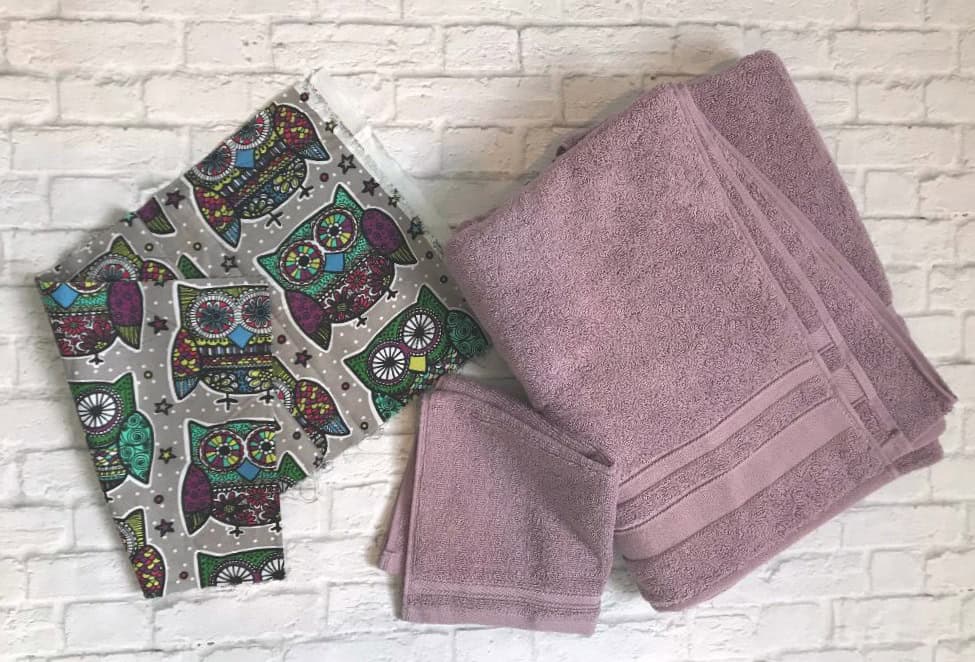
supplies needed:
- standard size bath towel
- standard size wash cloth
- 1/4 yard of 45″ cotton print fabric
step 1 – making the hood
First, cut the fabric into a 7″ x 15″ piece. Fold top and bottom edges under so that the height measurement on the top side is no more then 6 inches. Press. Next, pin the fabric strip onto the very bottom of the wash cloth.
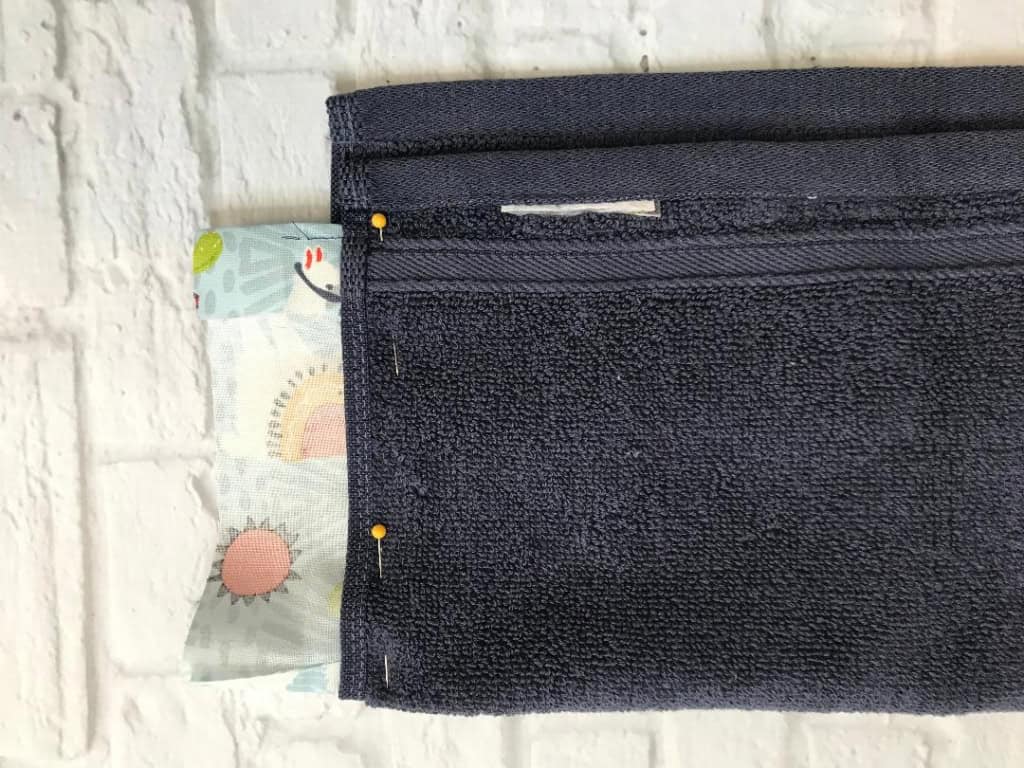
Fold the cloth in half and stitch both side seams. Trim loose fabric from the seams. Turn right side out.
Important note: Before sewing the side seams, it is best to fold & pin the cloth with the front of the hood slightly shorter then the other, as show in the photo below.
step 2 – attaching hood to towel
Important note: Sewing through the thickness of terry cloth toweling can be tricky. I have to brag on my new little (inexpensive) sewing machine that is up to the task… my Singer Heavy Duty 4423. I have to admit I had trouble making these towels with my previous machine, but my friend convinced me to get this Singer for only $135. IT ROCKS. I’m amazed at what a little, dependable workhorse it is, so I wanted to share!
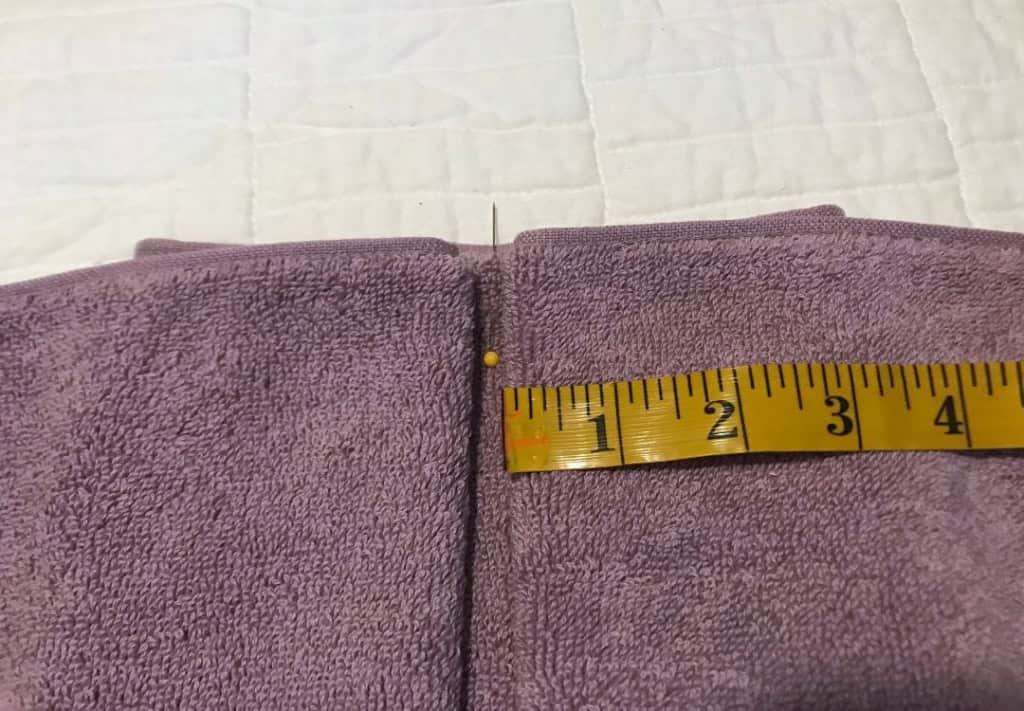
Lay the towel with the finished side facing up, and mark the center with a pin. Make a 3 1/2″ pleat, as shown below. Pin in place.
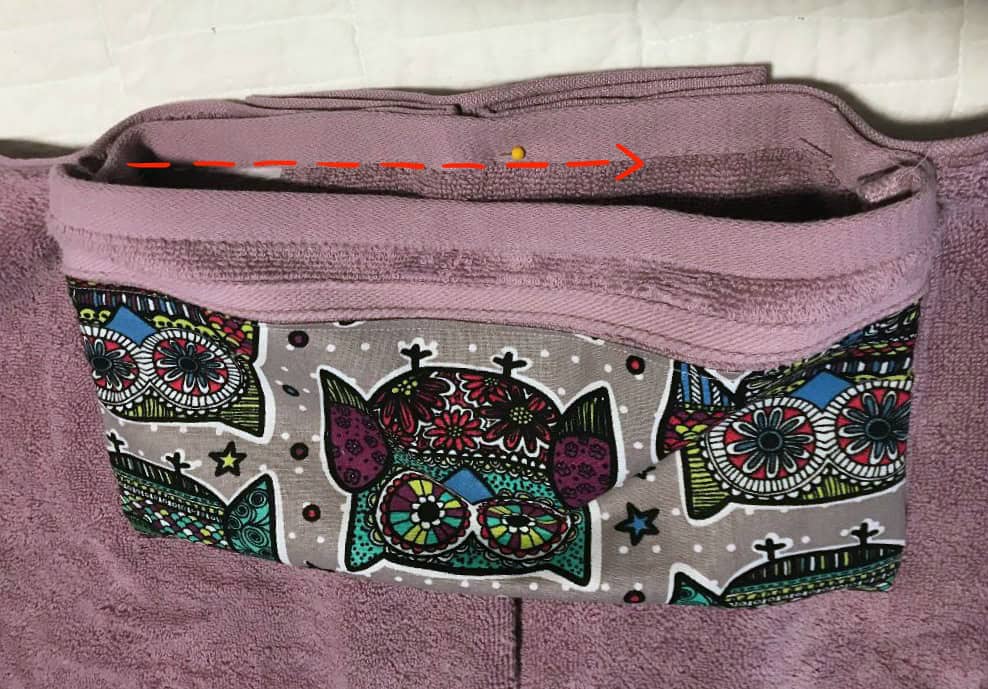
Next, place the hood on top of the pleat, as shown below. Keeping the pleat in place, stitch the back of the hood to the towel. Be sure to back-tack the seam.
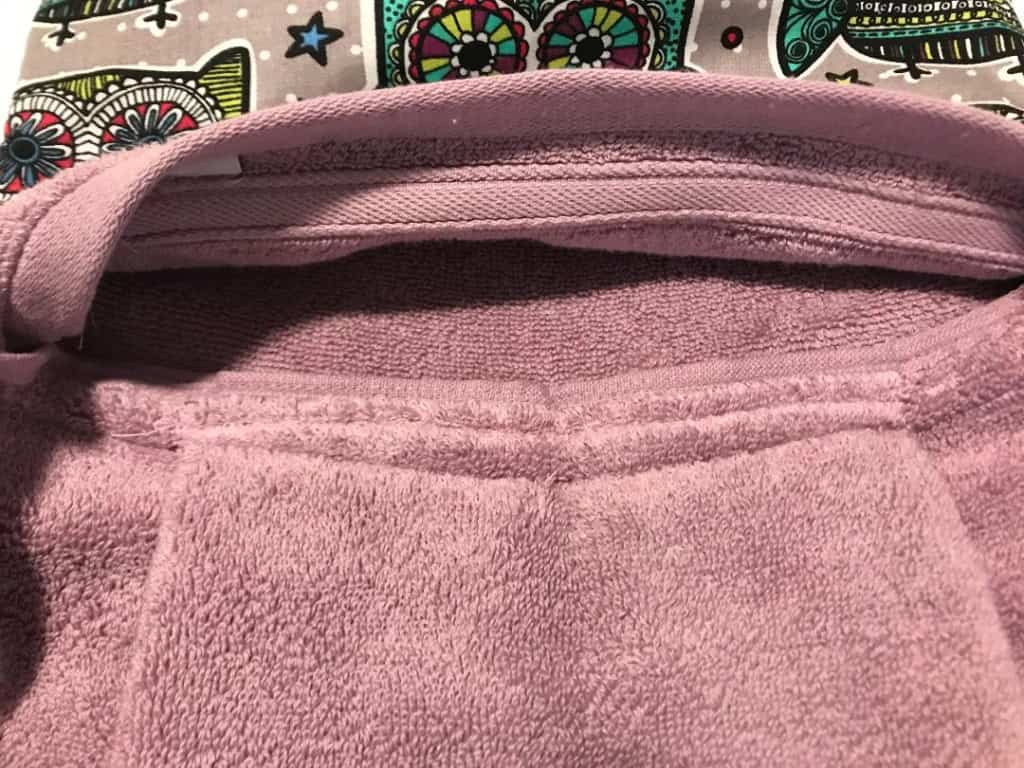
Below is another photo to better explain how you stitch the back edge of the cloth only to the towel body.
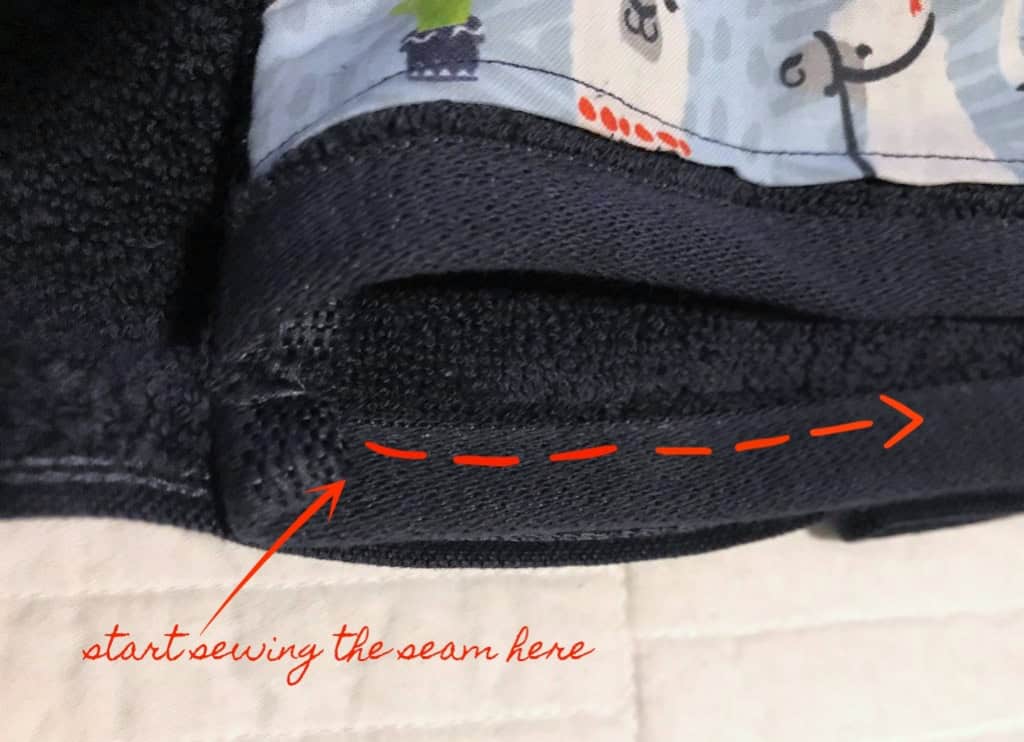
Once the hood is connected to the towel, push the seam upward and stitch it down to give it a more finished look.
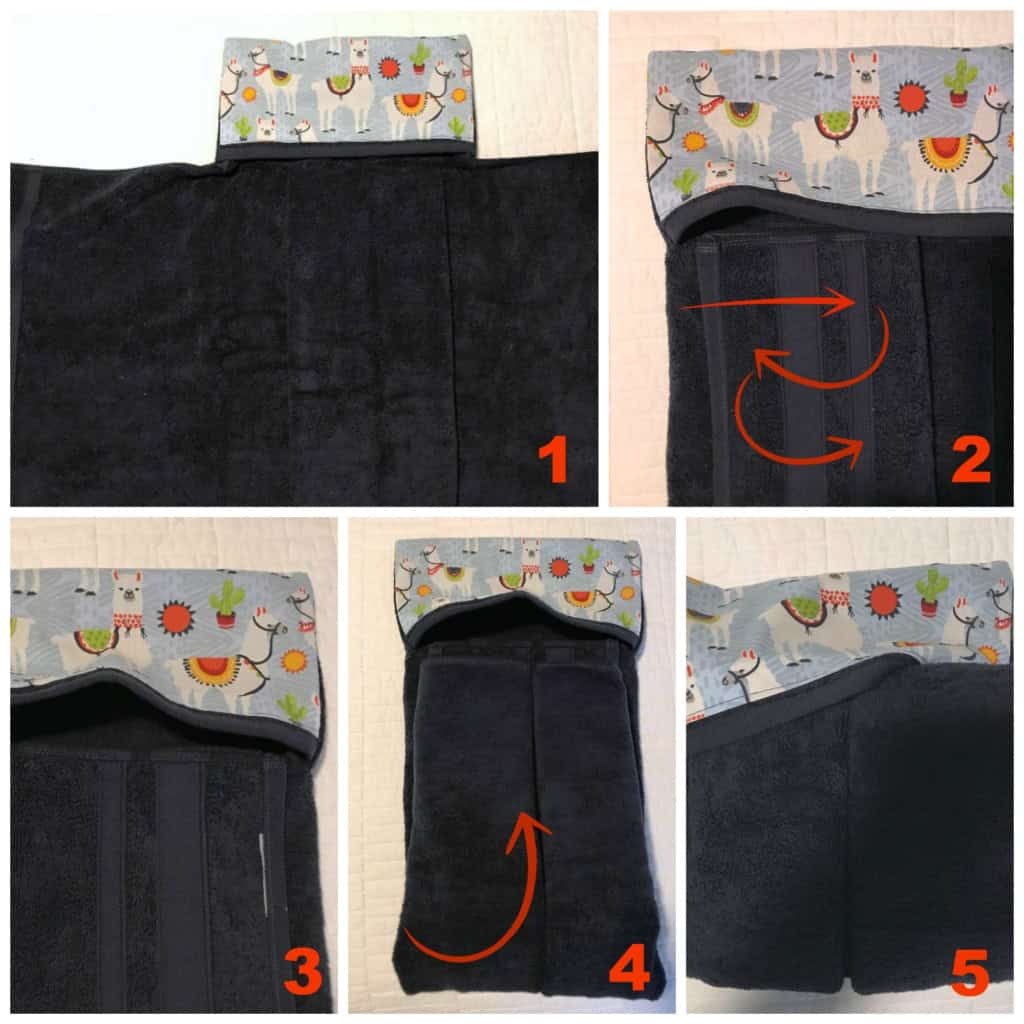
step 3 – folding the towel
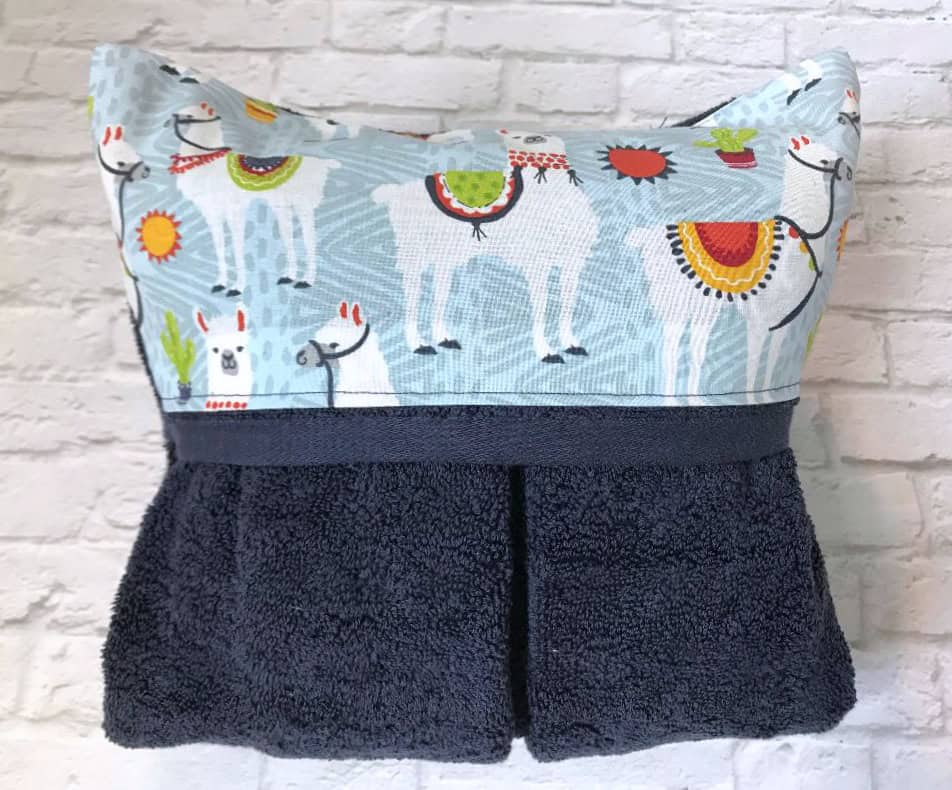
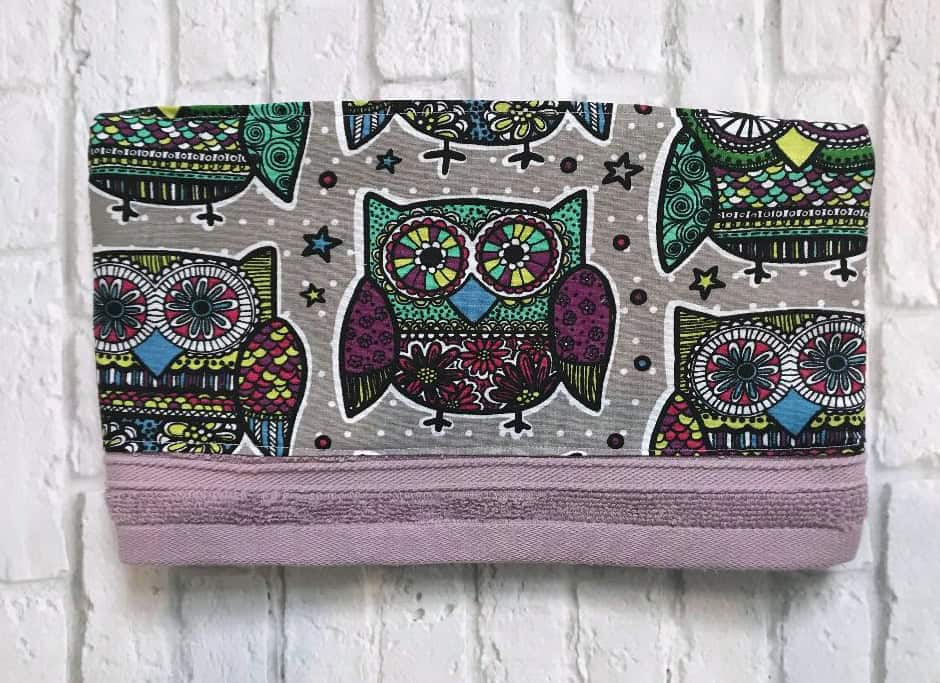
Now that you have an adorable hooded towel, go that extra step to transform it into a beautiful gift. I love folding them into little “pockets” and gifting them with a bottle of bubble bath.

Ready for the folding tutorial?
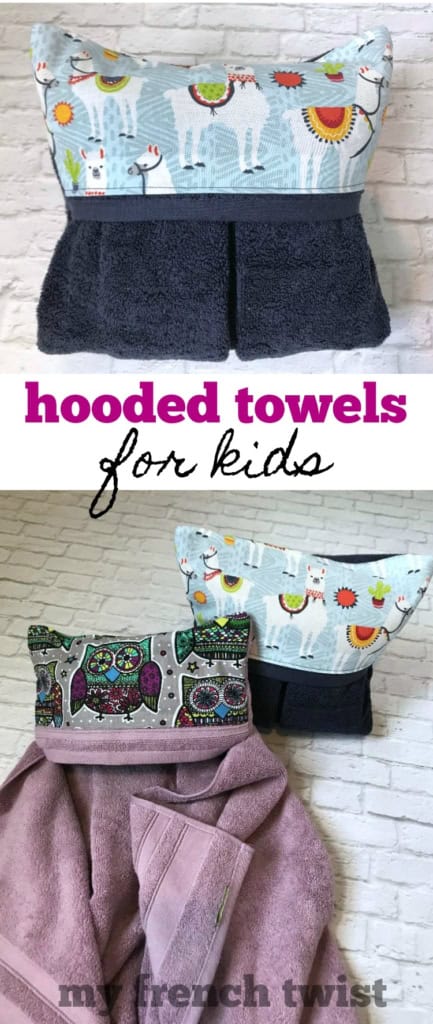
The biggest compliment is a little share – pin the photo below!

Oh my gosh, that is an awesome idea. It looks like they’re super easy to make too. I made a similar project years ago for my oldest – a dragon tail. That thing still gets played with today. I really like when simple things like your hooded towels or my tails get used over and over for years!
Really nice love to buy for kids.
This is awesome! I’ve always had such a hard time finding bigger hooded towels for my kids – these look perfect 🙂
How cute! I should make some of these for my grandbabies! Thanks for the tutorial!!
They would love them!😊
These hooded towels have such a fun patterned top! I tried making one of these once…it went ok. I really like the extra you added to the hoods! Great job!
Thanks!