Often the sweetest crafts are also the simplest ones. Despite all the newfangled tools on the market, I never cease to be amazed at the transformative power of Mod Podge. Think I’m kidding? Just take a look at this sweet decoupaged crate that took me less than $10 and one hour to make.
(Affiliate links included for your convenience. As an Amazon associate I earn from qualifying purchases. See disclosure here.)
supplies needed
- wooden crate (I like the ones at Michaels for $10 each)
- foam brush & Mod Podge
- whimsical paper napkins
decoupage instructions
Give the crate a light coat of white paint or primer. This is especially important if you are using napkins with a light or white background.


While the paint is drying, remove the two layers of white tissue paper from the back of the napkins (if they are 3-ply). It may seem like there’s only one white layer at first; the second layer will be trickier to remove.
Now you are ready to adhere the napkins to the crate. Spread Mod Podge over an area of the crate, press the napkin onto the area, then coat the top of the napkin with another layer of Mod Podge. This process is very forgiving, so don’t feel you have to be meticulous. The glue will dry clear.

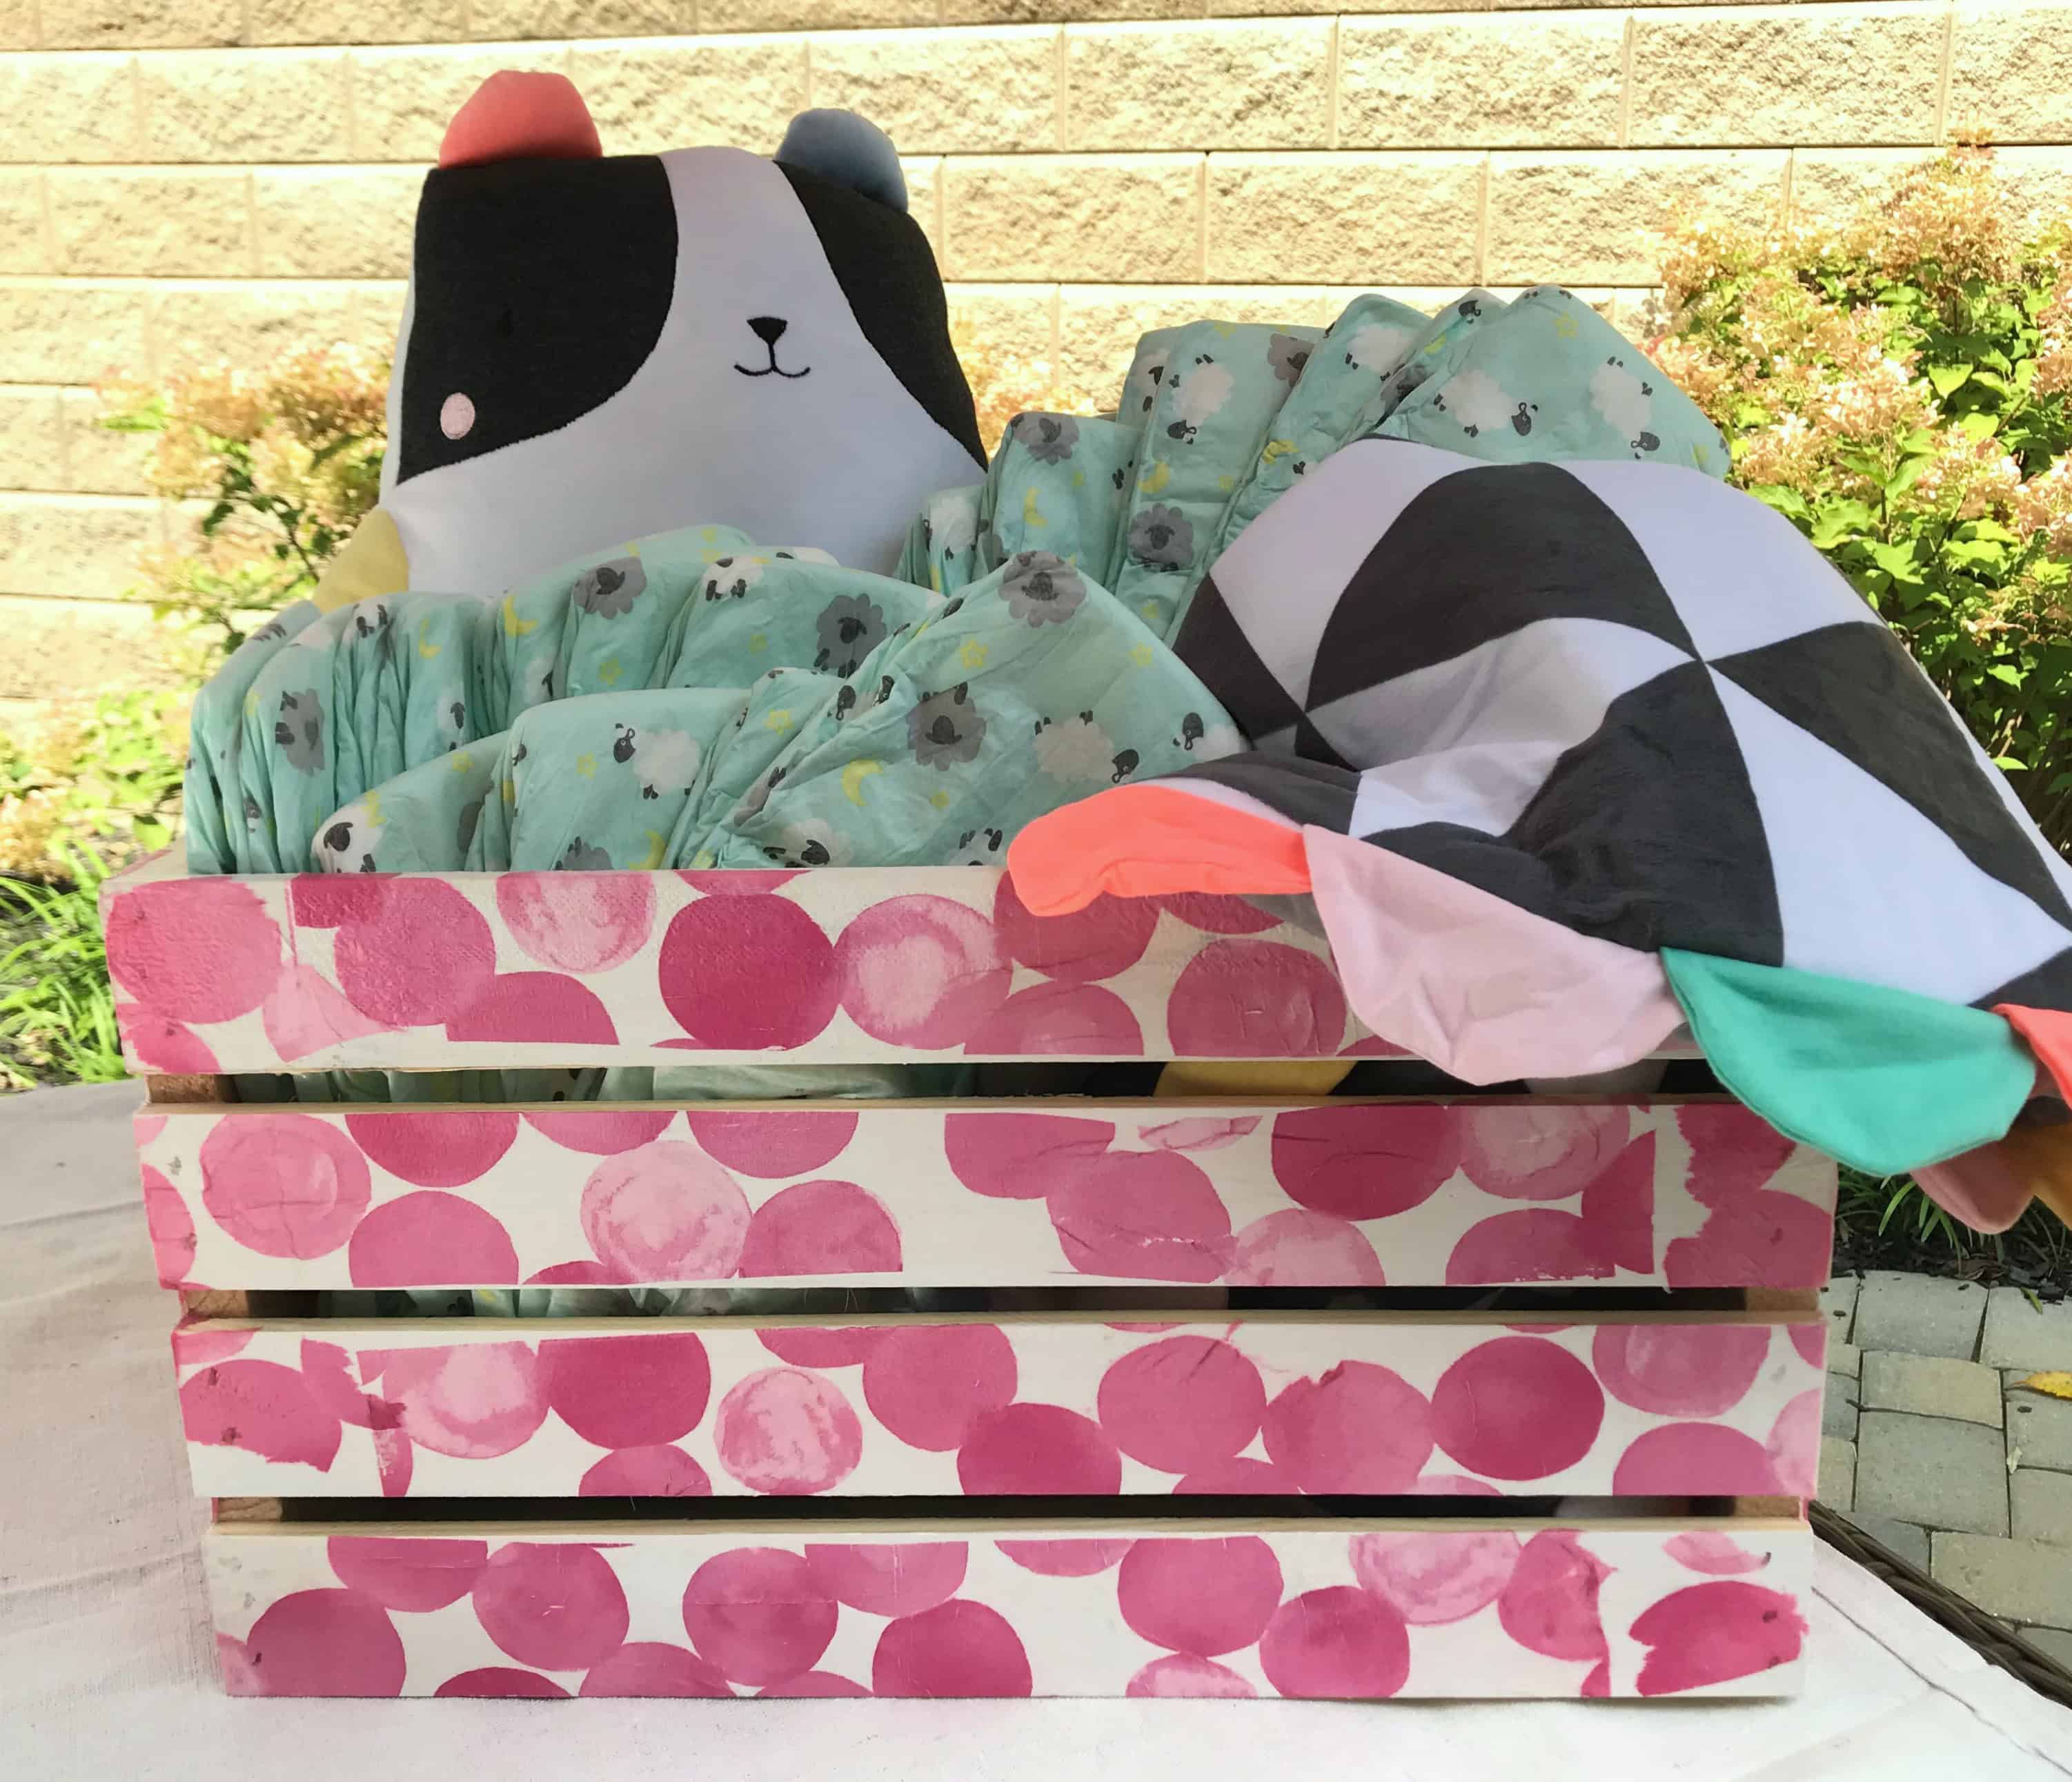
After allowing the glue to dry for at least a day, lightly sand the entire crate to give it a slightly distressed look. And voila! That’s it. Then you can use the crate for a variety of purposes. My idea? Fill this decoupaged crate with pampers and baby toys and you’ve got a sweetly crafted baby gift.

The biggest compliment is a little share… pin the image below!


Such a sweet makeover, it looks lovely. Thank you for sharing with us at Handmade Monday 🙂
The crate is cute, but where are instructions for THE CAT!
Thanks
lol… Maggie, the cat is cute. Bought it at Target!
That’s so sweet, napkin decoupage is so versatile isn’t it? The effect is lovely and it’s so simple too !
thank you so much Julie
Great choice of napkins. I love the colour and pattern!
Thanks Claire!
That is very cute. I like that.
So cute! I have been wanting to try this with pumpkins this year! Thanks for the tips!
Thanks Chloe! It was so easy to do. We did this for my craft club recently.