(This post may contain affiliate links; as an Amazon associate I earn from qualifying purchases. See disclosure here.)
supplies needed:
- canvas painter’s drop cloth
- various sponges
- black latex paint
- sewing machine
history of mudcloth
If you’re new to this textile trend, mudcloth is simply a hand-woven cotton fabric that originates from Mali, West Africa. The cloth is pieced together to create a wider canvas, dyed with fermented mud, and embellished with intricate tribal designs.
step 1 – sew the curtains
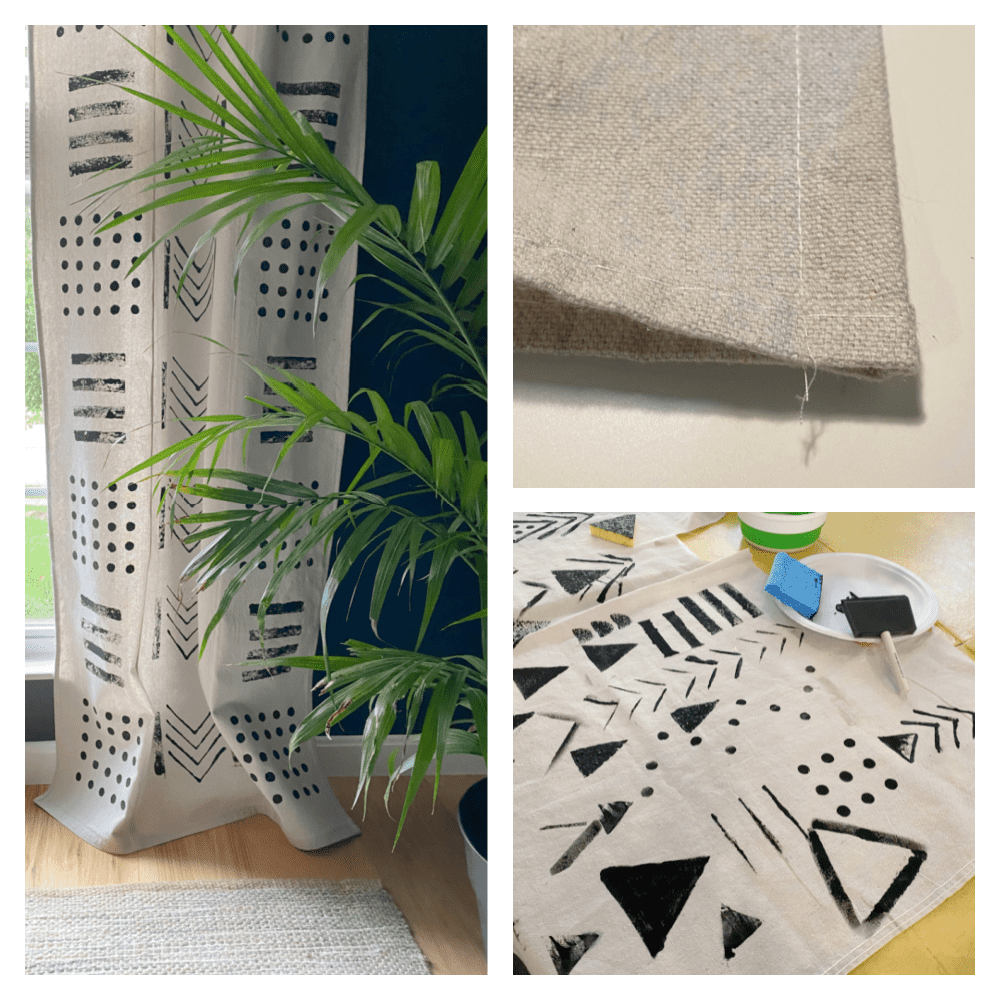
Although this painter’s drop cloth only cost $12, the primary reason I used it was for its grainy, earthy texture. I love the look of mudcloth pillows on rough canvas textiles; I especially love the raw seams showing. So a drop cloth was the perfect choice!
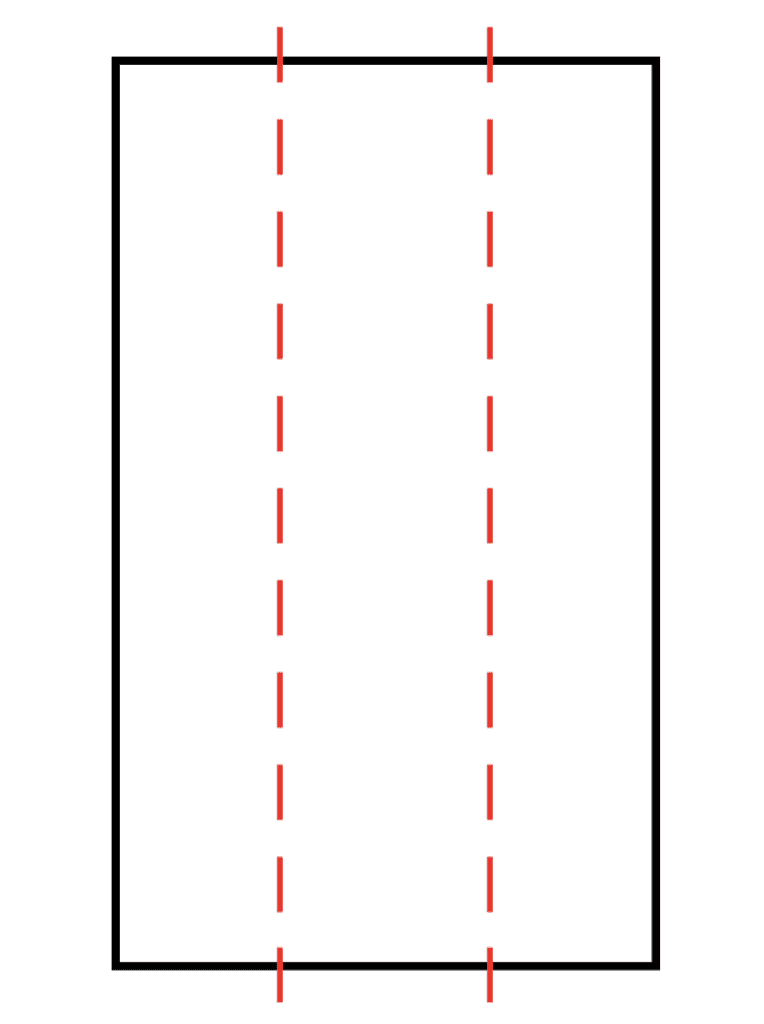
First pre-wash the drop cloth to soften it. Next, cut the 6′ x 9′ drop cloth in half, creating two panels, each measuring 3′ x 9′. To create seams, measure each panel into thirds, as shown below. I pressed folds along the red lines with a hot iron.
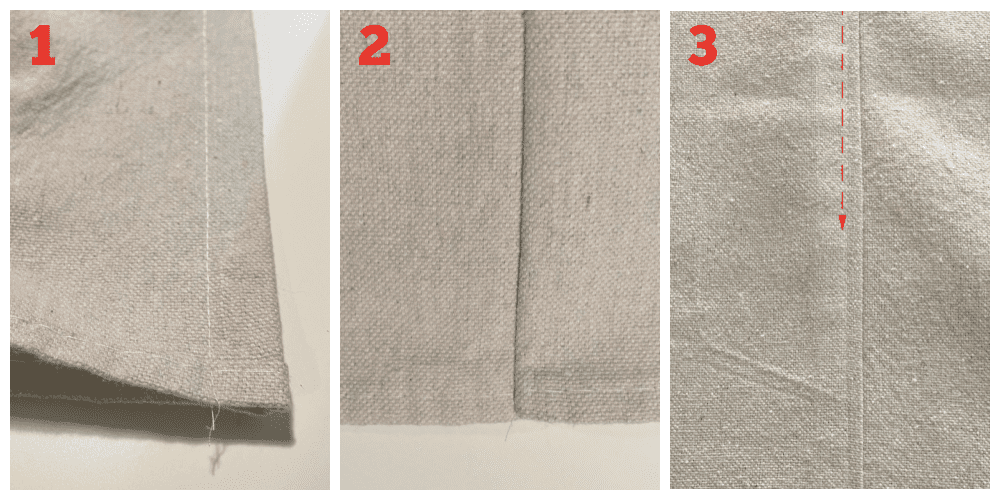
Now stitch a small seam along the two red lines (1) where folds are pressed. Open and press seams flat (2). Then top-stitch along the seams (3).
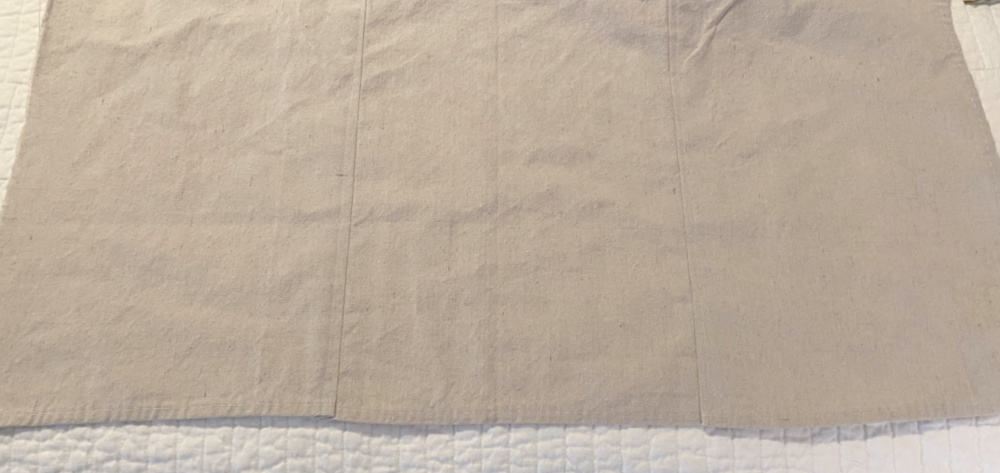
You now have each drapery panel seamed into three equal columns. Make sure each side has a narrow machine hem. The top and bottom will be hemmed last.
step 2 – paint the designs
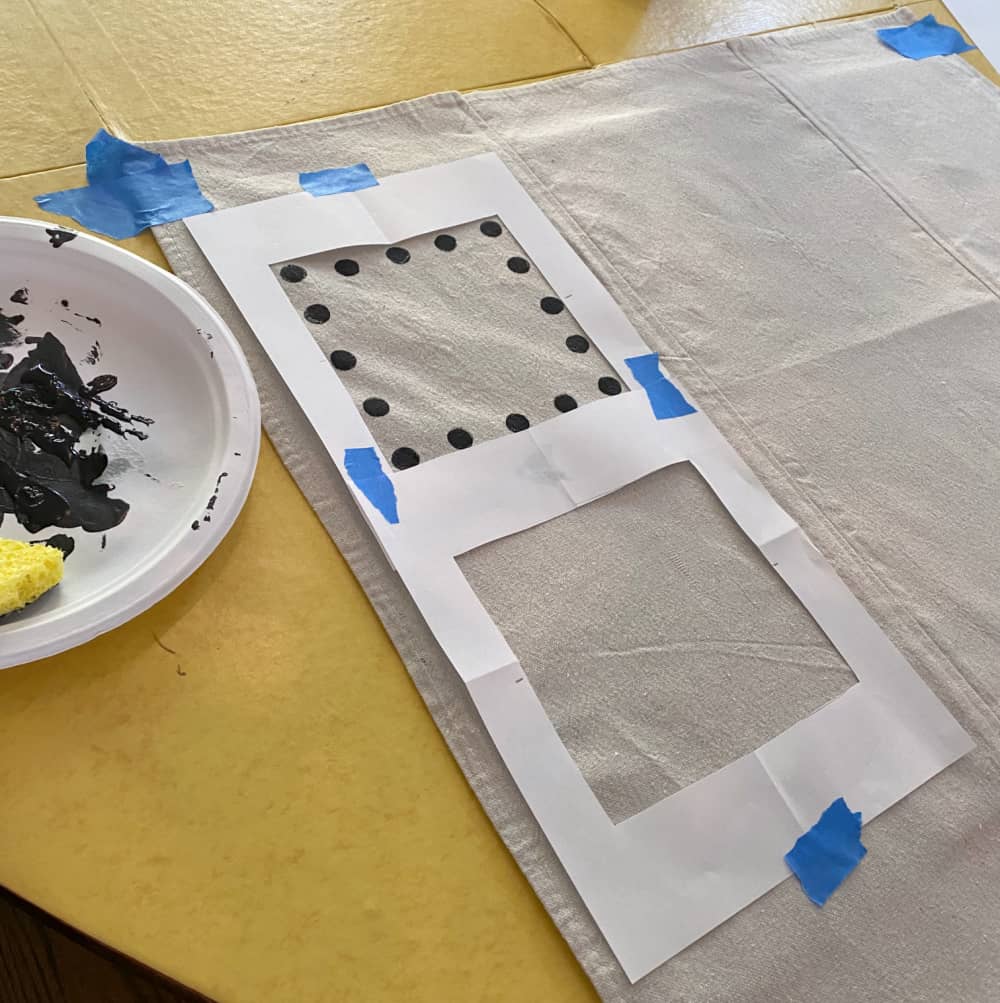
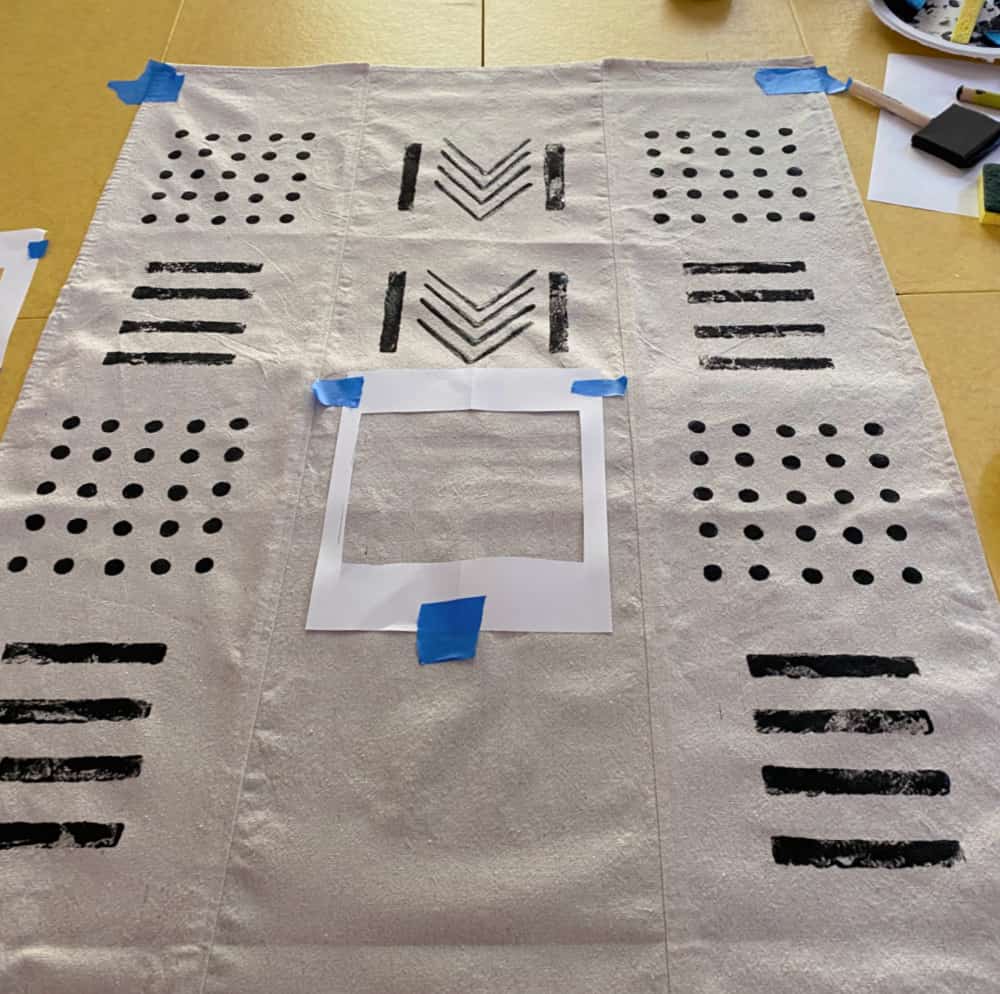
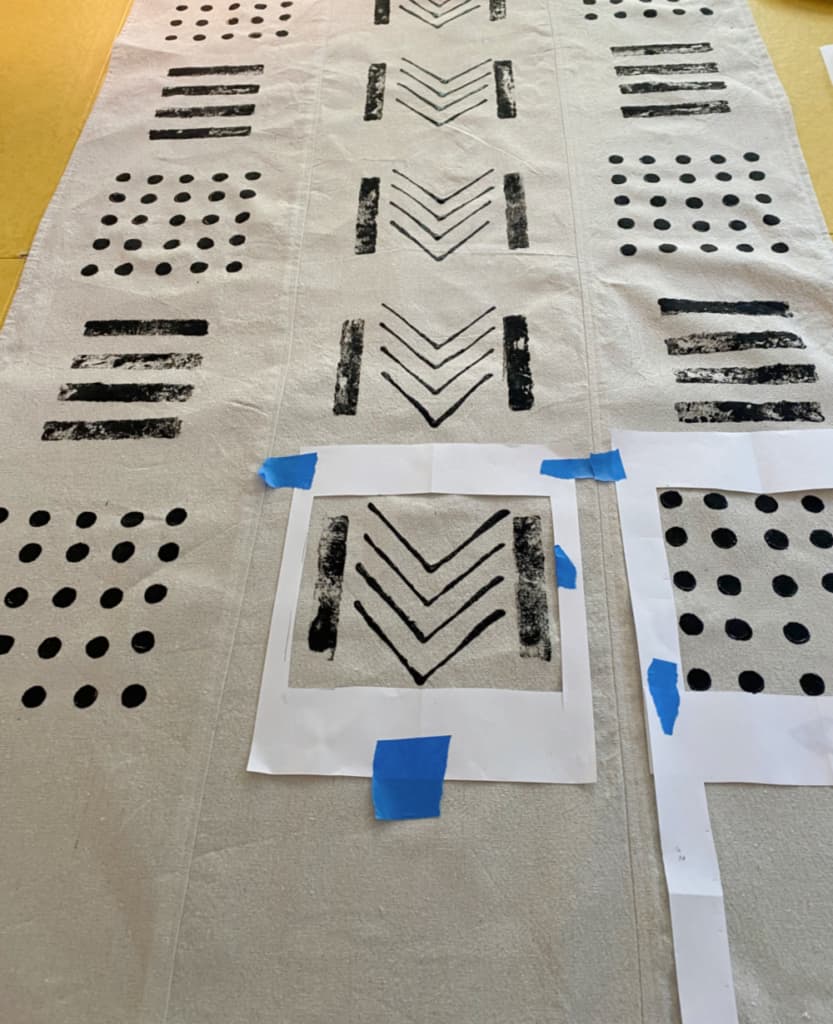
Now that the curtains are sewn and pressed, they are ready to be painted. But not so fast! We discovered it was important to spend time planning our designs and experimenting with different sponges and brushes.
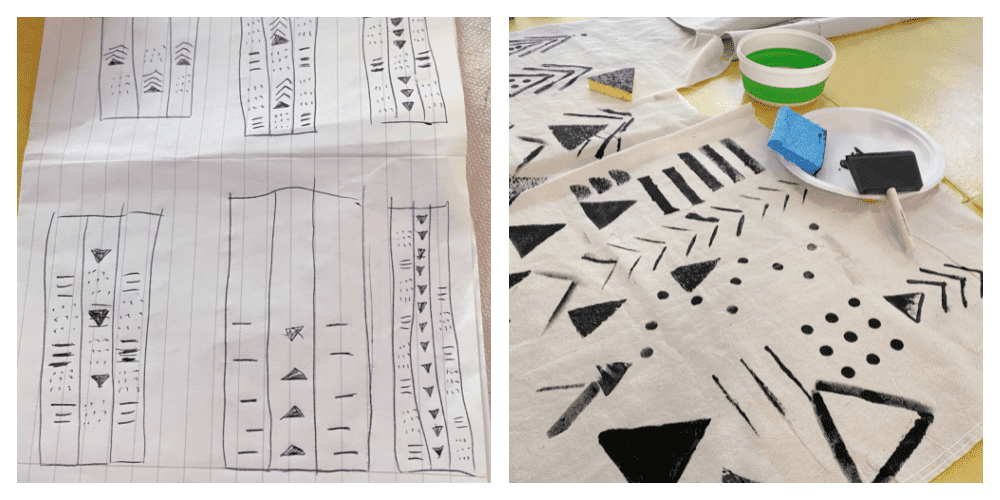
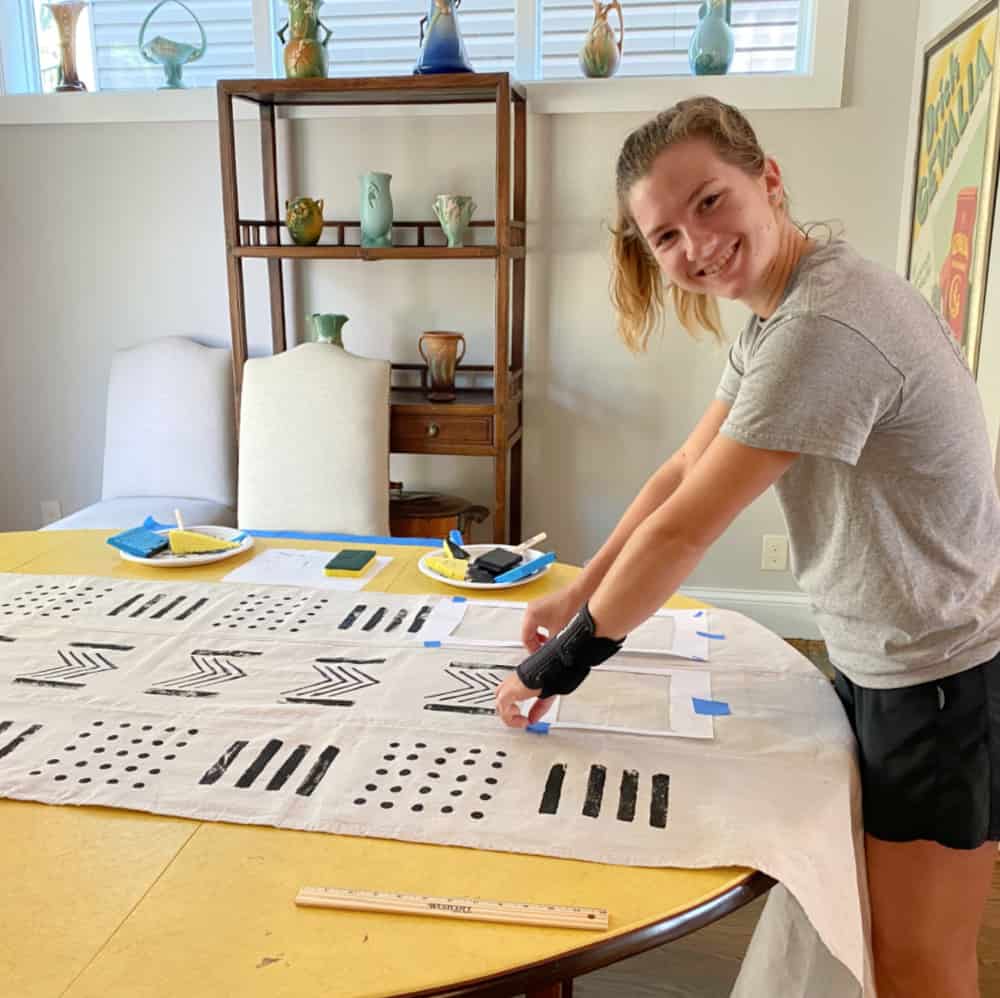
Our first attempt taught us that we also needed to grid the patterns out evenly, so we made template blocks from paper to help keep our squares consistent and even. This is a very important step. Once we decided on the design, I gave the reins to Lilly. Painting the panels was a tedious task but worth the effort! Note: begin painting a few inches down from the top of the panel to leave room for a hem.
Once the painted curtains have dried, hem the top and bottom to desired length. Then turn the panels over and press the back of the curtains a final time. Use drapery rings to hang. (We actually spray painted an existing rod antique brass then bought drapery rings to match.)
The biggest compliment is a little share – pin the photo below!
Missed my posts from previous weeks? Check them out!
Check out the other guest participants as well as the featured designers!



Hi! Macrame always looked so hard to me, but after I read through your instructions and knot tutorials as well, I think I will go get some macrame supplies (thanks for the article on that as well!) to start my first macrame project. Thanks!
Tammy I’m so glad you found my posts helpful. Good luck!
Love this idea, Wendy! Thanks for sharing at Vintage Charm–pinned!
Hi Wendy 🙂 these are beautiful i love mud cloth, soooo creative!!
Thank you so much Tanya! They were fun to make.
Such a great idea for the curtains!
Thank you Jeannie! They were fun to make.