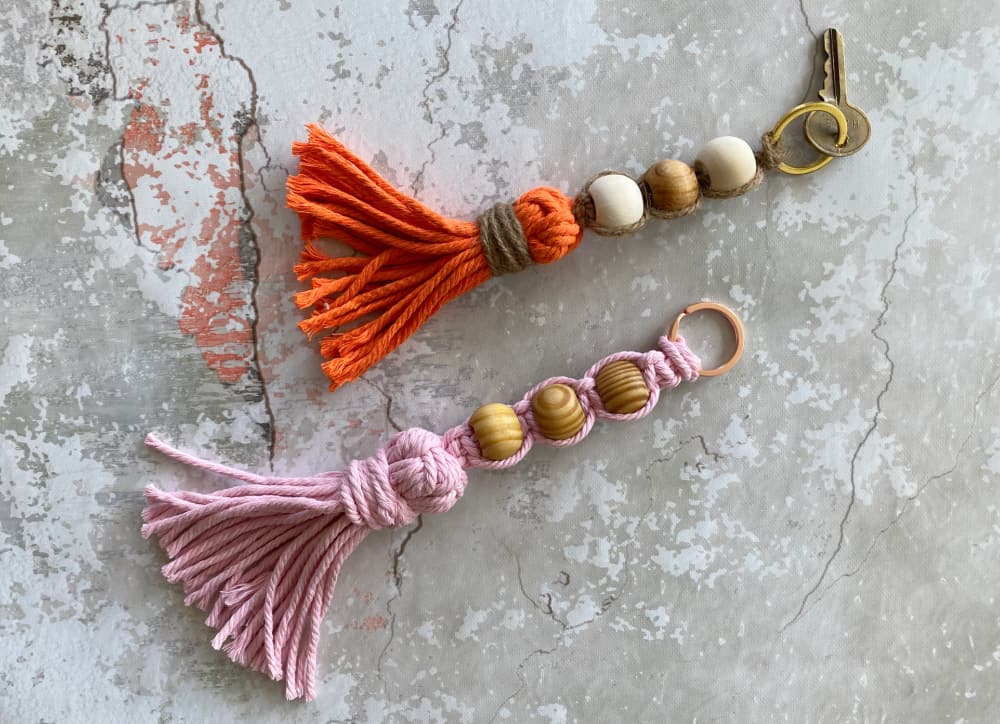
I recently learned to make beautiful tassels and I might be teetering on an addiction – they are so fun to make! I decided to transform some into tassel keychains. And, if I say so myself, they’re pretty darn adorable.
(This post may contain affiliate links; as an Amazon associate I earn from qualifying purchases. See disclosure here.)
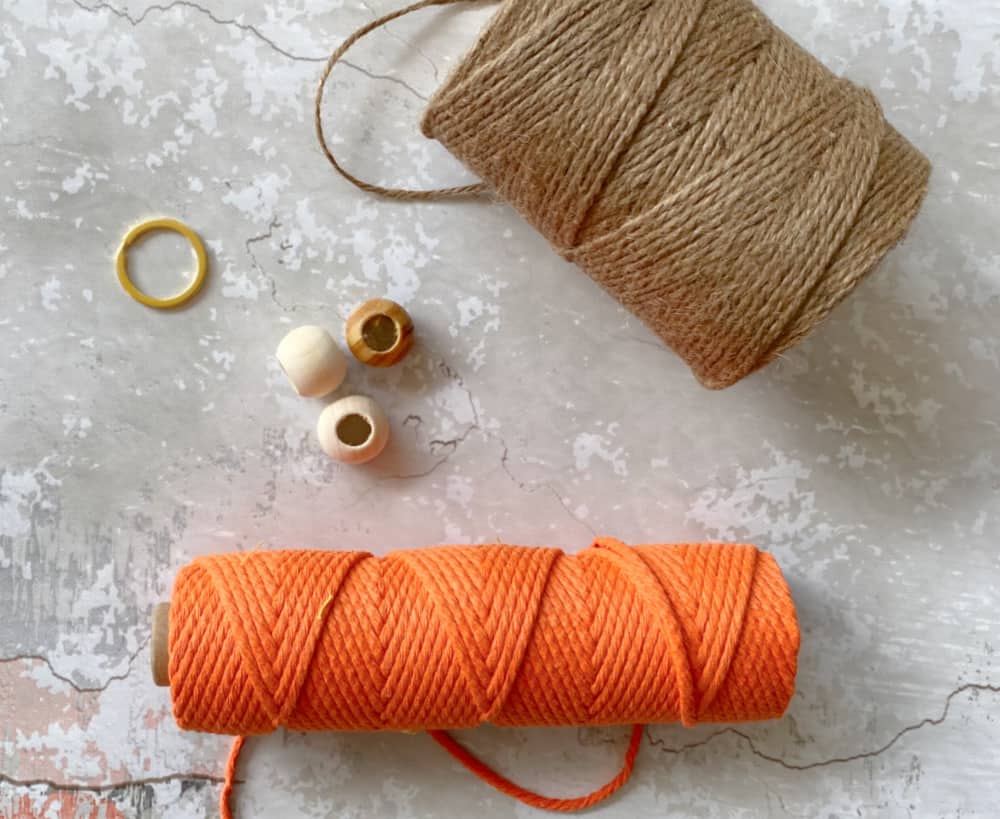
supplies needed:
- cotton cording or rope
- twine
- wooden beads
- split key ring
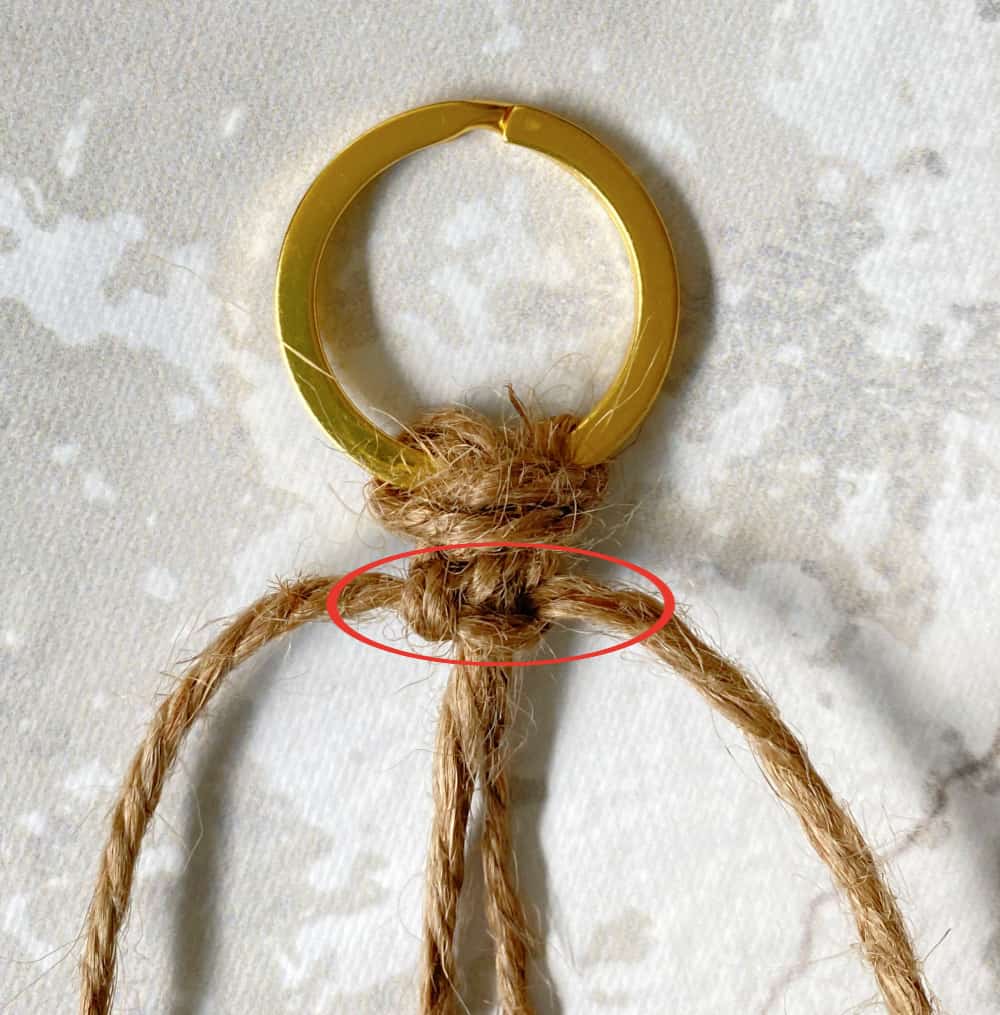
step 1 – beads
Cut 2 pieces of twine, each measuring 30″ long. Holding the 2 pieces together, tie them onto the split key ring using a Lark’s Head Knot.
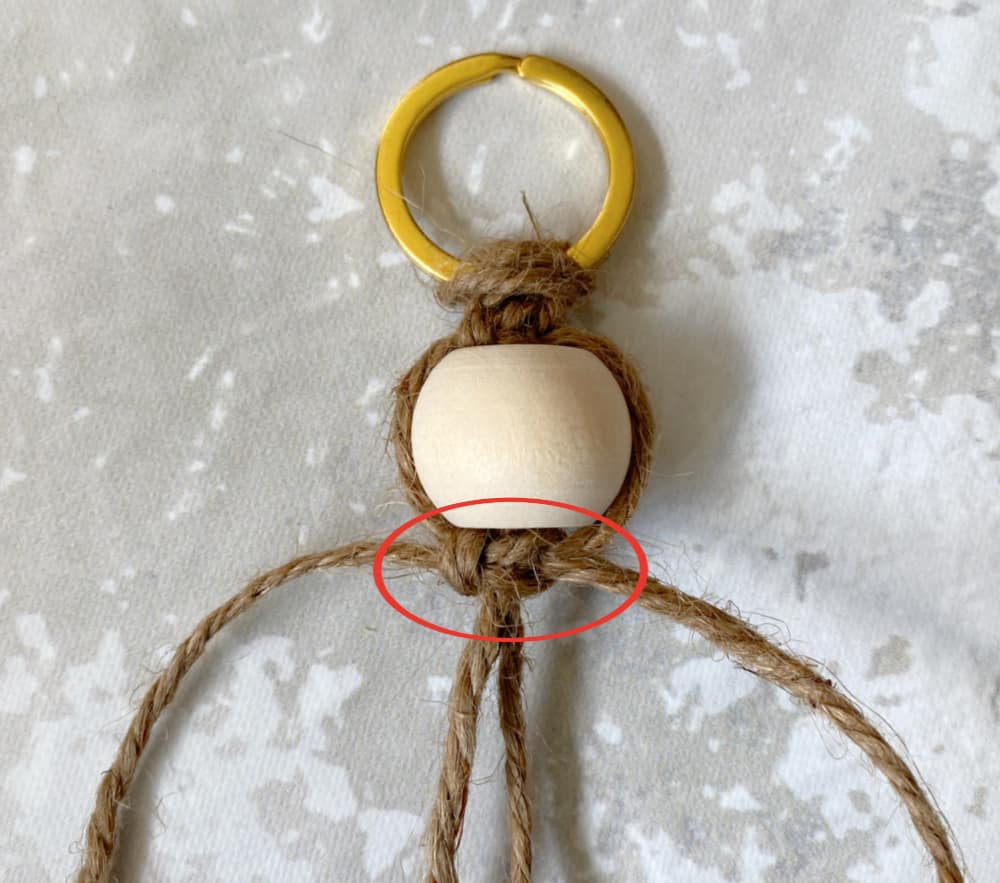
Underneath the Lark’s Head Knot, make a Square Knot.
Now slide a wooden bead onto the middle two cords.
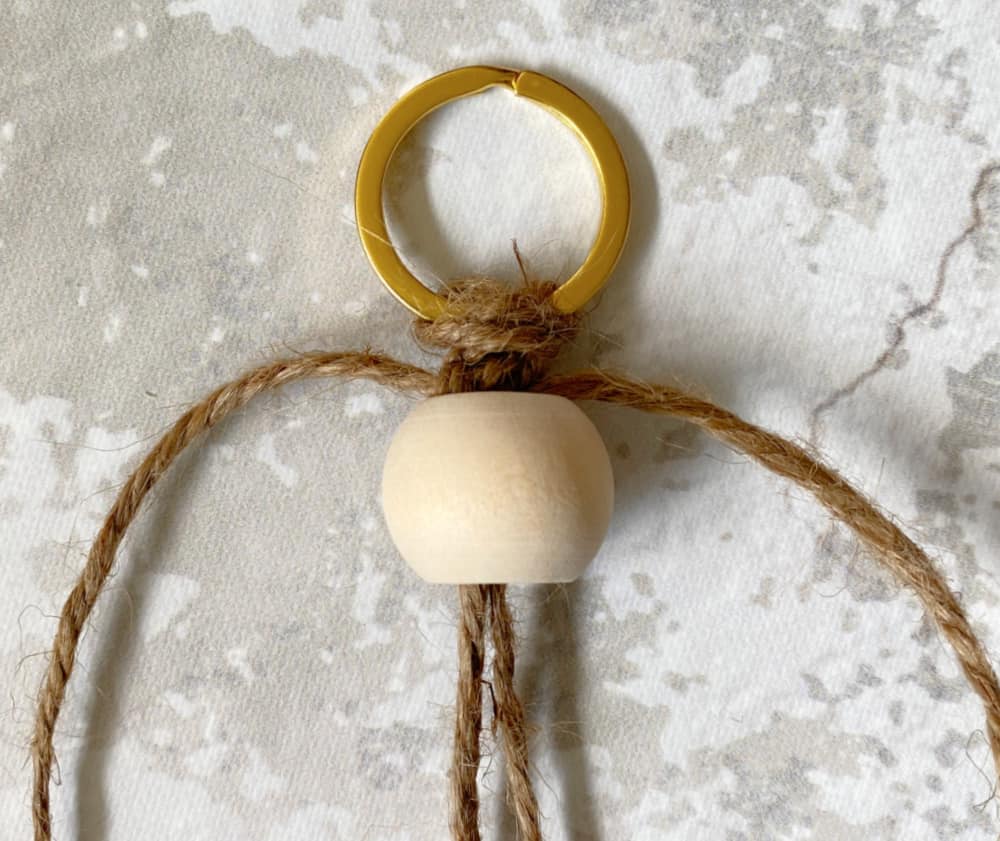
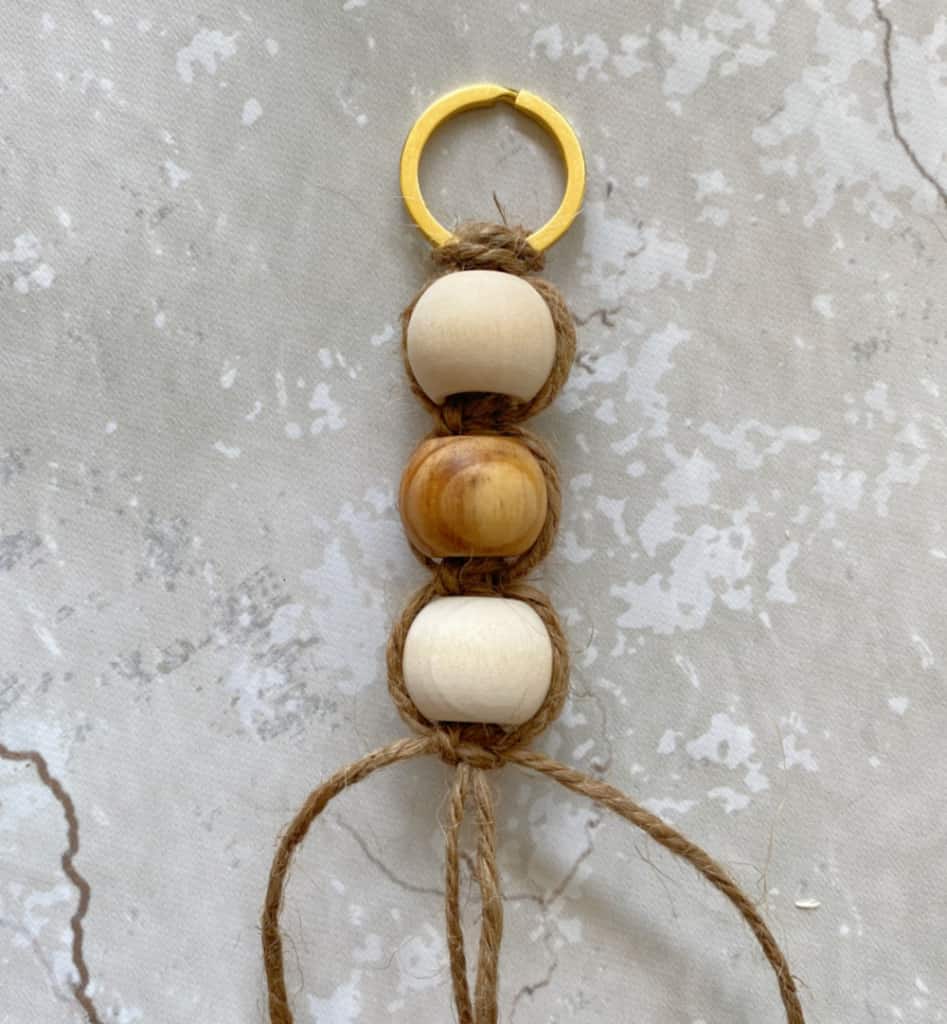
Directly beneath the bead, make another Square Knot.
Repeat this process to add two more beads, as shown below.
step 2 – tassel
For the tassel, cut 16 pieces of cording, each measuring 12″ long. Cut a piece of twine 27″ long (for the Wrapped Knot around tassel.) Then follow instructions from an earlier post on how to make the tassel. However, instead of adding a cord loop through the center of the tassel, add the beaded keyring made in step 1. Insert the tail of the keyring through the center; tighten tassel; then pull the keyring snugly and secure with a knot (see photos below.)
TIP: The DIY tassel keyring in this tutorial is made with cotton cording and twine, but cording can always be substituted for the twine for a dressier look. There are lots of variations that can be made, while following these basic techniques.
The biggest compliment is a little share – pin the photo below!
Gorgeous! I’ve not got round to making one of these tassels yet, I must dig out some cord or yarn this weekend and have a go.