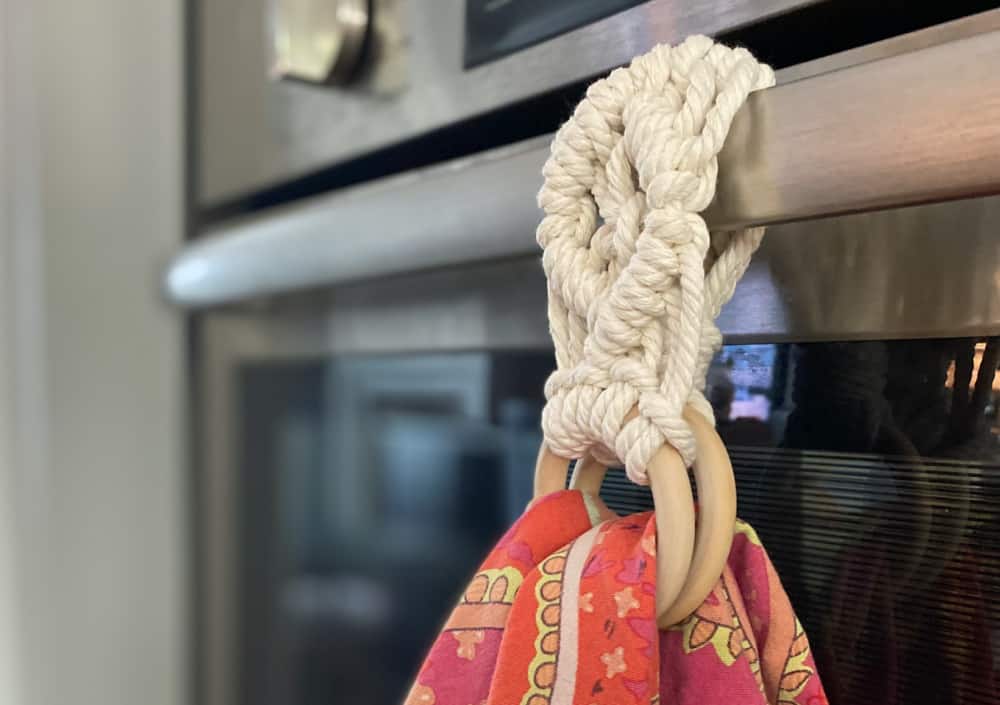
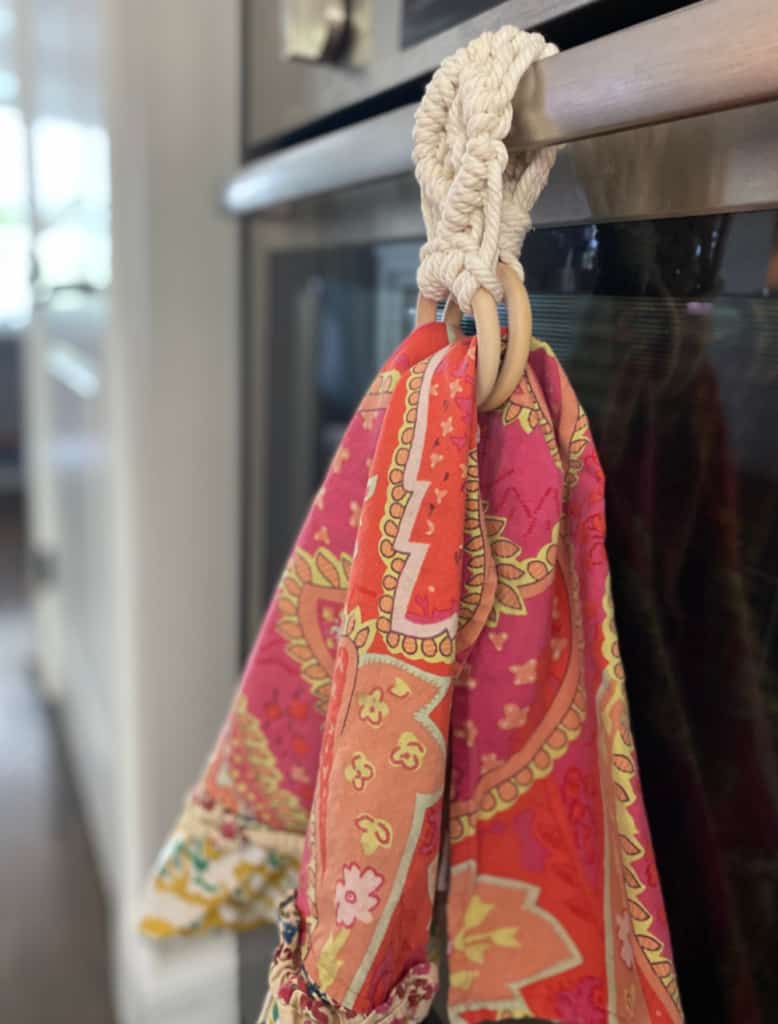
My daughter-in-law Mel spotted this idea recently for a macrame towel holder and thought it was not only cute but functional. I agreed and couldn’t wait to make a few. I experimented with different colors of rope but decided I like natural best. I also decided to use a Clove Hitch Diamond pattern, as it is one of my favorites. You can get fancy with these towel holders, but I prefer a basic and sturdy one in a neutral color.
(Affiliate links included for your convenience. As an Amazon associate I earn from qualifying purchases. See disclosure here.)
supplies needed:
- 5 mm rope – 29 feet
- painter’s tape
- 2 large wooden rings
step 1 – preparation
Cut 4 pieces of rope, each measuring 82″ in length. Wrap all the ends with painter’s tape to prevent fraying while working.
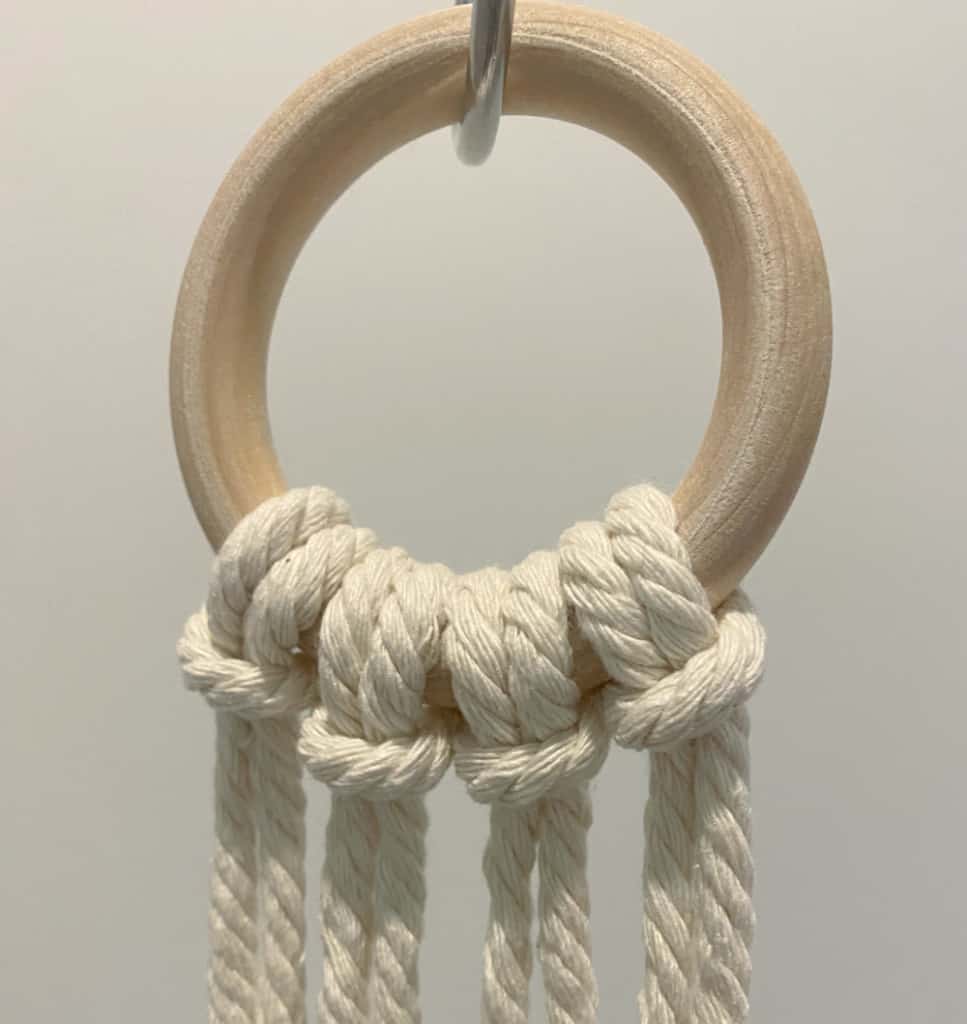
step 2 – lark’s head knots
Wrap all 4 pieces of rope onto a wooden ring using Lark’s Head Knots.
step 3 – clove hitch diamond pattern
The Half Hitch knot (sometimes called a Clove Hitch knot) is easy to make with a little practice. Acquaint yourself with my tutorial for Half Hitch knots before beginning the diamond design below. I also have a video tutorial for making Half Hitch knots.
A) Once comfortable, begin with the 5th individual cord from the left as the working cord and make Half Hitch knots working downward from right to left. (See photo below.)
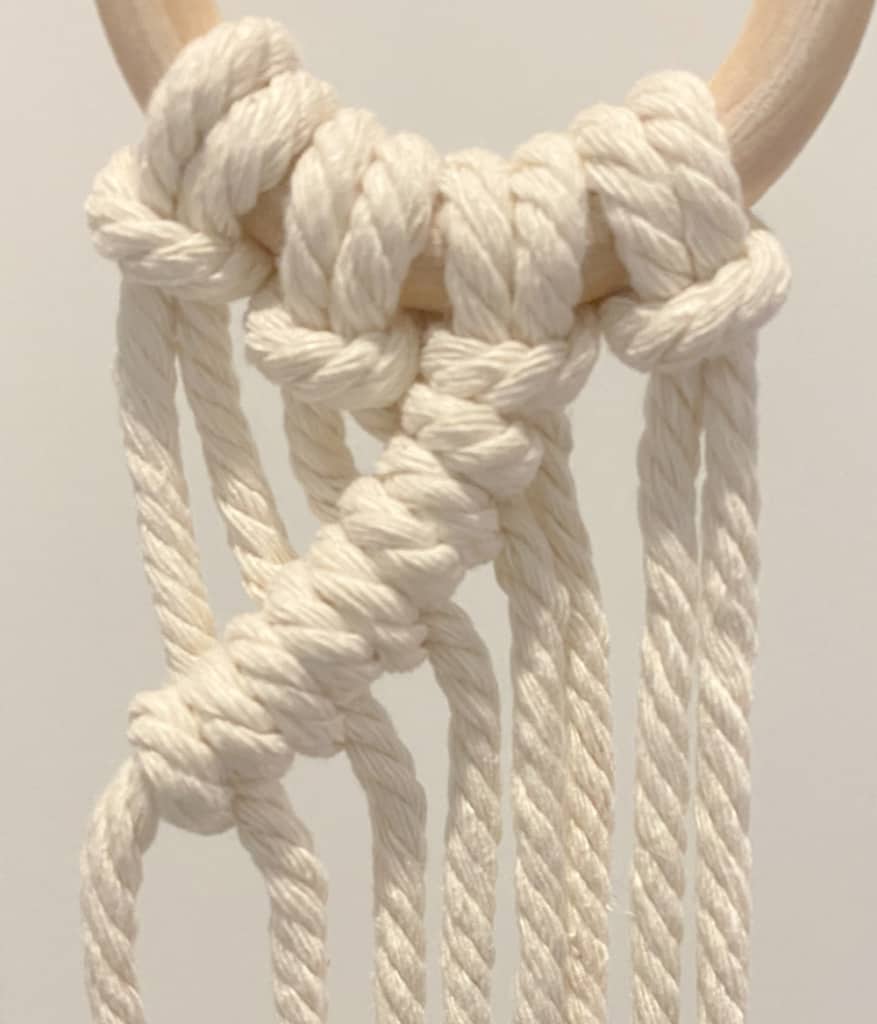
B) Now make Half Hitch knots going from the center working downward from left to right, as shown below.
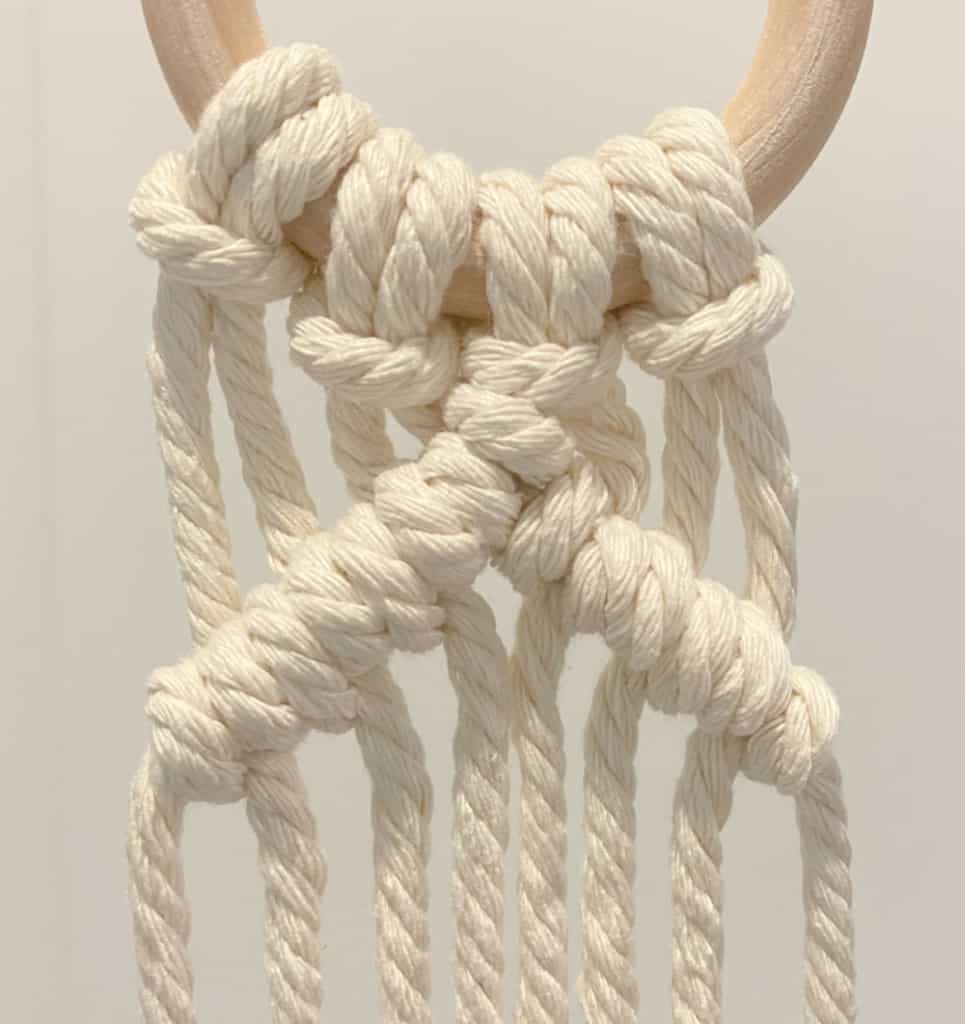
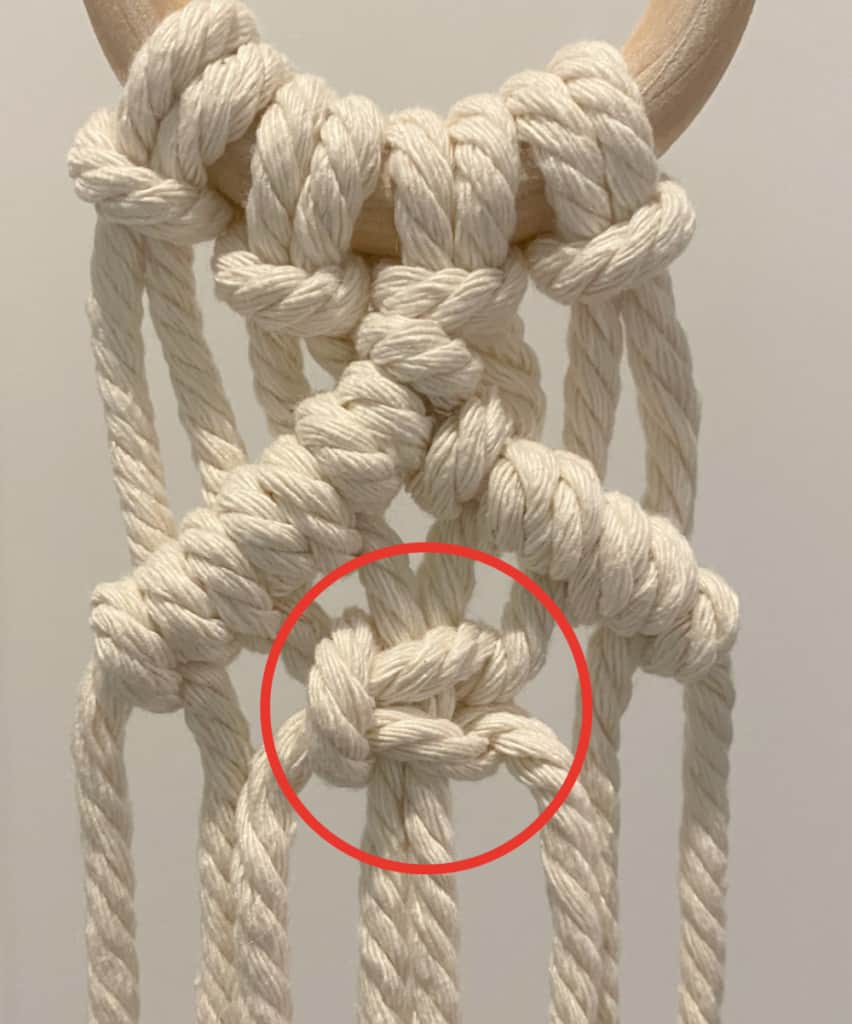
C) With the 4 center cords, make a Square Knot in the center.
D) Next, make Half Hitch knots from the left side going downward toward the center.

E) Finish the diamond design by making another string of Half Hitch knots from the right side going downward toward the center.
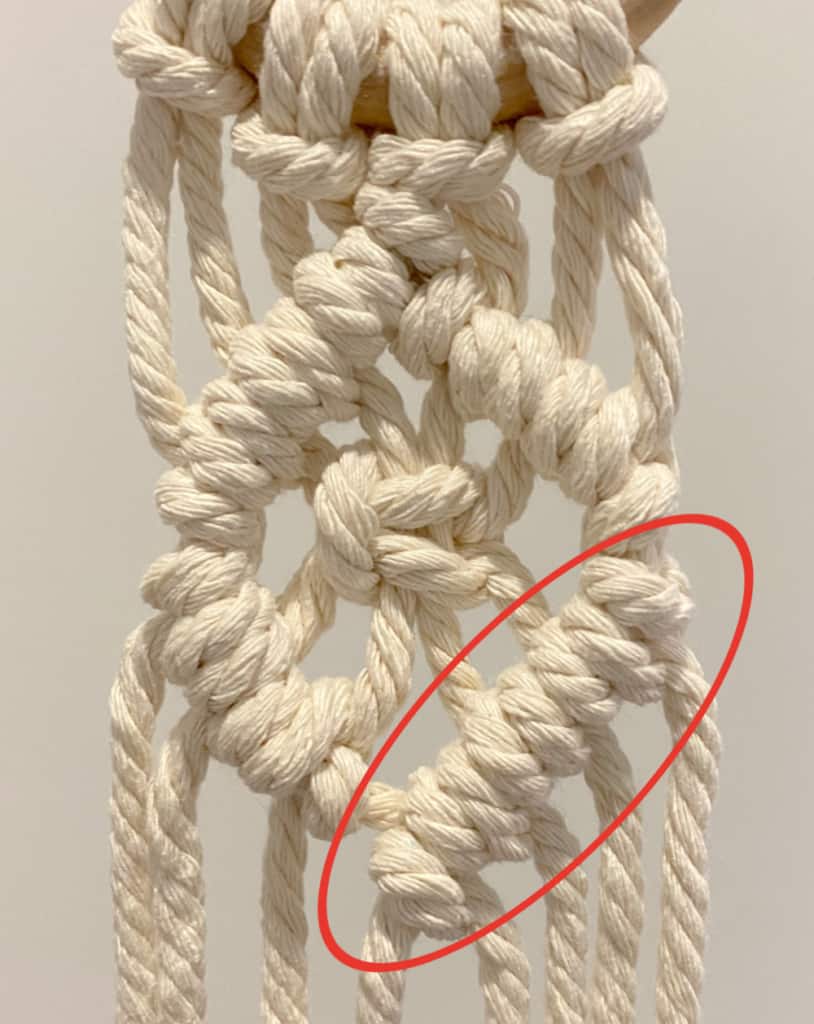
Repeat steps A through E above to make a second Half Hitch diamond design.
step 4 – wrapped knot
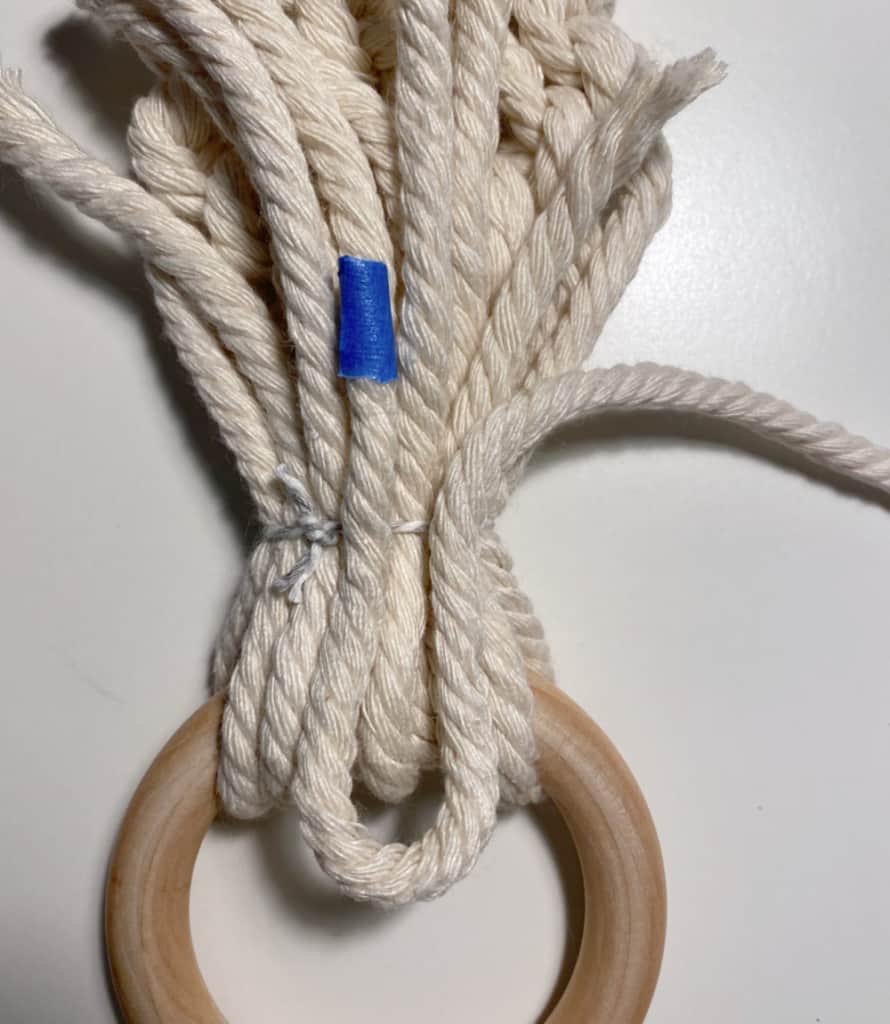
Now that you have two vertical diamond designs, trim the loose cords about 14″ down from the bottom of the last diamond. Run all the ends through a wooden ring, as shown below.
To make a Wrapped Knot, bring the cords up through the ring then tie snugly with a small piece of string to hold in place. (Shown below.)
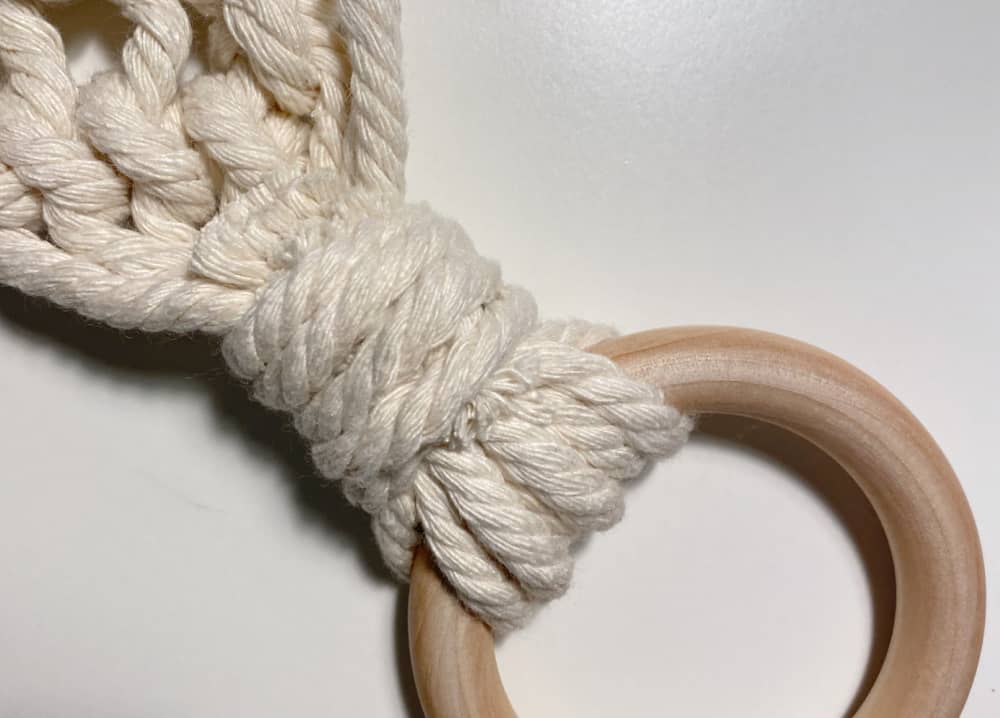
Follow instructions here for making a Wrapped Knot. (The photo below shows the beginning of the process.)
When finished, trim away the excess.
Once you get the hang of it, you’ll be eager to make even more of these macrame towel holders. This is going to be my new go-to gift (paired with an Anthropologie dish towel) for housewarming parties and bridal showers.
The biggest compliment is a little pin – pin the photo below!

I’m so confused. How do I get from the first diamond to the second? Is there another square knot between the diamonds? Your linked video tutorial only shows the half hitch from right to left. How do I go from right to left?
Thank you for sharing your beautiful macrame towel holder at the Senior Salon Pit Stop party this week. I’m excited to be featuring it at the party tomorrow. Sharing on Facebook and pinned.
Hugs,
Maria @ kraftyplanner.com
Thanks so much Maria!
Wendy, this looks fabulous… I absolutely need one!!
Thank you for sharing your tutorial for the macrame towel holder at Create, Bake, Grow & Gathered this week. I’m delighted to be featuring it at tonight’s party and pinning too.
Hugs ~ Kerryanne
thanks so much!
This is so beautiful and can be used for many other items to hang on. Pinned it.
Thank you for sharing your links with us at #272 SSPS Linky. See you again next week.
Thanks!
Wendy I love your macrame towel holder tutorial! I’ve been wanting to learn macrame and I so appreciate this tutorial.
Visiting today from Happiness Is Homemade #14
I love this project Wendy! Great directions too thank you 🙂
Thanks Tanya!
Thank you!
Bonjour!
May I ask what size wooden rings you used? 60mm or 70mm?
Merci bien,
Susie
70mm