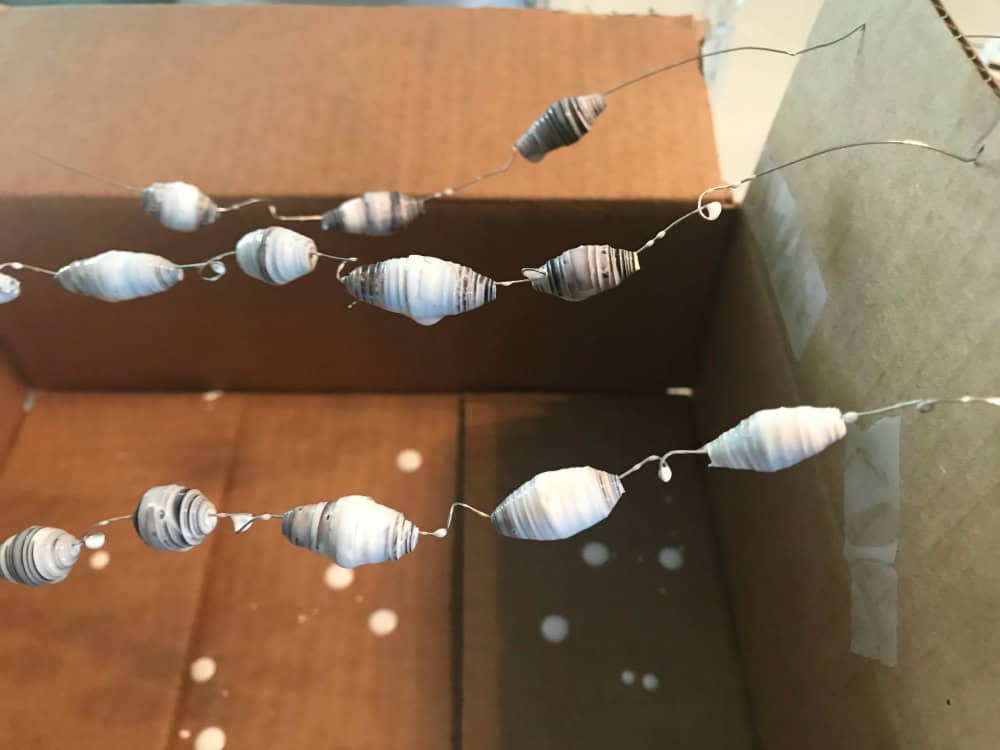
I’m intrigued with tiny paper beads rolled from pages torn from books or magazines. The technique is rather standard, but the finished look varies greatly depending on the medium and the colors. For example, the first paper beads I created were made from pages torn from a Restoration Hardware catalog. With such muted colors, they look a bit like seashells.
(This post may contain affiliate links; as an Amazon associate I earn from qualifying purchases. See disclosure here.)


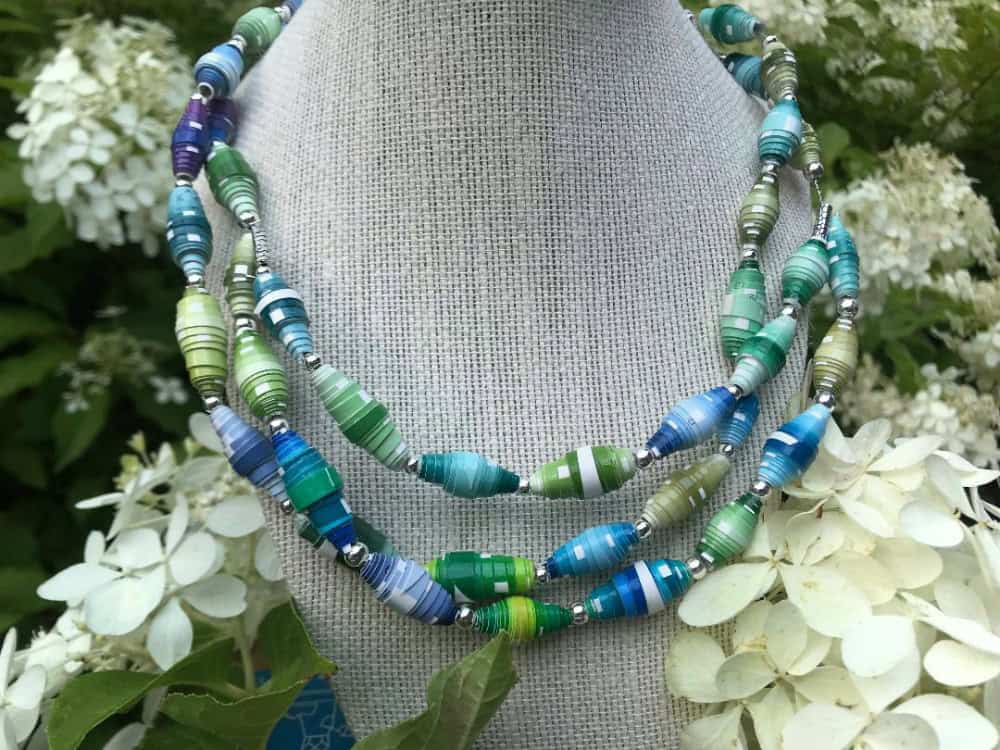
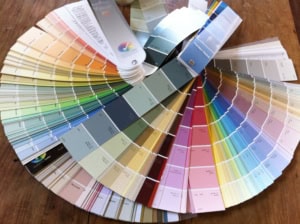
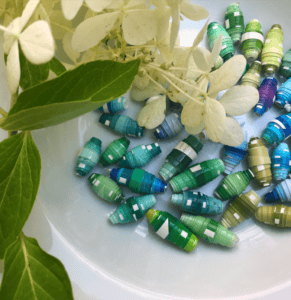
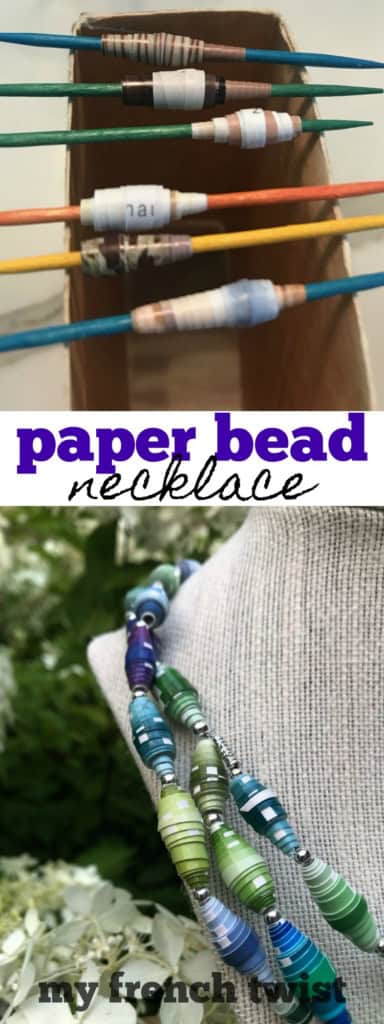
I then made a second batch from paint color strips.
Once the beads are made, your options are endless. Transform them into earrings, bracelets or necklaces. And remember, the best way to learn is just to do it. With practice comes perfection.
supplies needed
- scissors
- paper (catalog or book pages, paint chip strips – use your imagination)
- Mod Podge & paint brush
- small cardboard box or shoe box
- string or wire
- bamboo skewer
- toothpicks
- clear varnish
step 1 – roll beads
First, cut long narrow triangles from paper.

Next, using a bamboo skewer or a toothpick, roll the bead tightly. Guide it gently as you go, so the bead rolls evenly. When you are almost finished rolling the bead, coat the narrow end of the strip with Mod Podge, which acts as a glue. Finish rolling, then place aside to dry.

step 2 – seal beads
There are lots of types of varnish or sealers that can be used, including a diluted solution of Mod Podge. However, my preference is this gloss varnish from DecoArt. After stringing beads onto a piece of wire or string, dip them into the varnish. Then string the beads across a cardboard box to dry. I found the Mod Podge solution to leave a clumpy finish on some of the beads. The DecoArt varnish, however, worked beautifully.

step 3 – string beads
Once the beads are dry, you can coat them a second time with varnish if preferred. Once dry, string them into whimsical necklaces or bracelets. I used thin jewelry wire and silver spacer beads to create a casual and colorful necklace.


The biggest compliment is a little share – pin the photo below!

New subscriber. I love those blues and greens beads. So beautiful!
Love this and thank you! I’ve been obsessed with making beads! (I use old wallpaper sample books.) I’ve gotten to a point where I HATE to varnish them. I will try your method!
If anyone is interested, I use Future Acrylic Floor polish. Takes a while to dry, but beads are fairly durable and glossy.
I don’t have a y magazines so I colored paper, measured, cut & rolled beads on tooth picks! Will varnish & see how it goes! Thank you!!
I will be teaching a senior group age is between 78 to 95 and thought this would be a wonderful project I don’t have a printer to print off the pattern do you have a book on some of your crafts that I could purchase?? This is a volunteer job and I don’t wish to spend a great deal of money on supplies so your idea of beads from paper is just wonderful Thank you In advance Pauline
Pauline, I’m so glad you’ll be trying this craft with others. Unfortunately, I don’t have a book with the instructions in it. Sorry!
Wow, easy to make, looking gorgeous. Good efforts
thank you so much! I loved how these turned out.
Top class and exact article on “Paper Beads”. Loved to visit your site “http://www.myfrenchtwist.com”.
Find Out More About Christmas And Boxing Day’s Celebration And Sale on My Website”https://www.theboxingpro.com”.
Thank You😃.
Thanks so much for sharing this fun craft! I’ll be featuring it at our Party in Your PJs link party that starts tomorrow night!
Only the other day I was looking at some paper bead earring and thinking I must have a go myself. Thanks for the tutorial, I’m adding this to my to do list!!!
I’ve always wondered how these were made! Thank you! Pinning! Now I know what to do with our leftover magazines. Love that blue and green necklace!
Very clever idea to use paint colour cards. It is quite relaxing paper beads. I once made a whole chandelier of them, that did take a long time but was fun.
Absolutely gorgeous! Especially the paint chip ones. I absolutely love those 😍. Funny thing, this idea had crossed my mind lately as I was thinking about ‘vintage’ crafts like macrame, etc. Tried this along time ago. The paint chips are a new twist. Clean, elegant. tfs ♥️