Making this little macramé hanging pod is a bit trickier than a simple wall hanging, but it is well worth the effort. I already have a ton of ideas in mind for these little baskets. They would look adorable used for storage on a nursery wall. I also plan on making some for my son’s upcoming wedding in an actual old barn; how sweet would these look hanging on rustic wooden columns? So take a little time, learn this technique, and you’ll find a myriad of uses for your macramé hanging pod.
(Affiliate links included for your convenience. As an Amazon associate I earn from qualifying purchases. See disclosure here.)
supplies needed:
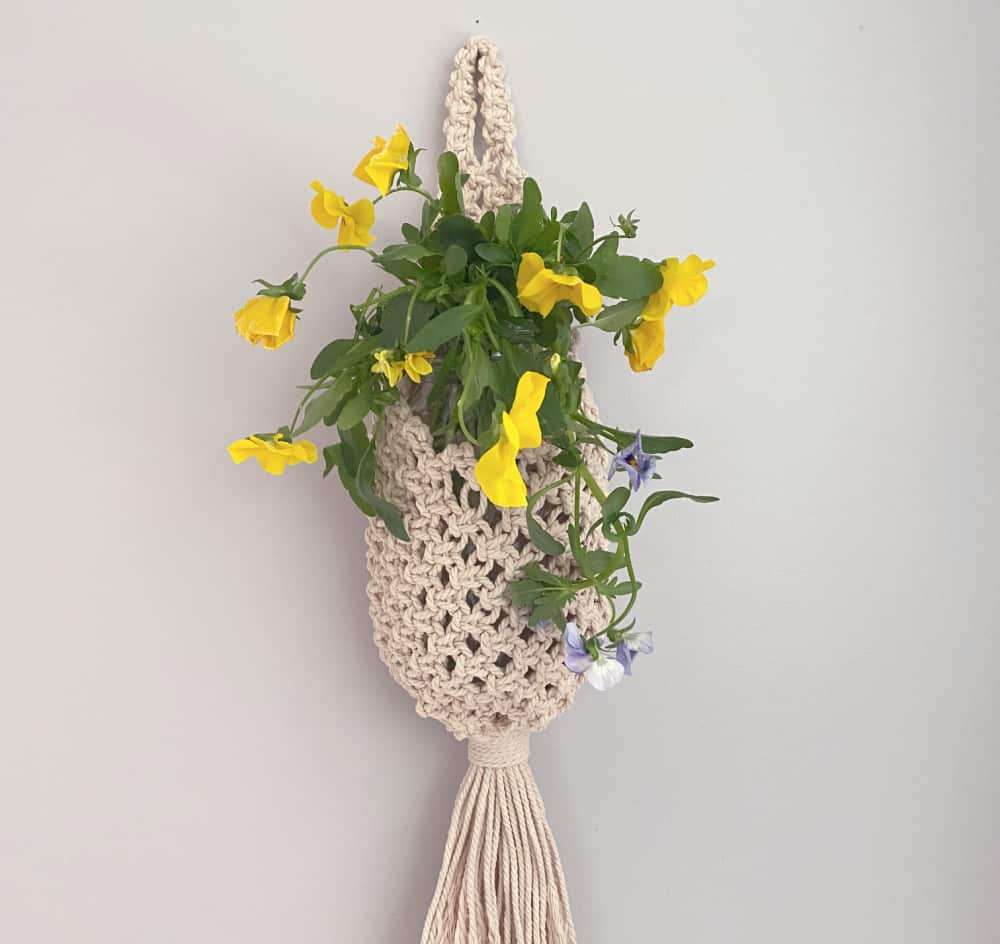
The finished size for this hanging pod measures 6″ wide x 15″ length (basket only). The fringe adds another 12″.
- 4 pieces, each measuring 8 feet
- 4 pieces, each measuring 6′ 6″
- 4 pieces, each measuring 6′
- 4 pieces, each measuring 5’8″
- 16 pieces, each measuring 5’4″
- one piece, measuring 3’6″
preparation
Cut pieces of cord according to the lengths shown above. Be sure to tape all ends with painter’s tape to avoid fraying.
step 1 – make the handle
Gather the 4 pieces of 8′ long cords and find the center. Create the handle by making a row of Square Knots measuring about 5 inches long.

step 2 – begin the body
Fold the handle as shown below, then tape down to a flat surface. Using the center 4 cords, make a Square Knot.
![]()
This next technique seems tricky, but it’s really quite easy. Fold one of the 6 1/2′ cords in half and place it beside the 2 single cords on the left of the Square Knot (shown below). Tie these 4 individual cords into another Square Knot. Using a second 6 1/2′ cord, repeat this process with the 2 cords on the right of the center Square Knot. (Watch this video to understand this technique.)
![]()
After making a Square Knot on each side using added cords, you will end up with a row of 3 Square Knots (shown below.)

Next, add another row of 2 Alternating Square Knots, as shown below.

Once again create a Square Knot by adding a 6 1/2′ cord to the 2 loose cords on the left. Repeat this on the right. You will now end up with a row of 4 Square Knots (below.)

Continue this technique using 2 cords that measure 6′ each. Add one cord to the the 2 individual cords on the left and one cord to the 2 individual cords on the right, creating a Square Knot on each end, as shown below. This begins a downward angled shape.

Now repeat this with the other 2 (6′) cords. Continue this process, adding more Square Knots to each end, using the 4 (5’8″) cords. You will end up with the design shown below.

step 3 – fill in with alternating square knots
Using Alternating Square Knots, fill in the rows.

step 4 – floating square knots
With the 16 cords measuring 5’4″ each, make 8 Floating Square Knots. (See this video to learn the technique.)

Place a Floating Square Knot adjacent to the end Square Knot. Attach it by tying a Square Knot with the 4 inside cords, as shown below. Continue adding Floating Square Knots in this fashion.
![]()
Attach 4 Floating Square Knots to each side.

step 5 – fill in remaining body
Using Alternating Square Knots, fill in the rows until the bottom row has 8 Square Knots. (In case you think you’re losing your mind, the photo below shows only 7 Square Knots in the bottom row. Seems I snapped the photo while I still had one more to tie!)

step 6 – connect the sides
Attach the two sides together in front with a Square Knot.
![]()
Again, create rows of Alternating Square Knots to fill in the basket, as shown below.
![]()
Once the bottom hem is even, you have the option of adding more length to the basket if desired. Because I wanted my pod to hold a large mason jar, I added 4 more rows of Alternating Square Knots to the bottom.
step 7 – finishing touches
To create the bottom of the pod, finish with a Wrapped Knot, using the 3 1/2′ piece of cord. Remove the tape from the ends of all cords and fringe the tassel. Your macramé hanging pod is finished, but the possibilities for it are endless!
The biggest compliment is a little share – pin the photo below!


Ok. I haven’t even started yet and I love it. You measured each strand! No wastage. Thank you! I’ll get back to you later
Glad you like it!
The step by step directions make this project so doable!
I’d love for you to join us over at the Creative Crafts Linky Party every Wednesday through Sunday
https://creativelybeth.com/creative-crafts-linky-party-38/
Followed and Pinned! 🙂
Creatively, Beth
This is beautiful, Wendy. Thank you for sharing at Party In Your PJ’s – you are being featured on my blog Tuesday evening.
thanks Ann!
I love your macramé hanger. Great Job.
thanks so much!
Wonderful project. I had to pin it to try out. Thanks for showing such great steps along the way. #HomeMattersParty
thanks!
Looks gorgeous, thank you for the tutorial. I am excited to try this project.
thanks!
Beautiful macrame hanging. Thanks for the tutorial.
So glad you liked it!